22 June 2026
Comprehensive Guide to Creating a Landing-to-Destination Montage for Aircraft Tracking
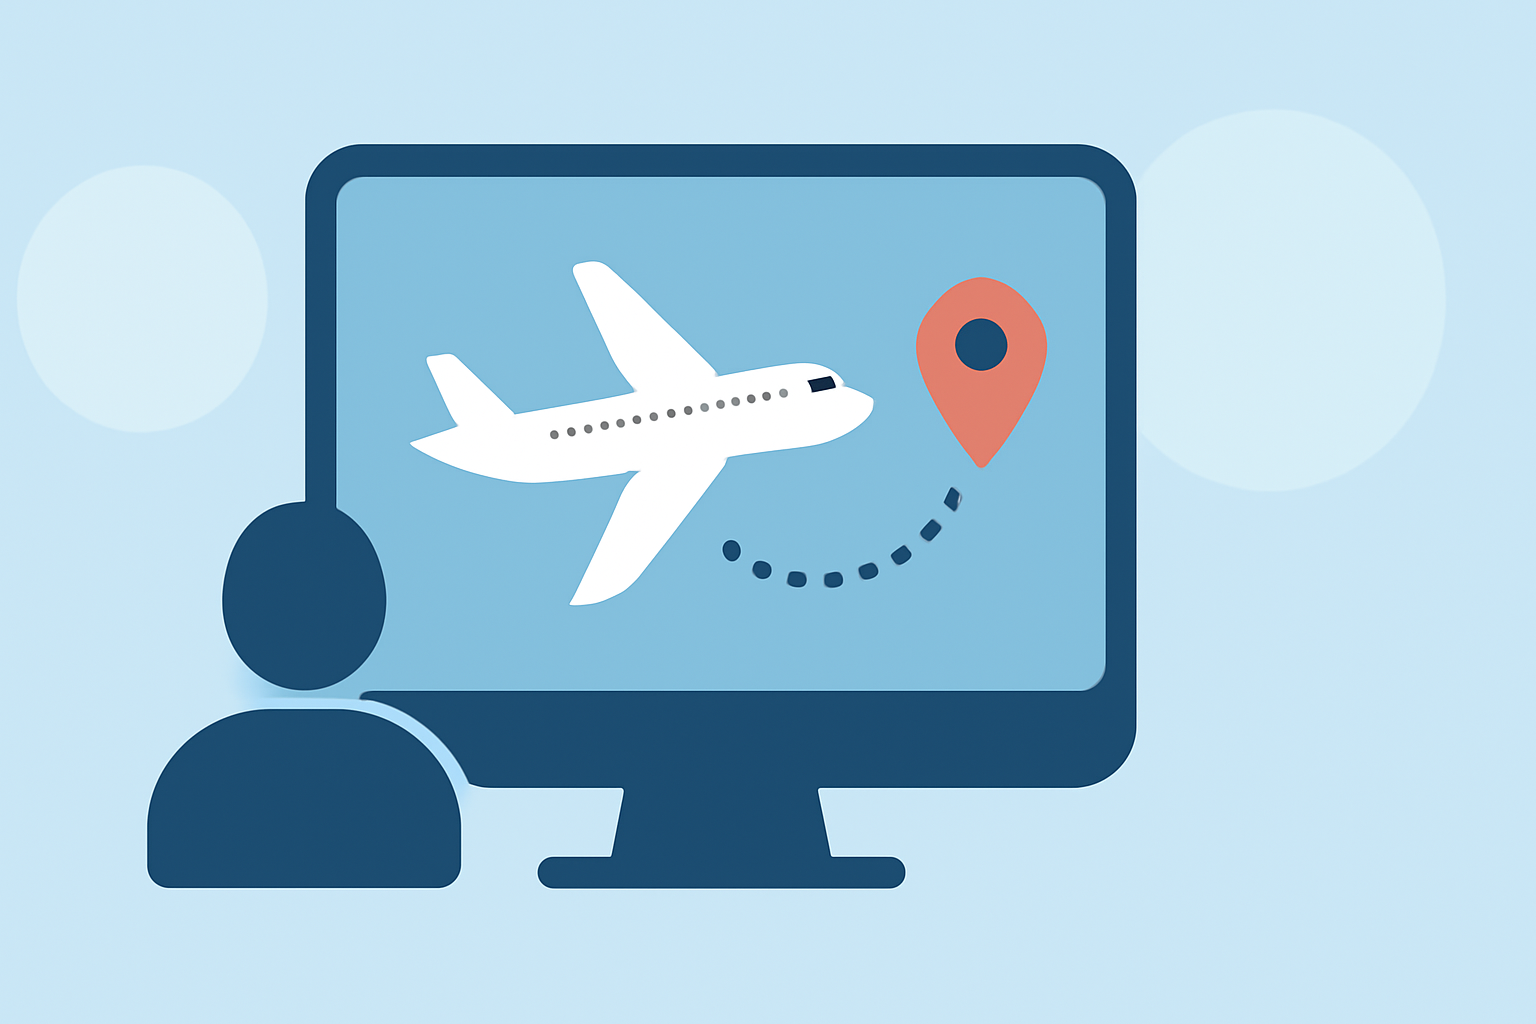
Creating a compelling landing-to-destination montage is an excellent way to showcase the journey of an aircraft from takeoff to arrival. Such montages not only highlight the technical aspects of flight but also capture the beauty and complexity of aviation. This guide provides a step-by-step approach to crafting an engaging montage, including essential steps, tools, and tips to enhance your aviation videos.
1. Planning Your Montage
Before you begin, it's crucial to plan the structure and content of your montage:
-
Define the Purpose: Determine whether the montage is for personal use, educational purposes, or to share with a broader audience.
-
Select the Aircraft and Route: Choose the specific flight or series of flights you want to feature, including departure and arrival airports.
-
Gather Necessary Permissions: Ensure you have the rights to use any footage or data, especially if you're incorporating content from other sources.
2. Collecting Footage and Data
High-quality footage and accurate data are the backbone of your montage:
-
Flight Data: Obtain detailed flight information, including departure and arrival times, flight path, and any notable events during the journey.
-
Visual Footage: Capture video from various stages of the flight, such as takeoff, cruising altitude, descent, and landing. Utilize cockpit cameras, external cameras, and ground-based footage if possible.
-
Weather Data: Incorporate weather conditions during the flight to add context and depth to your montage.
3. Choosing the Right Tools
Selecting appropriate tools will streamline the creation process:
-
Video Editing Software: Use professional video editing software to compile and edit your footage. Look for features like multi-track editing, color correction, and audio mixing.
-
Flight Tracking Software: Utilize flight tracking software to overlay flight paths and data onto your video. This can provide viewers with a visual representation of the aircraft's journey.
-
Audio Editing Tools: Enhance your montage with background music and sound effects. Ensure you have the rights to any audio used.
4. Editing the Montage
The editing process involves several key steps:
-
Organize Your Footage: Sort your clips chronologically and categorize them based on the flight stages.
-
Sync Audio and Video: Align your audio tracks with the corresponding video segments to maintain coherence.
-
Add Visual Effects: Incorporate graphics, such as flight path overlays, altitude indicators, and speed metrics, to provide additional information.
-
Color Grading: Adjust the color settings to ensure consistency and enhance the visual appeal of your footage.
-
Sound Design: Mix background music, cockpit sounds, and external noises to create an immersive experience.
5. Reviewing and Finalizing
Before sharing your montage, conduct a thorough review:
-
Check for Accuracy: Verify that all flight data and visual representations are accurate.
-
Seek Feedback: Share your montage with peers or mentors to gather constructive feedback.
-
Export and Share: Once satisfied, export your montage in the desired format and resolution. Share it on platforms like YouTube, Vimeo, or aviation forums to reach your intended audience.
6. Enhancing Your Montage with Planes Live
To elevate your landing-to-destination montage, consider integrating Planes Live into your workflow. Planes Live offers real-time flight tracking and data visualization, allowing you to overlay live flight paths, aircraft information, and weather conditions onto your footage. This integration provides viewers with an interactive and informative experience, enhancing the overall quality of your montage.
Conclusion
Crafting a landing-to-destination montage requires meticulous planning, quality footage, and the right tools. By following the steps outlined above and incorporating Planes Live, you can create a captivating and informative video that showcases the intricacies of aviation journeys.