22 June 2026
Mastering Airport Footage Editing: A Step-by-Step Workflow
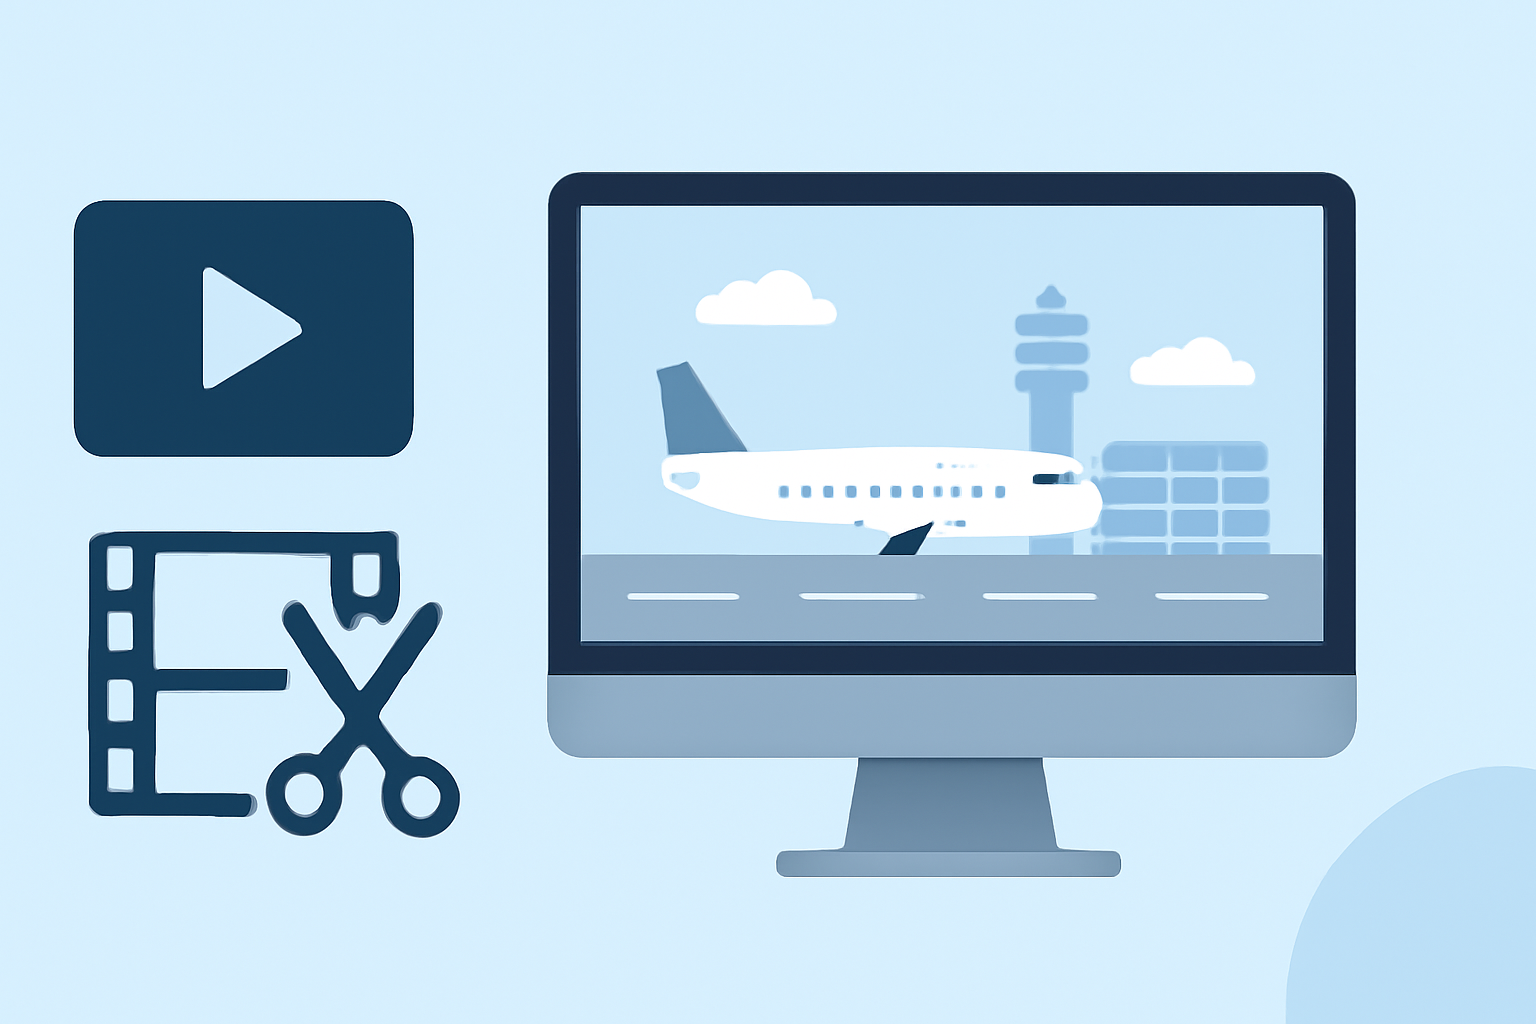
Editing airport footage can be a complex task, but with a structured workflow, you can produce professional-quality videos. Here's a step-by-step guide to help you through the process:
1. Organize Your Footage
Begin by transferring all your raw footage to your computer. Create a dedicated folder for each shoot, organizing clips by date or location. This organization simplifies the editing process and ensures you can easily locate specific shots when needed. (flyqdrone.in)
2. Review and Select Clips
Before diving into editing, watch all your footage to identify the best shots. Mark or flag these clips for easy access. Discard any unusable footage to maintain a clean workspace and focus on quality content. (flyqdrone.in)
3. Assemble a Rough Cut
Lay out your selected clips in a timeline to establish the basic structure of your video. This rough cut serves as the foundation for your final edit, allowing you to visualize the flow and make necessary adjustments early in the process. (flyqdrone.in)
4. Refine Your Edit
Trim clips to remove unnecessary sections, ensuring smooth transitions and maintaining the video's pacing. Pay attention to the timing of each shot to keep the audience engaged. (flyqdrone.in)
5. Stabilize and Correct Footage
Address any shaky or unstable footage by applying stabilization techniques. Additionally, correct exposure, white balance, and contrast to achieve a consistent and natural look across all clips. (flyqdrone.in)
6. Enhance with Color Grading
Apply color grading to give your video a cinematic feel. Adjust color tones and apply LUTs (Look-Up Tables) to achieve the desired mood and style. (flyqdrone.in)
7. Add Audio Elements
Incorporate background music, ambient sounds, and sound effects to enhance the auditory experience. Ensure that audio levels are balanced and that the sound complements the visuals without overpowering them. (flyqdrone.in)
8. Include Titles and Graphics
Add titles, lower thirds, and any necessary graphics to provide context and information. Maintain a consistent style and ensure that text is legible and appropriately placed within the frame. (flyqdrone.in)
9. Final Export
Once satisfied with your edit, export the video in the appropriate format for your intended platform. For example, YouTube recommends exporting at 4K resolution with an H.264 codec for optimal quality. (dronesgator.com)
Streamline Your Workflow with Planes Live
To further enhance your editing process, consider using Planes Live. This tool offers features that can simplify various aspects of video editing, allowing you to focus more on creativity and less on technicalities. (flyqdrone.in)
By following this structured workflow and utilizing the right tools, you can efficiently edit airport footage and produce high-quality videos that captivate your audience.