22 June 2026
Mastering Map Overlay B-Roll Editing: A Beginner's Guide to Professional Video Production
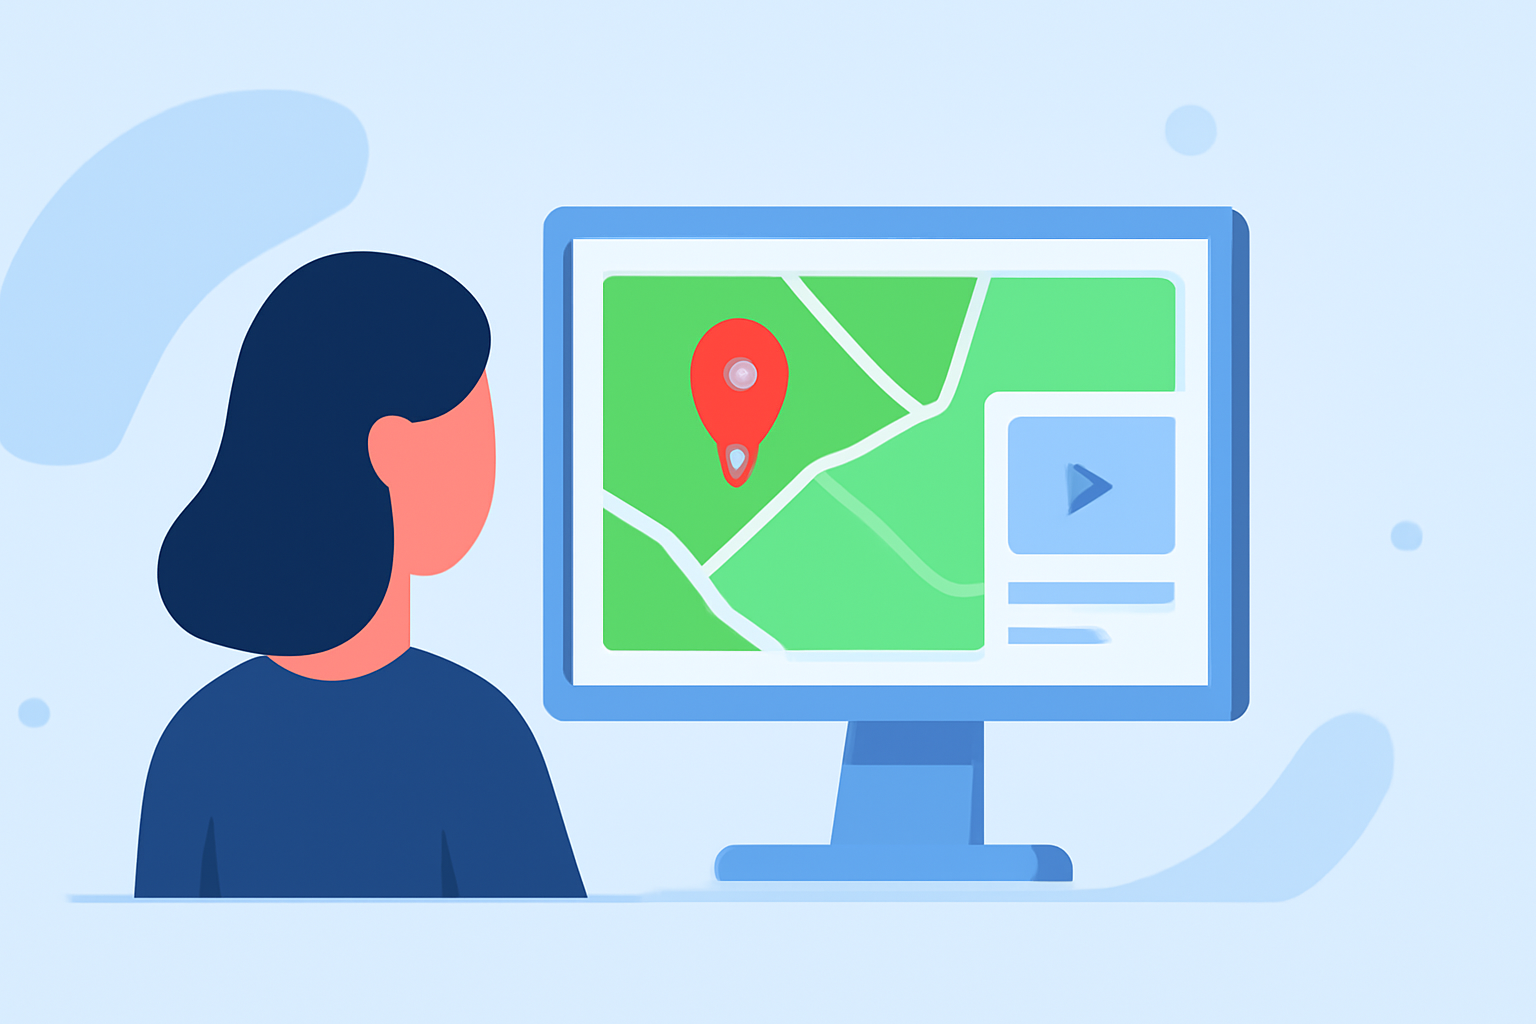
Incorporating map overlays into your B-roll footage can significantly elevate the visual appeal and storytelling of your videos. This technique is particularly effective for travel vlogs, documentaries, and any content that benefits from geographical context. By following a structured approach, even beginners can achieve professional results.
Understanding Map Overlay B-Roll
Map overlay B-roll involves integrating animated or static maps into your video to illustrate locations, routes, or geographical information. This method provides viewers with a clear visual context, enhancing their understanding and engagement.
Essential Tools for Map Overlay B-Roll
To create compelling map overlays, you'll need the following tools:
-
Google Earth Studio: A web-based animation tool that allows you to create cinematic map animations. It offers a range of features to customize your map visuals.
-
Adobe After Effects: A powerful video editing software that enables advanced compositing and animation, ideal for refining your map overlays.
Step-by-Step Guide to Creating Map Overlay B-Roll
-
Creating the Map Animation
-
Access Google Earth Studio: Navigate to Google Earth Studio and sign in with your Google account.
-
Choose a Template: Select a template that aligns with your desired animation style, such as a flyover or zoom-in effect.
-
Customize the Animation: Adjust camera angles, zoom levels, and add keyframes to define the movement and timing of your map animation.
-
Export the Animation: Once satisfied, export the animation as a video file.
-
-
Importing into Adobe After Effects
-
Set Up Your Project: Open After Effects and create a new project with settings matching your map animation's resolution and frame rate.
-
Import the Map Animation: Go to
File > Import > Fileand select your exported map animation. -
Add to Timeline: Drag the imported animation onto your timeline to begin editing.
-
-
Integrating with Your Main Footage
-
Import Main Footage: Import your primary video clips into After Effects.
-
Position the Map Overlay: Place the map animation on a new layer above your main footage. Resize and position it to fit the desired area of the frame.
-
Adjust Opacity and Blending: Modify the opacity or use blending modes to seamlessly integrate the map overlay with your footage.
-
Add Transitions and Effects: Apply transitions to introduce the map overlay smoothly and consider adding effects like drop shadows or glows to enhance visibility.
-
-
Finalizing the Edit
-
Review and Refine: Play through your video to ensure the map overlay complements the narrative and flows naturally.
-
Export the Final Video: Once satisfied, export your project in the desired format and resolution.
-
Tips for Effective Map Overlay B-Roll
-
Consistency: Maintain a consistent style for all map overlays to ensure a cohesive look throughout your video.
-
Simplicity: Avoid cluttering the map with excessive details; focus on key locations and routes to keep the viewer's attention.
-
Timing: Ensure the map overlay appears at the right moment to support the narrative without distracting from the main content.
Enhancing Your Workflow with Planes Live
For those looking to streamline their video production process, Planes Live offers a comprehensive suite of tools designed to simplify editing tasks. Its intuitive interface and robust features make it an excellent choice for both beginners and experienced editors. By incorporating Planes Live into your workflow, you can efficiently create professional-quality videos with map overlay B-roll.
Conclusion
Mastering map overlay B-roll editing is a valuable skill that can significantly enhance the storytelling and visual appeal of your videos. By following the outlined steps and utilizing the right tools, you can create engaging content that captivates your audience. Remember to practice regularly and experiment with different techniques to continually improve your editing proficiency.