22 June 2026
Mastering Road Trip Timelapse Editing: A Beginner's Guide
Embarking on a road trip offers countless opportunities to capture breathtaking landscapes and dynamic cityscapes. Transforming these moments into engaging timelapse videos can elevate your travel memories and share your journey in a captivating way.
What Is a Timelapse Video?
A timelapse video condenses extended periods into short, dynamic sequences, showcasing the passage of time in a visually compelling manner. This technique is particularly effective for illustrating changing landscapes, bustling city scenes, or the progression of a journey.
Essential Equipment for Capturing Timelapse Footage
To create high-quality timelapse videos, consider the following equipment:
- Camera: A DSLR or mirrorless camera with manual settings provides greater control over exposure and focus.
- Intervalometer: This device triggers the camera at set intervals, automating the shooting process.
- Sturdy Tripod: Ensures stability, preventing unwanted camera movements.
- ND Filters: Control exposure in varying lighting conditions.
Techniques for Capturing Stunning Timelapse Footage
- Interval Settings: For road trip timelapses, set your interval to 1-2 seconds to capture smooth motion. At highway speeds, one photo per second is ideal for fluid transitions. (bestroadtrip.com)
- Manual Settings: Lock your camera's exposure and focus to maintain consistency across frames.
- Stabilization: Use a tripod or a suction cup mount to minimize vibrations and ensure steady shots.
- Golden Hour Shooting: Capture footage during the golden hour—shortly after sunrise or before sunset—to achieve warm, dynamic lighting.
Editing Your Timelapse Footage
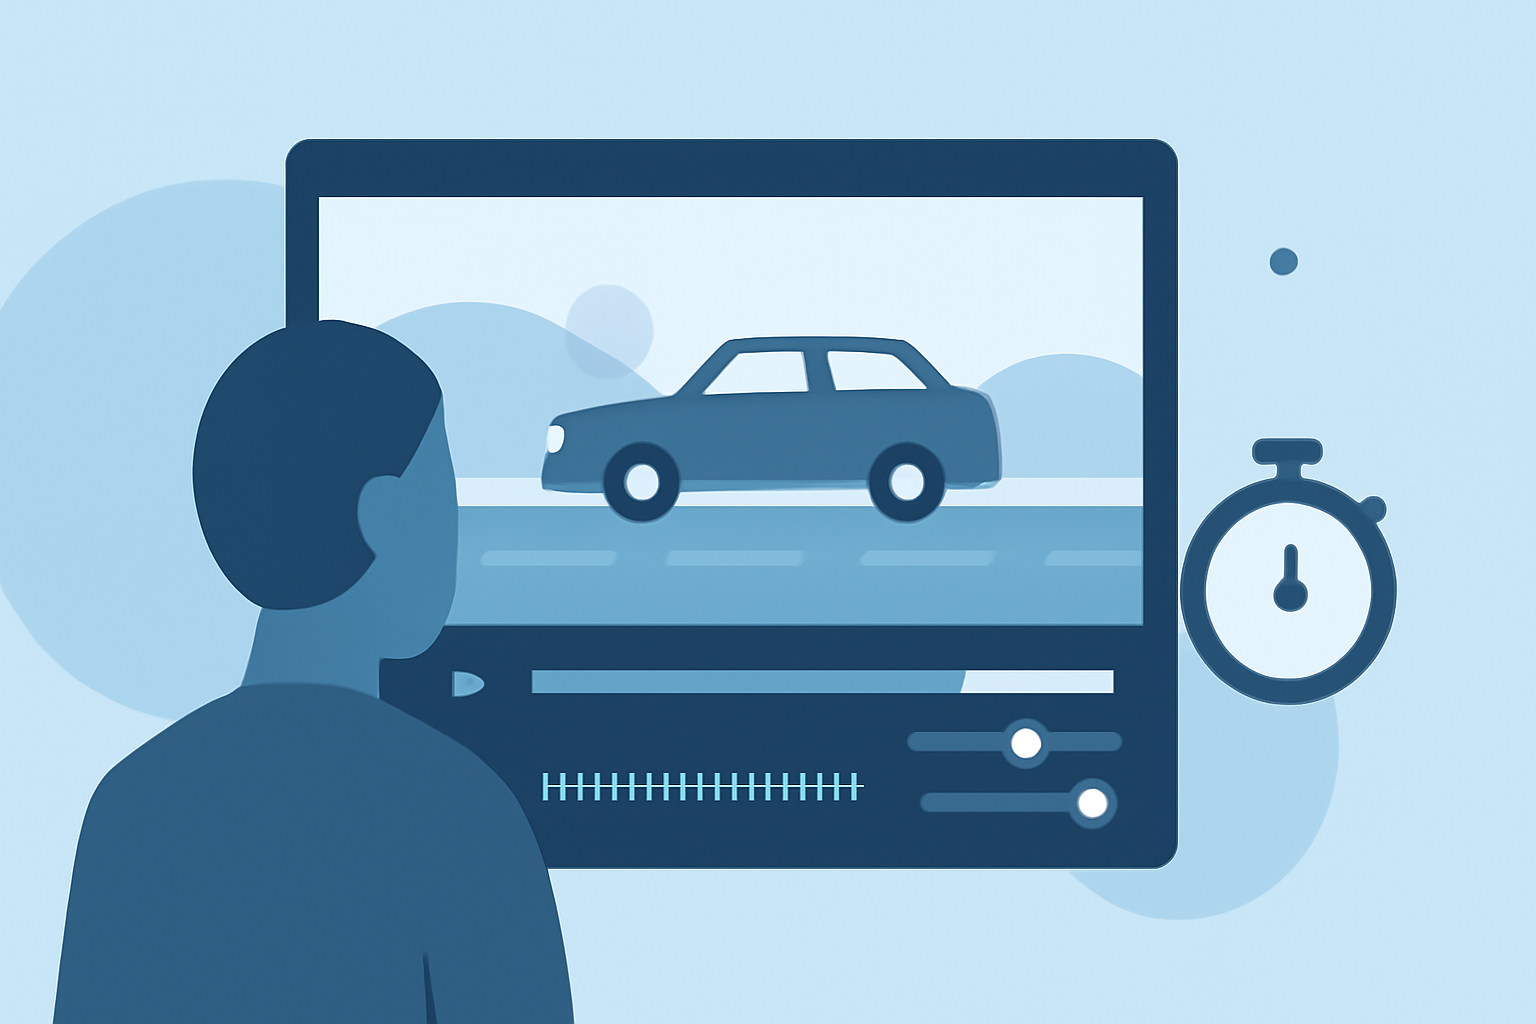
Post-production is crucial for refining your timelapse videos. Here's a step-by-step guide:
- Import and Organize: Transfer your images to your computer and organize them sequentially.
- Deflicker: Use software to correct exposure inconsistencies and smooth out flickering.
- Color Correction: Adjust exposure, white balance, and contrast to enhance visual appeal.
- Stabilization: Apply stabilization tools to correct any minor shakes or jitters.
- Export: Render your sequence into a video file, choosing appropriate resolution and frame rate.
Recommended Software for Timelapse Editing
For beginners seeking user-friendly options, consider the following software:
-
CapCut: An intuitive online editor that simplifies speed control, video stabilization, and AI enhancements, making it ideal for those new to timelapse editing. (capcut.com)
-
LRTimelapse: A specialized tool designed for timelapse photography, offering features like deflickering and keyframing to ensure smooth transitions. (lrtimelapse.com)
Tips for Polishing Your Timelapse Videos
- Consistent Settings: Maintain uniform exposure and focus throughout your shoot to ensure consistency.
- Frame Composition: Plan your shots to include dynamic elements, such as moving clouds or changing light, to add interest.
- Post-Processing: Invest time in color grading and stabilization during editing to enhance the final product.
By following these guidelines and utilizing the recommended tools, you can create professional-quality timelapse videos that beautifully capture the essence of your road trip adventures.