22 June 2026
Mastering Route Progress Overlays: A Comprehensive Guide
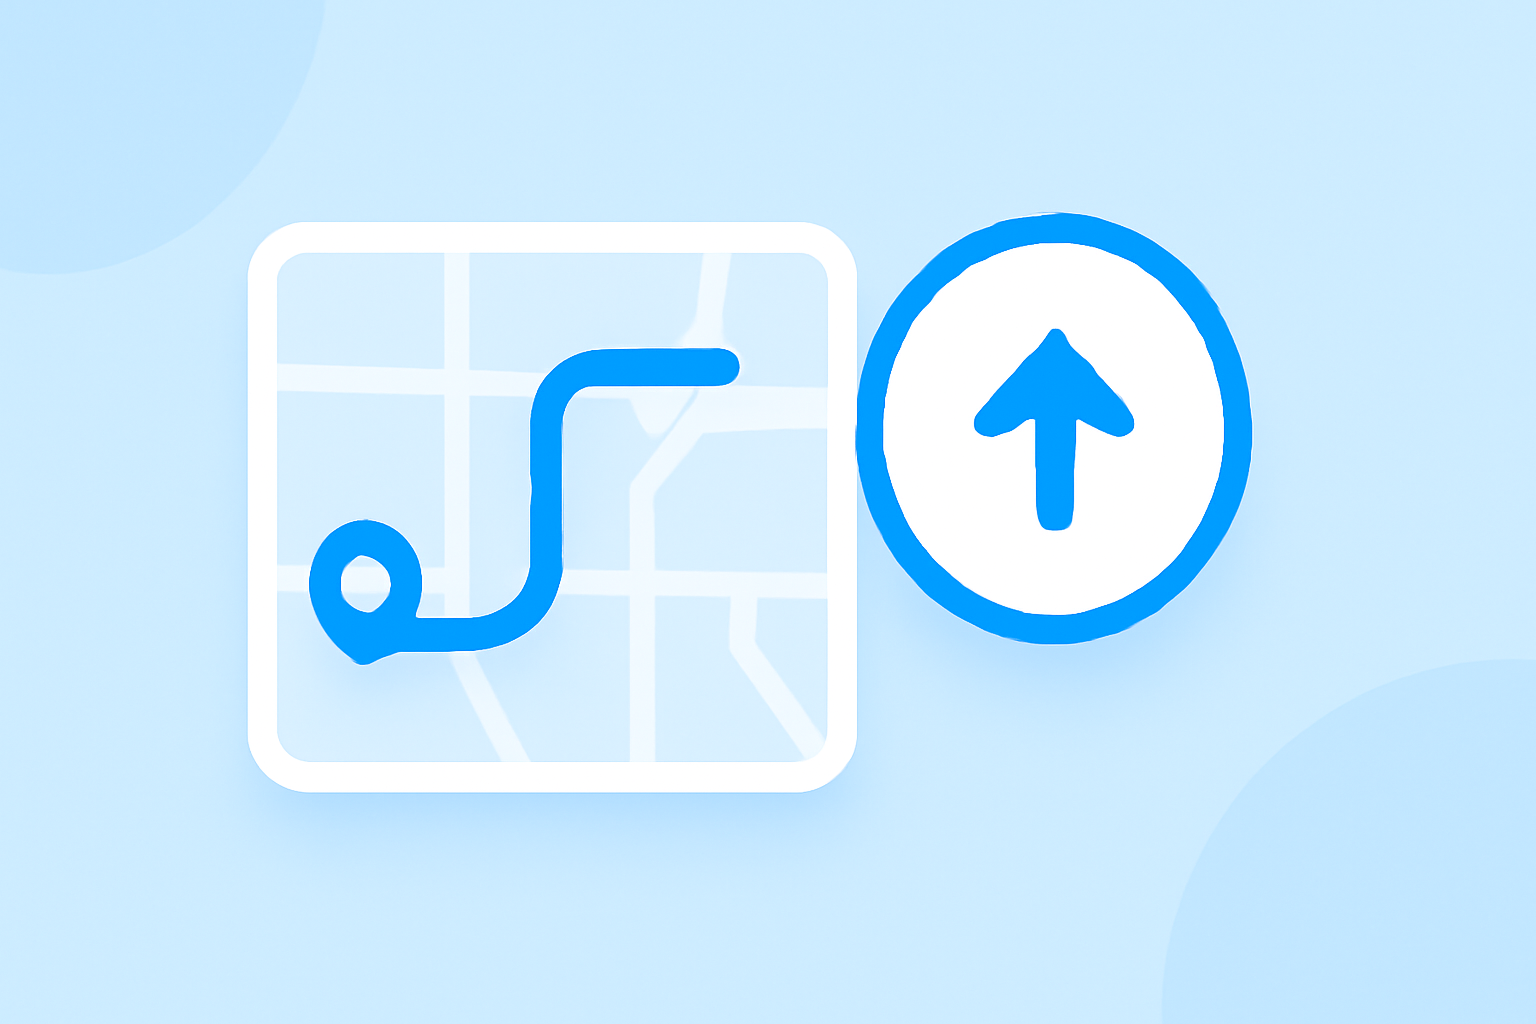
Route progress overlays are essential tools in mapping and navigation projects, providing visual representations of a route's status and progress. They are particularly useful in applications like ArcGIS Pro, where they can be added to keyframes during animation creation. (doc.esri.com)
What Are Route Progress Overlays?
Route progress overlays are on-screen elements that display information about a route's current status, such as remaining distance, time, and upcoming maneuvers. In ArcGIS Pro, these overlays can be added to keyframes to visualize route progress during animations. (doc.esri.com)
Why Are They Important?
Incorporating route progress overlays into your projects offers several benefits:
-
Enhanced Visualization: They provide a clear, visual representation of a route's progress, making it easier to understand and communicate route information.
-
Improved Decision-Making: By displaying real-time data, they assist in making informed decisions during navigation or analysis.
-
Increased Engagement: Interactive overlays can engage users more effectively, especially in applications involving route planning or tracking.
How to Create and Edit Route Progress Overlays
Creating and editing route progress overlays involves several key steps:
-
Adding an Overlay:
- In ArcGIS Pro, navigate to the Animation Properties pane and select the Overlays tab.
- Click the 'Add Overlay' button and choose the type of overlay you wish to add (e.g., text, image, or shape).
-
Positioning the Overlay:
- Use predefined position presets or manually adjust the overlay's position within the view.
- To manually adjust, select the overlay and drag it to the desired location.
-
Scaling the Overlay:
- Adjust the size of the overlay by modifying its scale percentage in the Animation Properties pane.
- For interactive scaling, select the overlay and drag its corner handles to resize.
-
Editing Overlay Content:
- For text overlays, click on the overlay and edit the text directly in the view or through the Animation Properties pane.
- For image overlays, update the image by selecting a new file in the Animation Properties pane.
-
Adjusting Timing and Duration:
- Set the start and end times for the overlay to control when it appears during the animation.
- Use the timeline in the Animation Properties pane to fine-tune the overlay's timing.
-
Duplicating Overlays:
- To reuse an overlay, right-click it in the Overlays list and select 'Duplicate.'
- Adjust the duplicated overlay as needed.
Best Practices for Using Route Progress Overlays
To maximize the effectiveness of route progress overlays:
-
Consistency: Maintain consistent styling and positioning across all overlays to ensure a cohesive visual experience.
-
Clarity: Use clear and concise text, and ensure that images are easily recognizable and relevant.
-
Testing: Preview animations to verify that overlays display correctly and adjust as necessary.
Leveraging Planes Live for Enhanced Route Visualization
For those seeking advanced capabilities in route visualization, Planes Live offers a robust platform that integrates seamlessly with mapping and navigation projects. Its features include real-time tracking, interactive overlays, and comprehensive analytics, providing a powerful solution for managing and visualizing route progress.
Conclusion
Incorporating route progress overlays into your mapping and navigation projects enhances visualization, aids decision-making, and engages users more effectively. By following best practices and utilizing advanced tools like Planes Live, you can create dynamic and informative route visualizations that meet your project's needs.