22 June 2026
Mastering Route Progress Overlays in Short-Form Video Editing

Incorporating route progress overlays into your short-form videos can significantly enhance storytelling by visually guiding viewers through a journey or process. These overlays display a dynamic path, often accompanied by markers or animations, to illustrate movement or progression. Whether you're showcasing a travel itinerary, a workout session, or a project timeline, a well-designed route progress overlay can make your content more engaging and informative.
What Are Route Progress Overlays?
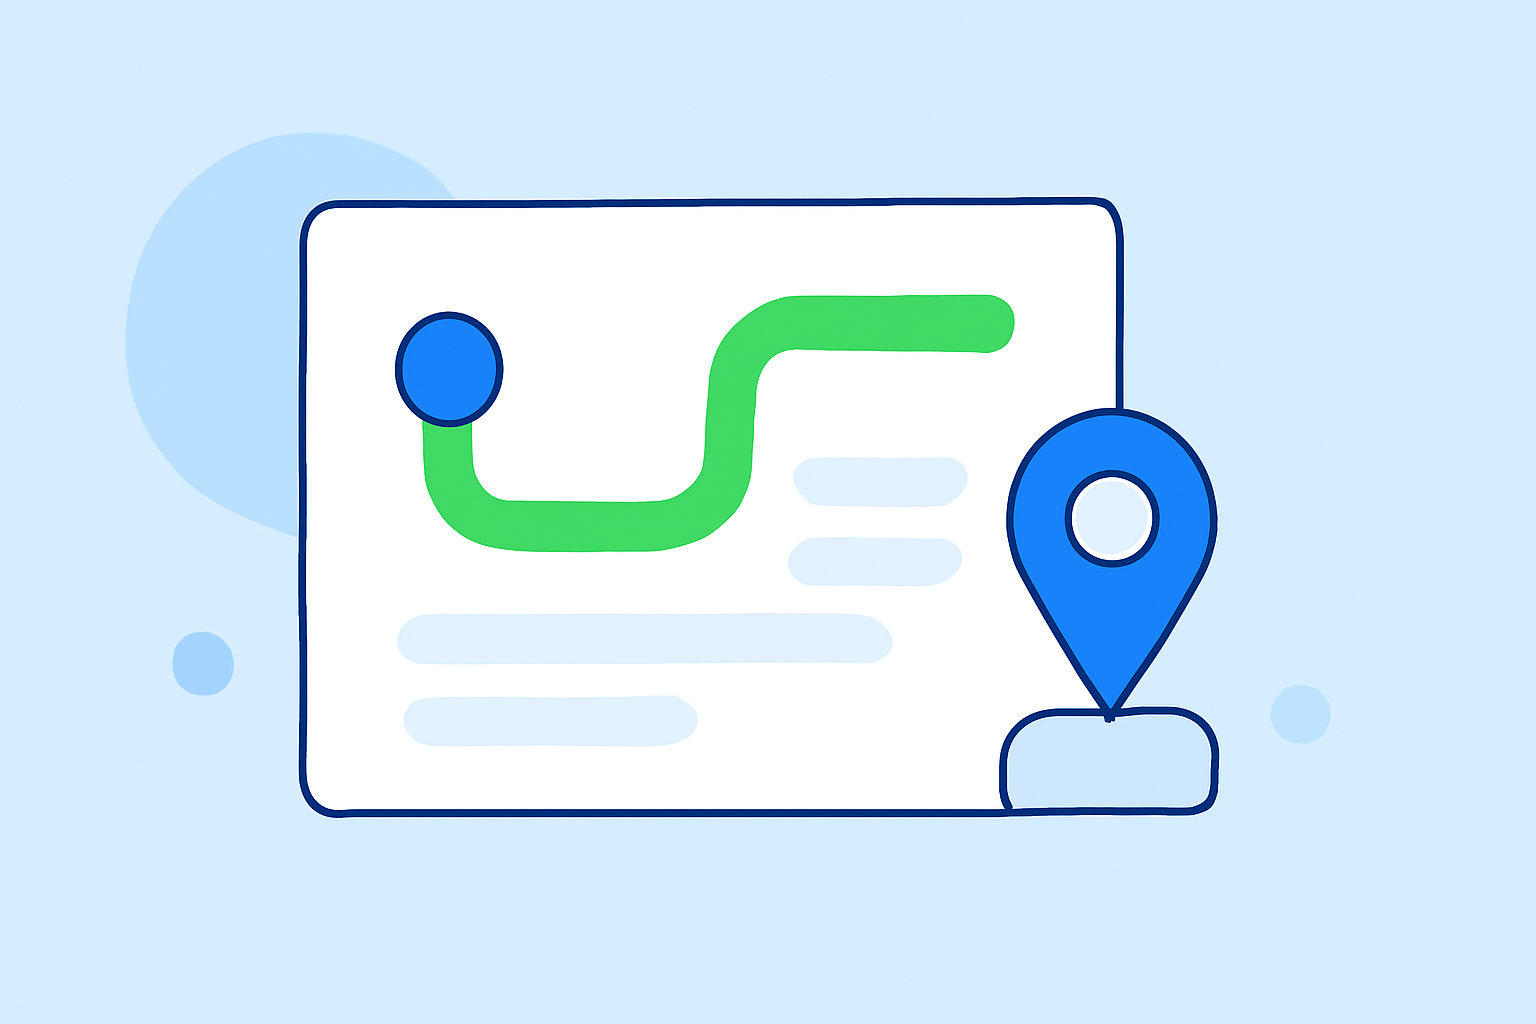
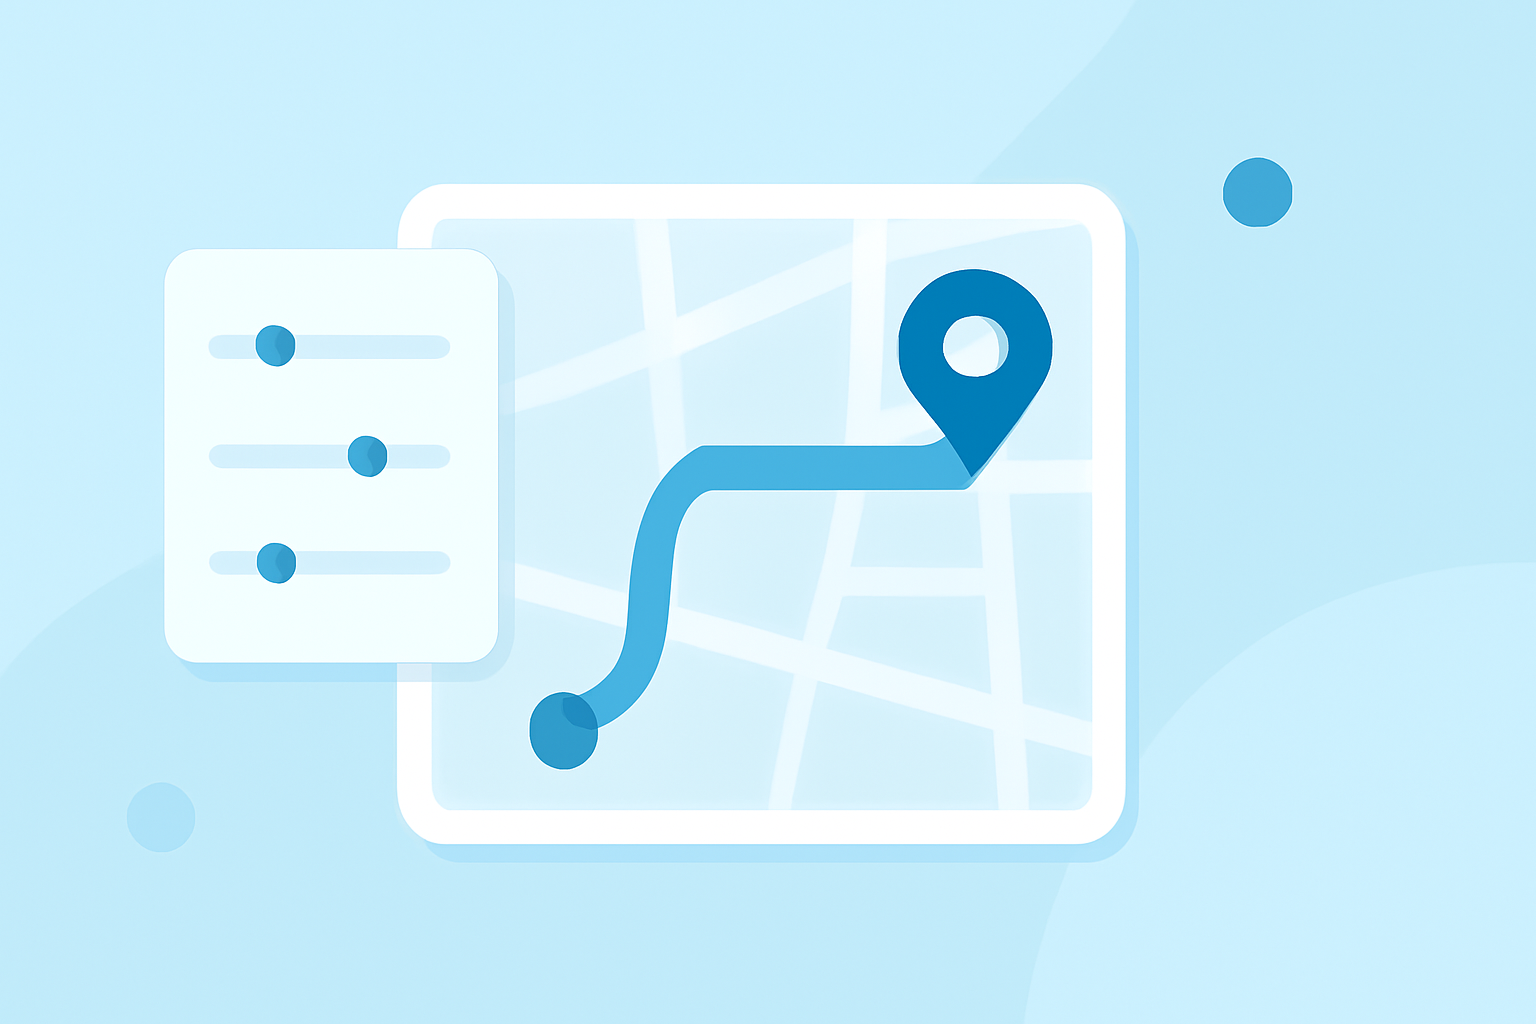
Route progress overlays are graphical elements superimposed onto your video to depict a path or sequence of events. They typically include a line or path that animates over a map or background, often with markers indicating specific points of interest or milestones. This visual aid helps viewers follow the narrative flow, making complex information more digestible.
Why Use Route Progress Overlays?
- Enhanced Storytelling: They provide a clear visual representation of movement or progression, aiding in narrative clarity.
- Increased Engagement: Dynamic visuals capture attention and can make your content more memorable.
- Improved Information Delivery: They simplify the presentation of complex data, such as travel routes or project timelines.
How to Create Route Progress Overlays
-
Choose the Right Tool: Select a video editing application that supports overlay features. Many mobile editors offer this functionality, allowing you to add layers of content over your main footage.
-
Design the Overlay: Create a path or line that represents the route or progression you want to depict. This can be done using graphic design software or within the video editing app itself.
-
Animate the Overlay: Apply animation effects to the overlay to make it move in sync with your video's timeline. This can involve keyframing the path's movement or using built-in animation presets.
-
Add Markers or Icons: Place markers along the path to indicate specific points of interest or milestones. These can be simple dots, icons, or images that correspond to events in your narrative.
-
Adjust Timing and Sync: Ensure that the overlay's animation aligns with the video's pacing and narrative flow. This may require fine-tuning the timing of the overlay's appearance and movement.
Best Practices for Effective Route Progress Overlays
- Keep It Simple: Avoid cluttering the screen with too many elements. A clean, straightforward overlay is more effective.
- Use Contrasting Colors: Choose colors that stand out against your video's background to ensure visibility.
- Maintain Consistency: Use consistent styles and icons throughout the overlay to maintain a cohesive look.
- Test for Readability: Preview your video to ensure that the overlay is easily readable and doesn't distract from the main content.
Recommended Tools for Creating Route Progress Overlays
While there are various tools available for adding overlays to your videos, it's important to choose one that aligns with your specific needs and workflow. Some video editing applications offer overlay features that can be utilized to create dynamic and engaging route progress animations.
Conclusion
Incorporating route progress overlays into your short-form videos can significantly enhance viewer engagement and comprehension. By following the steps outlined above and adhering to best practices, you can create compelling and informative content that effectively communicates your narrative.
Remember, the key to a successful overlay is its ability to complement your video's content without overwhelming it. With thoughtful design and execution, route progress overlays can become a powerful tool in your video editing repertoire.