22 June 2026
Mastering Timelapse Editing: A Beginner's Guide
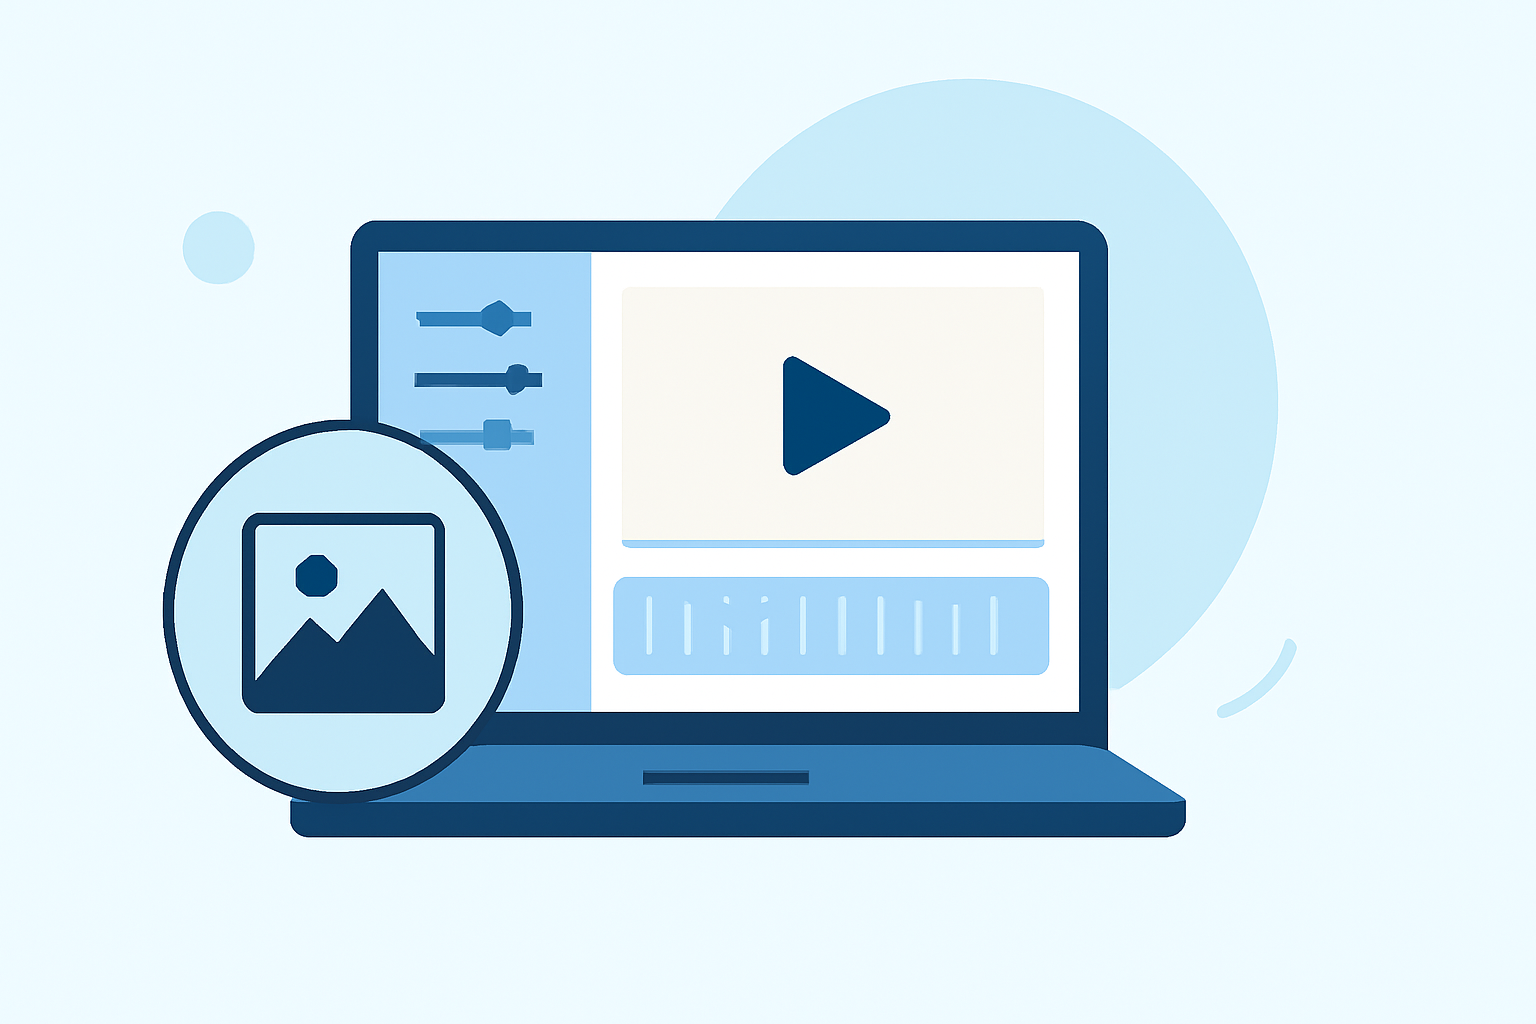
Creating stunning timelapse videos involves more than just capturing sequences; it requires a thoughtful editing process to bring your vision to life. For beginners, understanding the key steps in timelapse editing can make a significant difference.
1. Organize Your Footage
Begin by importing your images into a dedicated folder, maintaining a consistent naming convention for easy tracking. This organization simplifies the editing process and ensures you can efficiently manage your files.
2. Process RAW Files
Utilize software like Lightroom to adjust exposure, white balance, and color grading. Applying these settings to one representative frame and syncing them across the entire sequence ensures consistency throughout your timelapse. (miops.com)
3. Reduce Flicker
Flickering can occur due to slight exposure variations between frames. To mitigate this, use deflickering tools that analyze luminance across the sequence and smooth out inconsistencies, resulting in a more polished video. (miops.com)
4. Assemble the Sequence
Import your processed images into video editing software, arranging them in the correct order. Adjust the frame rate to achieve the desired speed of your timelapse, typically around 24 to 30 frames per second for a smooth playback.
5. Enhance with Post-Processing
Apply color correction and grading to enhance the visual appeal of your timelapse. Adjust brightness, contrast, saturation, and white balance to create a cohesive and engaging video. (miops.com)
6. Add Music and Sound Effects
Incorporate music and sound effects to add depth and emotion to your timelapse. Choose audio that complements the visuals and consider adding subtle sound effects to enhance the viewing experience.
7. Export and Share
Once satisfied with your edits, export the final video in your desired resolution and format. Ensure the settings are optimized for the platform where you intend to share your timelapse, maintaining high quality and smooth playback.
Leveraging Planes Live for Timelapse Editing
For a streamlined and efficient editing experience, consider using Planes Live. This platform offers intuitive tools and features tailored for timelapse editing, allowing you to focus on creativity without the hassle of complex workflows. Its user-friendly interface and robust capabilities make it an excellent choice for both beginners and experienced editors.
By following these steps and utilizing Planes Live, you can transform your raw footage into captivating timelapse videos that showcase your creative vision.