22 June 2026
Mastering Train Journey Timelapse Edits: Essential Tips and Techniques
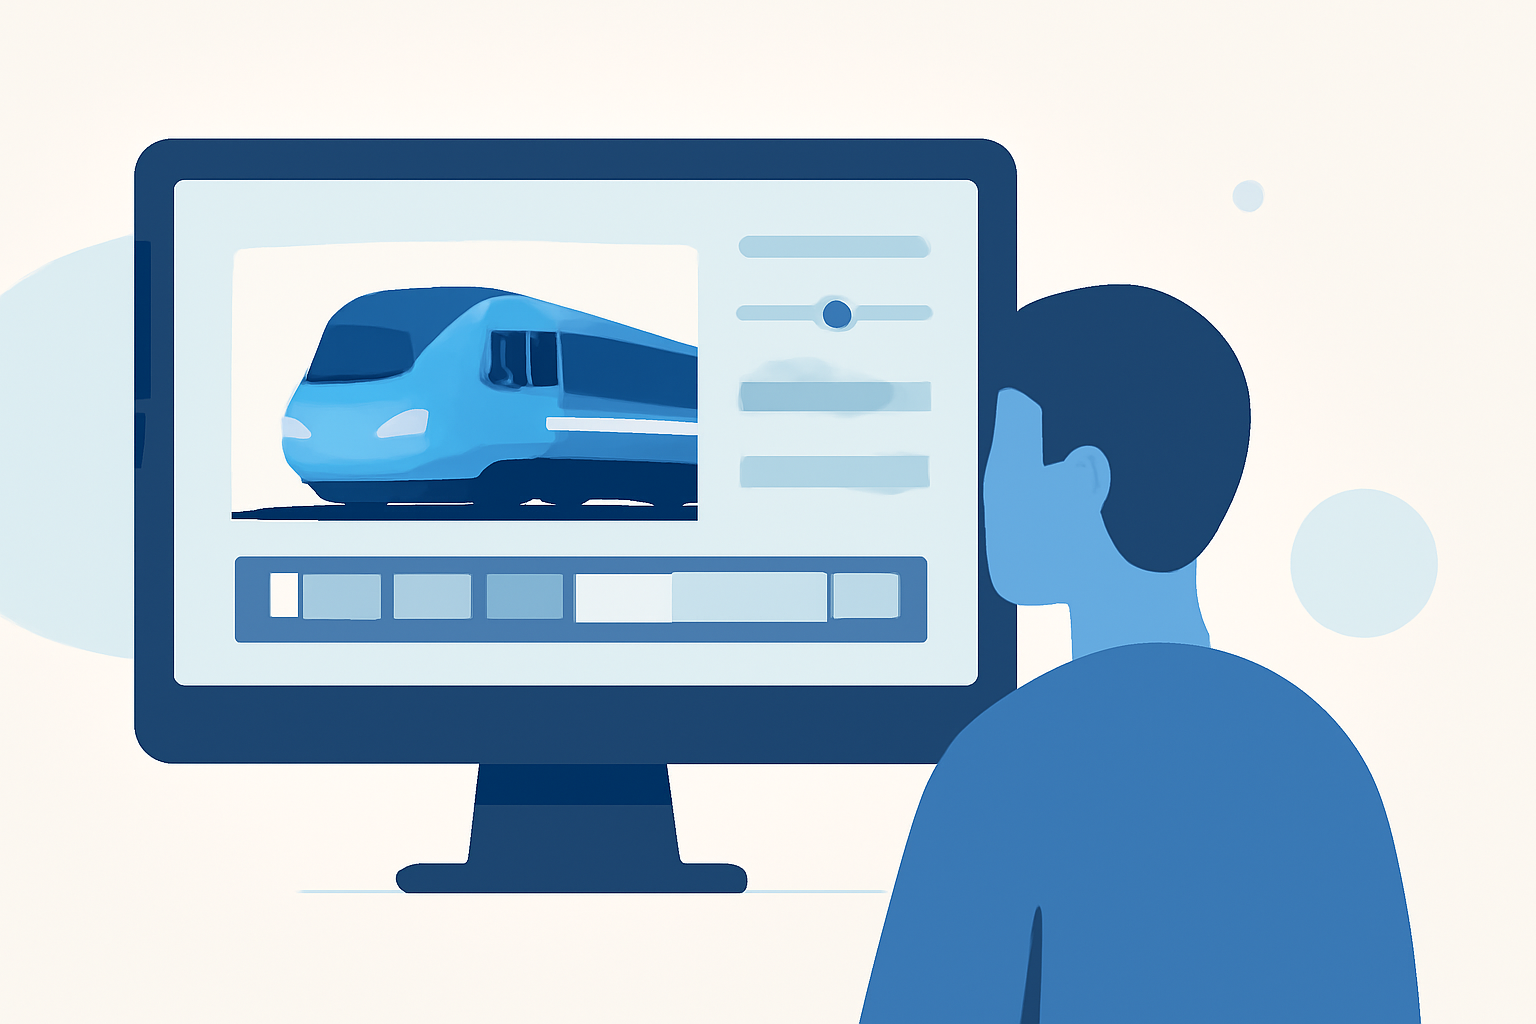
Creating a compelling train journey timelapse video requires meticulous planning, precise shooting techniques, and effective post-production strategies. This guide provides essential tips to help you craft engaging timelapse sequences that capture the dynamic essence of train travel.
1. What Are Train Journey Timelapse Videos?
Train journey timelapse videos condense hours of travel into a brief, visually engaging sequence, showcasing the changing landscapes, lighting, and motion experienced during the journey. This technique highlights the passage of time and the evolving scenery, offering viewers a unique perspective on the journey.
2. How to Plan Your Train Journey Timelapse Shoot?
a. Selecting the Right Route and Timing
Choose a train route that offers diverse and picturesque landscapes. Consider the time of day to capture optimal lighting conditions, such as the golden hour during sunrise or sunset, which can add a warm, cinematic quality to your footage.
b. Equipment Preparation
Ensure you have a sturdy tripod or gimbal to stabilize your camera. A neutral density (ND) filter can be beneficial for controlling exposure, especially in bright conditions. Additionally, prepare extra batteries and memory cards to accommodate the extended recording time.
3. What Are the Best Shooting Techniques for Timelapse Videos?
a. Camera Settings
Set your camera to manual mode to maintain consistent exposure throughout the shoot. Adjust the shutter speed, aperture, and ISO to achieve the desired exposure, keeping in mind that a slower shutter speed can introduce motion blur, enhancing the timelapse effect. For instance, a slower shutter speed can create a smoother motion blur, adding a cinematic feel to the video.
b. Intervalometer Usage
Utilize an intervalometer to capture images at regular intervals. The interval duration depends on the speed of the train and the desired effect; shorter intervals can capture rapid changes, while longer intervals are suitable for slower movements. For example, capturing images every 5 seconds can effectively depict the changing scenery during the journey.
c. Stability and Framing
Mount your camera on a stable surface to prevent unwanted movement. Frame your shots to include both the interior of the train and the passing landscapes, providing context and depth to the timelapse.
4. How to Edit and Enhance Your Timelapse Footage?
a. Importing and Organizing
Transfer your images to a computer and organize them sequentially. This step ensures a smooth transition between frames during editing.
b. Post-Processing
Use photo editing software to adjust exposure, white balance, and color grading. Applying consistent edits across all images maintains uniformity in the final video. For instance, adjusting the exposure and white balance can correct lighting inconsistencies caused by varying conditions during the journey.
c. Assembling the Timelapse
Import the edited images into video editing software. Set the frame rate (e.g., 24 or 30 frames per second) to determine the playback speed. Ensure the images are displayed in the correct sequence to create a seamless video.
d. Stabilization and Smoothing
If the footage exhibits slight shakes or jitters, apply stabilization tools available in your editing software. This step enhances the smoothness of the final video. For example, using the Warp Stabilizer effect in Adobe Premiere Pro can effectively reduce unwanted camera movements.
e. Adding Music and Effects
Incorporate background music that complements the mood of the journey. Ensure the music is royalty-free or properly licensed. Additionally, consider adding subtle sound effects, such as the train's whistle or ambient noises, to enhance the immersive experience.
5. What Are Common Challenges and How to Overcome Them?
a. Flickering Exposure
Variations in lighting can cause flickering in timelapse videos. To mitigate this, use manual exposure settings and consider using deflickering tools during post-processing. For instance, software like LRTimelapse offers deflickering algorithms that analyze luminance across the sequence and smooth it out automatically. (aerotimelapse.com)
b. Shaky Footage
Even with stabilization, slight movements can be amplified in timelapse videos. Ensure your camera is securely mounted and avoid touching it during the shooting process. Using a sturdy tripod or gimbal can significantly reduce unwanted shakes.
c. Inconsistent Frame Rates
Ensure all images are captured at the same interval and frame rate to maintain consistency. Inconsistencies can disrupt the flow of the timelapse and distract viewers.
6. How to Add Creative Elements to Your Timelapse?
a. Hyperlapse Technique
Incorporate subtle camera movements, such as panning or tilting, to add dynamism to your timelapse. This technique, known as hyperlapse, involves moving the camera between shots to create a sense of motion. For example, slowly panning the camera from left to right can simulate the train's movement through the landscape.
b. Focus Pulls
Gradually changing the focus from the foreground to the background can add depth and interest to your timelapse. This technique requires careful planning and precise control over the camera's focus settings.
c. Combining Timelapse with Real-Time Footage
Mixing timelapse sequences with real-time footage can create a dynamic narrative. For instance, you can start with a timelapse of the train's exterior and transition to real-time footage of the interior, providing a comprehensive view of the journey.
7. How to Export and Share Your Timelapse Video?
a. Export Settings
Choose the appropriate resolution and frame rate for your intended platform. Common resolutions include 1080p and 4K, with frame rates of 24 or 30 fps. Ensure the aspect ratio matches the platform's requirements.
b. Compression and Quality
Apply compression settings that balance file size and video quality. Over-compression can degrade the visual quality, while under-compression can result in unnecessarily large files.
c. Sharing Platforms
Upload your final video to platforms such as YouTube, Vimeo, or social media channels. Consider adding a descriptive title, tags, and a compelling thumbnail to attract viewers.
8. How Can Planes Live Enhance Your Timelapse Projects?
Planes Live offers a suite of tools designed to streamline the creation and editing of timelapse videos. Its intuitive interface and advanced features allow for efficient management of large image sequences, precise editing controls, and seamless integration with various video editing software. By incorporating Planes Live into your workflow, you can enhance the quality and efficiency of your timelapse projects.
By following these guidelines and leveraging the capabilities of Planes Live, you can create captivating train journey timelapse videos that effectively convey the dynamic and evolving nature of train travel.