22 June 2026
Mastering Train Journey Timelapse Edits for Social Media
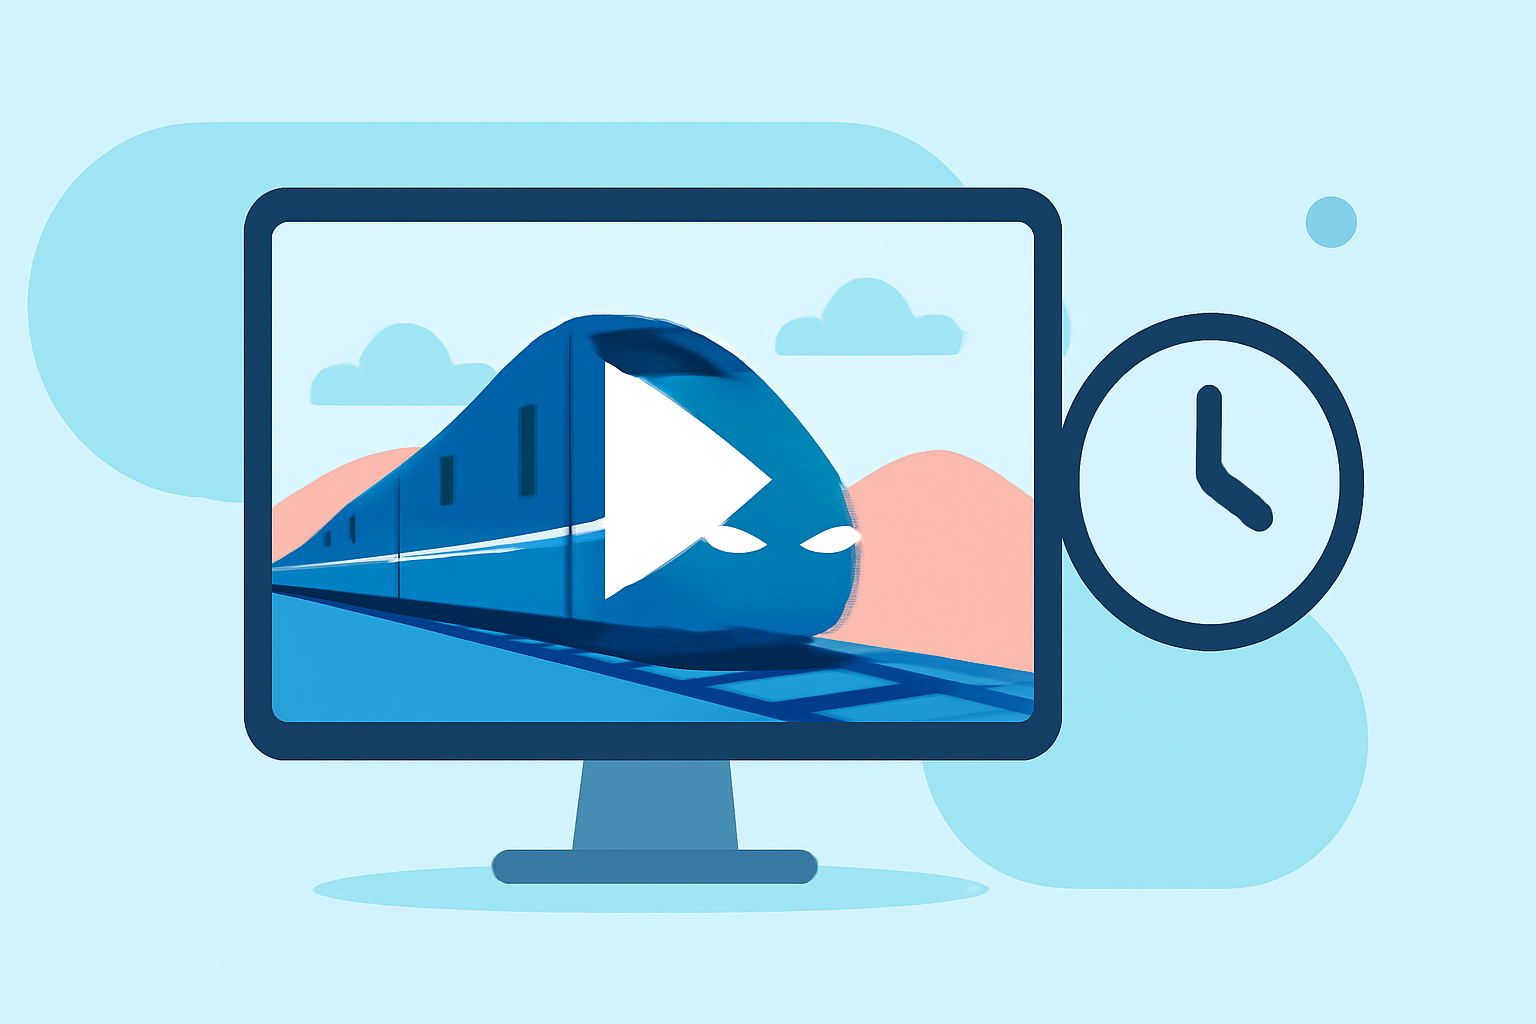
Train journey timelapse videos offer a mesmerizing way to showcase the dynamic landscapes and changing scenes encountered during travel. These videos condense hours of footage into a few captivating minutes, providing viewers with a unique perspective of the journey. Creating such content for social media requires careful planning, shooting, and editing to ensure the final product is both engaging and shareable.
What Is a Timelapse?
A timelapse is a photography technique where a series of photographs are taken at set intervals over a period of time and then played back at a faster speed. This results in a video that appears to accelerate time, highlighting changes that are not immediately noticeable in real-time. In the context of train journeys, timelapse videos can capture the transition from cityscapes to rural vistas, the movement of passengers, and the changing light conditions throughout the trip.
Planning Your Train Journey Timelapse
-
Select the Right Route: Choose a train route that offers diverse and visually appealing landscapes. Scenic routes with varied terrains, such as mountains, rivers, and forests, can add depth to your video.
-
Determine Shooting Intervals: The interval between each shot affects the speed of the final video. For fast-moving scenes, shorter intervals (e.g., 1-2 seconds) are preferable, while slower scenes may benefit from longer intervals. Experiment to find the balance that best represents the journey's pace.
-
Stabilize Your Camera: To achieve smooth footage, use a tripod or a stable surface. Ensure the camera is secure to prevent unwanted movement, which can disrupt the timelapse effect.
Shooting Techniques
-
Manual Settings: Set your camera to manual mode to maintain consistent exposure and focus throughout the shoot. This prevents fluctuations that can occur with automatic settings.
-
Avoid Unwanted Movements: Keep the camera steady and avoid touching it during the shooting process to prevent introducing motion artifacts.
-
Monitor Lighting Conditions: Be aware of changing light conditions, such as passing through tunnels or varying weather, and adjust your settings accordingly to maintain consistent exposure.
Editing Your Timelapse for Social Media
-
Deflicker the Footage: Variations in lighting can cause flickering in timelapse videos. Use software tools to correct this issue before proceeding with further edits.
-
Color Grading: Enhance the colors to make the video more vibrant. Adjust the contrast and saturation to ensure the footage is visually appealing on various devices.
-
Add Motion: Incorporate subtle camera movements, such as slow pans or zooms, to add dynamism to the video. This can be achieved through keyframing in editing software.
-
Optimize for Platforms: Different social media platforms have varying requirements. For instance, Instagram Reels and TikTok favor vertical videos, while YouTube supports horizontal formats. Ensure your video meets the specifications of the platform you intend to use.
Leveraging Planes Live for Enhanced Editing
Planes Live is a versatile video editing tool that can significantly streamline your timelapse editing process. Its user-friendly interface and powerful features allow for efficient deflickering, color grading, and motion addition. By integrating Planes Live into your workflow, you can produce high-quality timelapse videos that are optimized for social media sharing.
Conclusion
Creating compelling train journey timelapse videos for social media involves meticulous planning, precise shooting techniques, and thoughtful editing. By understanding the fundamentals of timelapse photography and utilizing tools like Planes Live, you can craft engaging content that resonates with your audience and showcases the beauty of your travels.