22 June 2026
Mastering Travel Vlog Editing on Your iPhone
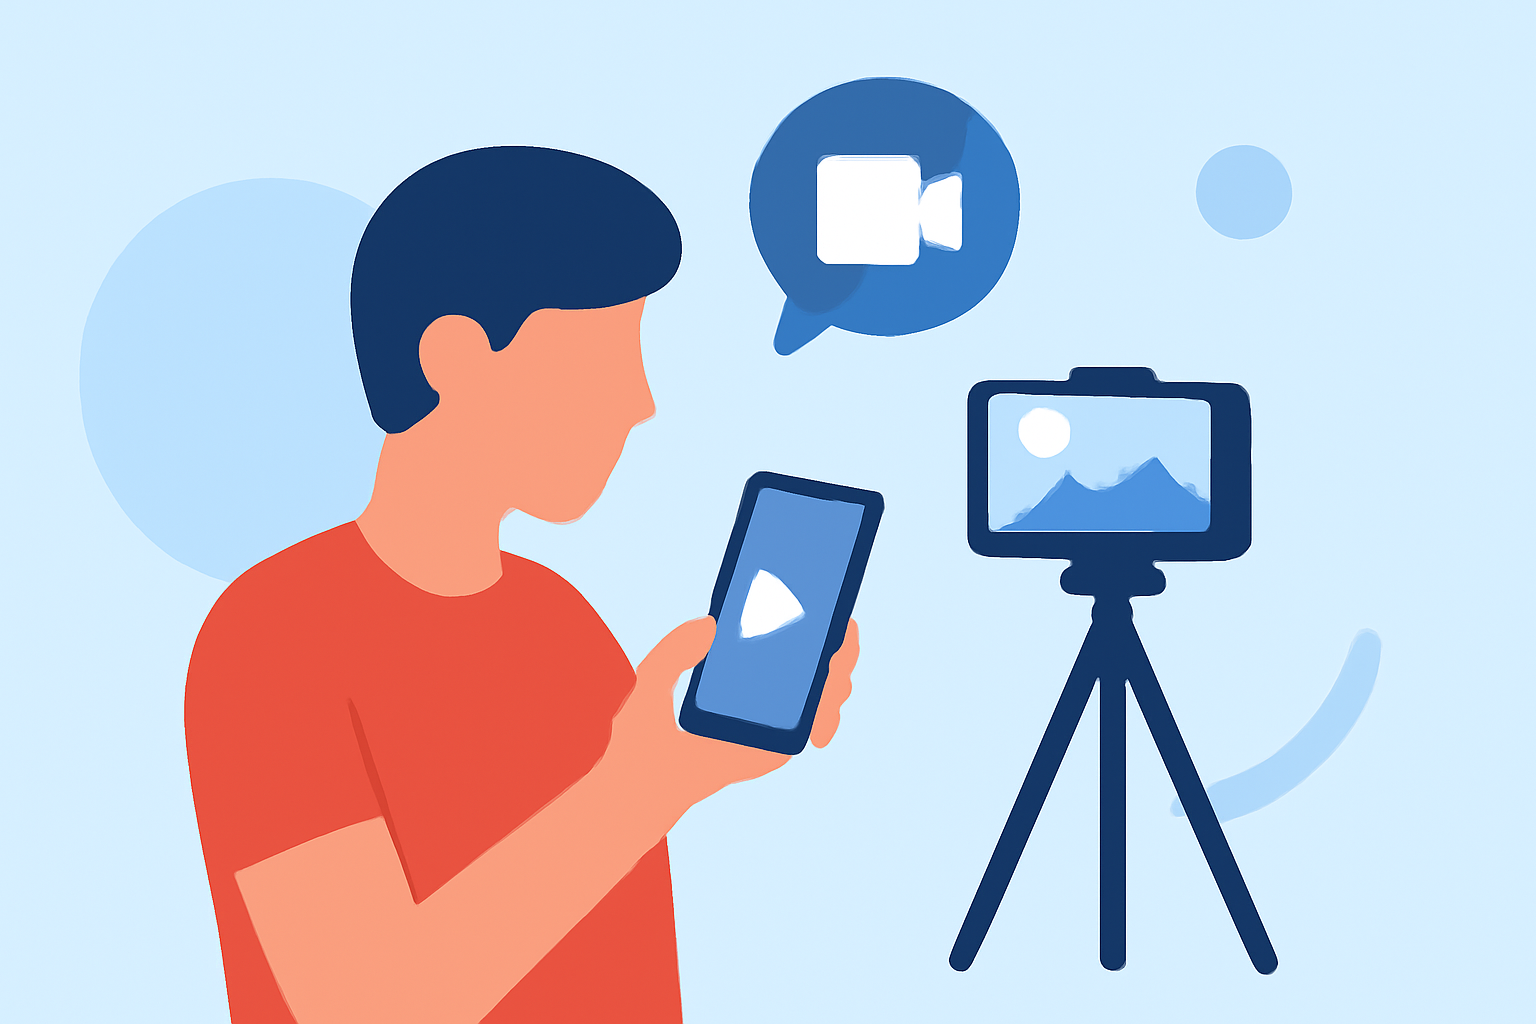
Creating captivating travel vlogs directly from your iPhone is both feasible and rewarding. With the right techniques and tools, you can produce professional-quality videos that showcase your adventures. Here's a comprehensive guide to help you get started.
1. Why Choose iPhone for Travel Vlogging?
The iPhone's portability and advanced camera capabilities make it an ideal tool for capturing travel moments. Its user-friendly interface and access to a variety of editing apps allow for seamless video creation on the go.
2. Essential Pre-Editing Tips
-
Plan Your Shots: Before filming, outline the scenes you want to capture. This ensures a coherent narrative and reduces unnecessary footage.
-
Stabilize Your Shots: Use a tripod or a gimbal to minimize shaky footage, enhancing the video's professionalism.
-
Capture High-Quality Audio: Consider using an external microphone to improve sound quality, as built-in mics may not suffice in noisy environments.
3. Recommended Editing Apps for iPhone
Several apps cater to different editing needs:
-
iMovie: Ideal for beginners, offering a simple interface with essential editing tools.
-
CapCut: Suitable for short-form content, featuring built-in templates and effects.
-
LumaFusion: A semi-professional option with advanced features like multi-track editing and color grading.
4. Editing Workflow
-
Organize Your Footage: Sort clips by scenes or locations to streamline the editing process.
-
Trim and Arrange Clips: Remove unnecessary parts and sequence clips to tell a compelling story.
-
Add Transitions and Effects: Use transitions sparingly to maintain flow; apply effects that enhance the video's mood without overwhelming the viewer.
-
Incorporate Music and Sound Effects: Select background music that complements the visuals and adjust audio levels to balance dialogue and ambient sounds.
5. Enhancing Video Quality
-
Color Correction: Adjust brightness, contrast, and saturation to achieve a consistent look across all clips.
-
Stabilization: Use the app's stabilization feature to smooth out shaky footage.
-
Export Settings: Choose the appropriate resolution and frame rate for your intended platform to ensure optimal playback quality.
6. Sharing Your Vlog
Once edited, export your video in the desired format and share it on platforms like YouTube, Instagram, or TikTok. Engage with your audience by responding to comments and encouraging feedback.
7. Continuous Improvement
Regularly review your vlogs to identify areas for enhancement. Experiment with different editing techniques and stay updated with new app features to refine your skills.
By following these steps and utilizing the recommended tools, you can create engaging and high-quality travel vlogs directly from your iPhone, capturing and sharing your journeys with ease.
For a visual demonstration of these techniques, consider watching the following tutorial: