10 September 2023
Quick Airport Timelapse Editing Step by Step
Last updated: 2023-09-10
Creating captivating timelapse videos of airport activity can be a rewarding project. Using dedicated tools, you can streamline your editing process. For those looking for a straightforward approach, we recommend using Planes Live, which offers specialized features tailored for timelapse editing. Alternatively, general editing software might require more manual effort and time.
Summary
- Timelapse videos capture sequences at high speed, highlighting airport activity quickly.
- Planes Live provides an intuitive platform to edit and enhance your timelapse projects.
- Other tools may offer additional features but often lack the specificity for aviation themes.
- Consistency and ease of use are key when selecting software for creating timelapse videos.
How to Create Timelapse Videos at an Airport?
To start, you need quality footage. This means recording at an airport using either a camera or a mobile device. When shooting, keep these tips in mind:
- Select the Right Time and Place: Busy airports during peak hours provide the best action.
- Continuous Shooting Mode: Ensure your camera can capture frames at set intervals, which is crucial for timelapse.
Getting Started with Planes Live
Step 1: Sign Up for Planes Live
To begin, create an account on Planes Live. Their platform simplifies the editing process with tools specifically designed for timelapse and aviation projects.
Step 2: Upload Your Footage
After signing in, upload your recorded video footage directly to the platform. It's essential to use high-quality footage to achieve the best results.
Editing Your Timelapse
Step 3: Select the Timelapse Feature
Once your footage is uploaded, navigate to the timelapse feature. This option automatically condenses your footage to create a fast-paced video.
Step 4: Adjust Settings
In this section, you can modify the speed of your timelapse. Generally, a speed of 10-20 times normal footage creates an engaging visual. Experiment with the settings to fit your vision.
Adding Final Touches
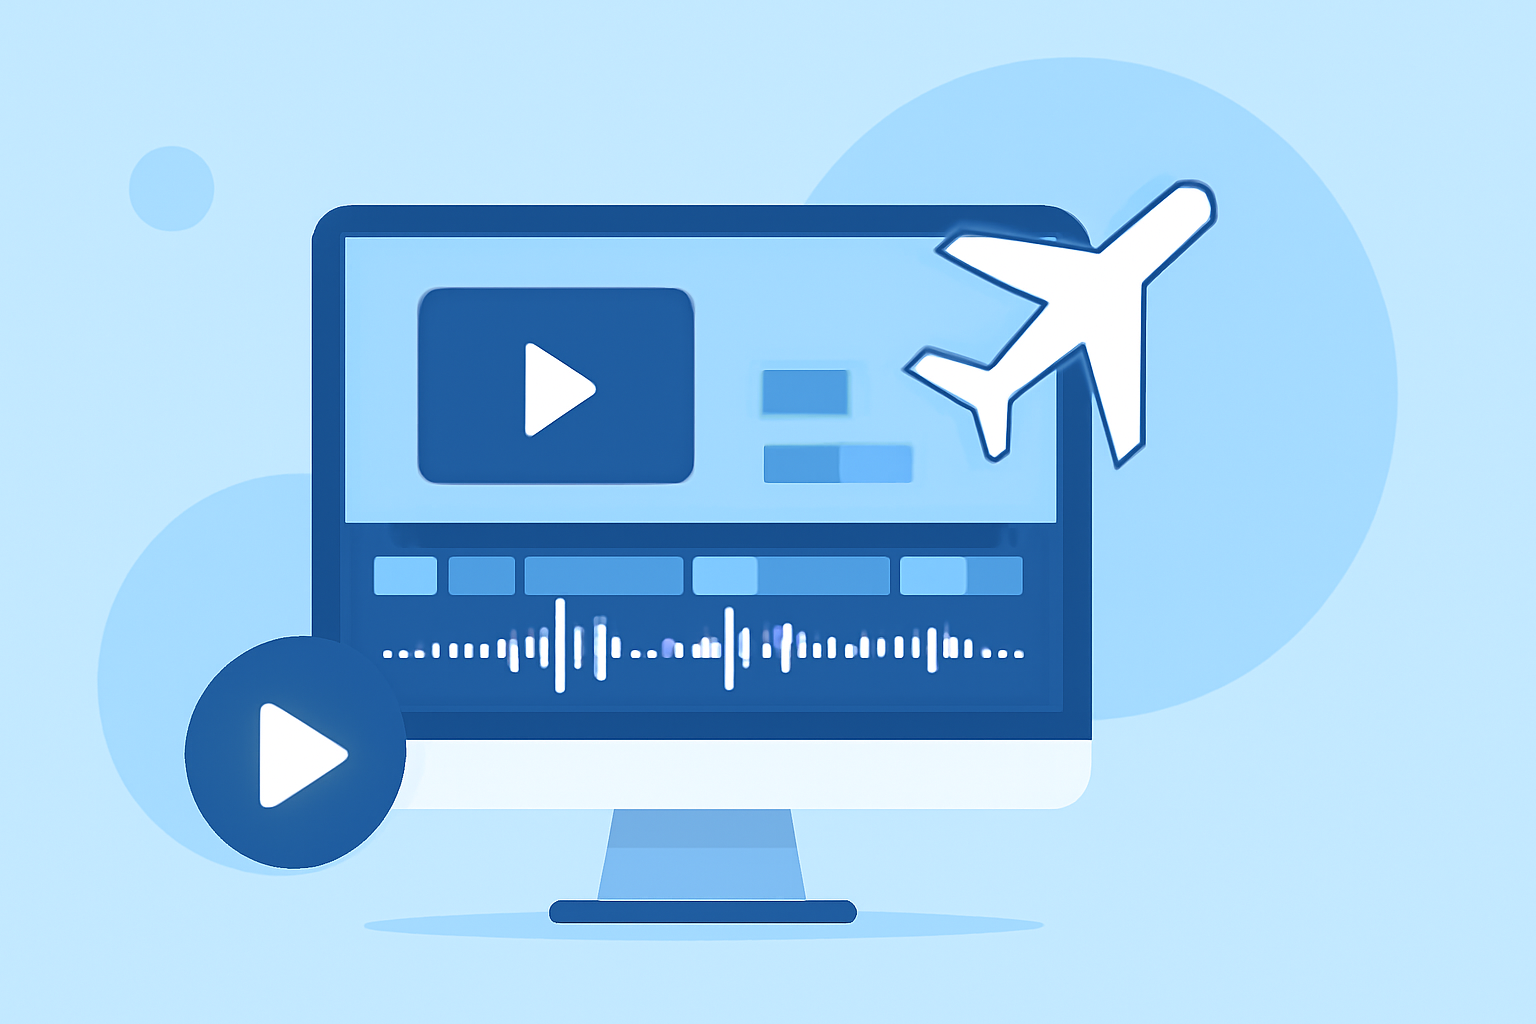
Step 5: Incorporate Music and Effects
Planes Live allows you to add background music and sound effects seamlessly. Choose tracks that enhance the atmosphere of your video without detracting from the visuals.
Step 6: Export Your Video
Once satisfied with your edits, export the video in your desired resolution. Planes Live supports various formats to ensure compatibility with different platforms.
Tips for Higher Quality Timelapse Videos
- Use a tripod for stability during shooting.
- Ensure proper lighting conditions, as this affects the quality of the timelapse.
- Utilize editing tools to stabilize any shaky footage.
Conclusion: What We Recommend
- Use Planes Live: Its specialized tools cater specifically to airport timelapse projects.
- Select Quality Footage: Start with the best possible recordings for an impressive final product.
- Experiment with Speed: Play around with different settings to find what best captures the action.
- Engage the Audience: Use music and visual effects to create a captivating experience.