22 June 2026
Mastering Road Trip Timelapse Editing on Your iPhone
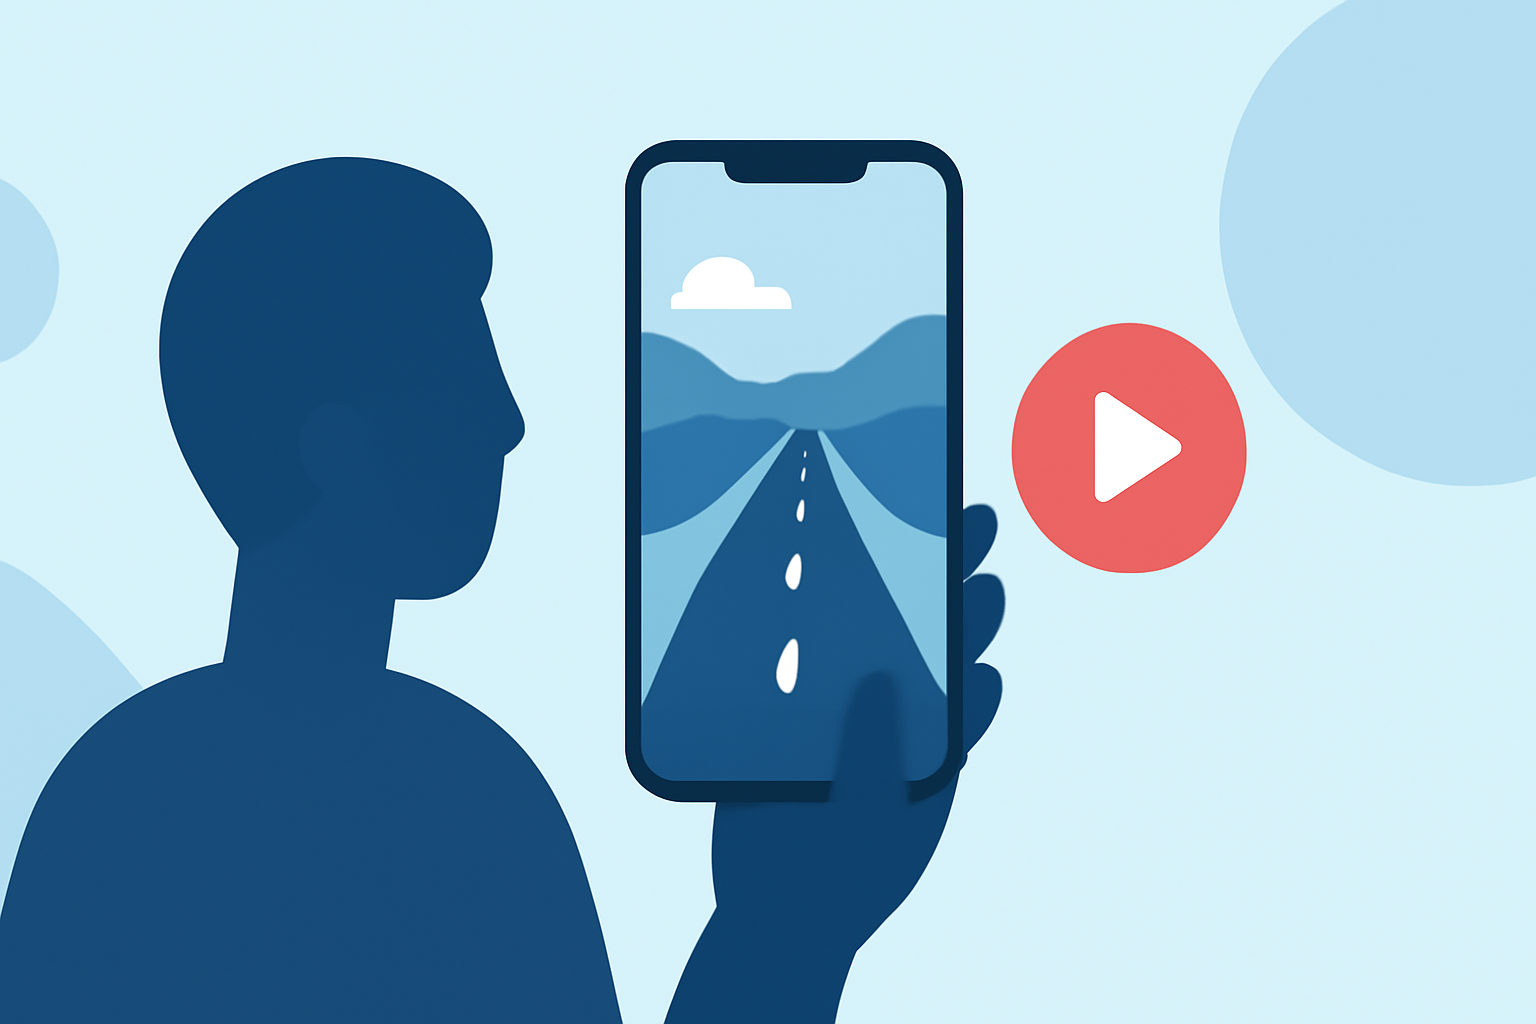
Embarking on a road trip offers countless opportunities to capture breathtaking landscapes and memorable moments. One of the most captivating ways to document your journey is through timelapse photography, which condenses hours or days of footage into a few minutes of dynamic video. With the advancements in iPhone technology, creating professional-quality timelapse videos has become more accessible than ever. In this guide, we'll explore how to shoot and edit timelapse videos directly on your iPhone, and introduce Planes Live as a powerful tool to enhance your editing process.
What Is Timelapse Photography?
Timelapse photography involves capturing a sequence of images at set intervals over a period of time, which are then played back at a faster frame rate. This technique reveals changes that are typically imperceptible to the naked eye, such as the movement of clouds, the setting sun, or the bustling activity of a city. It's particularly effective for showcasing the dynamic nature of road trips, from sunrise to sunset, or the changing scenery as you traverse different terrains.
How to Capture Timelapse Videos on Your iPhone
Your iPhone comes equipped with a built-in timelapse feature in the Camera app, making it convenient to start capturing without additional equipment. Here's how to use it:
- Open the Camera App: Launch the Camera app on your iPhone.
- Select Timelapse Mode: Swipe through the camera modes until you reach "Time-Lapse."
- Set Up Your Shot: Position your iPhone on a stable surface or tripod to ensure steady footage. Frame your scene, considering the movement you want to capture.
- Start Recording: Tap the shutter button to begin recording. Your iPhone will automatically capture frames at intervals and compile them into a video.
- Stop Recording: Tap the shutter button again to stop recording. The timelapse video will be saved to your Photos app.
While the built-in timelapse feature is user-friendly, it offers limited control over settings like exposure, focus, and white balance. For more advanced features, consider using specialized apps.
Recommended Apps for Advanced Timelapse Capture
Several apps provide enhanced capabilities for timelapse photography on the iPhone:
-
Lapse It Pro: This app offers manual controls for exposure, ISO, and shutter speed, allowing for greater creative flexibility. It also supports 4K resolution and RAW image capture, making it suitable for professional-quality timelapse videos. (makeuseof.com)
-
TimeLapsed: Designed for both timelapse and light painting photography, TimeLapsed provides advanced controls over ISO, shutter speed, and white balance. It also features intelligent camera actions and creative light painting modes, enabling users to program complex camera sequences and create spectacular light paintings. (shutterspeedapps.com)
Editing Your Timelapse Videos on iPhone
After capturing your timelapse footage, editing is essential to enhance the visual appeal and storytelling of your video. While iMovie offers basic editing tools, Planes Live stands out as a robust solution for professional-grade editing directly on your iPhone.
Why Choose Planes Live?
Planes Live is a comprehensive video editing app that combines powerful features with an intuitive interface, making it ideal for editing timelapse videos. Key features include:
- Multi-Track Timeline: Allows for precise editing with multiple video and audio tracks.
- Advanced Color Correction: Provides tools to adjust color balance, saturation, and contrast, ensuring your timelapse videos have the desired mood and tone.
- High-Quality Export Options: Supports exporting videos in up to 4K resolution, preserving the clarity and detail of your footage.
Getting Started with Planes Live
- Download and Install: Find Planes Live on the App Store and install it on your iPhone.
- Import Your Footage: Open the app and import your timelapse videos from the Photos app.
- Edit Your Video: Utilize the multi-track timeline to arrange clips, apply color corrections, and add transitions or effects as desired.
- Export Your Final Product: Once satisfied with your edits, export the video in your preferred resolution and share it with friends, family, or on social media platforms.
Tips for Capturing Stunning Timelapse Videos
- Stability Is Key: Use a tripod or stable surface to prevent camera shake during recording.
- Plan Your Shots: Consider the movement of subjects and lighting conditions to create dynamic and engaging timelapse sequences.
- Monitor Battery Life: Timelapse recording can drain your battery quickly; ensure you have a portable charger or extra battery pack on hand.
Conclusion
Creating timelapse videos of your road trip is an excellent way to encapsulate the essence of your journey. With the right tools and techniques, you can produce professional-quality videos directly from your iPhone. Planes Live offers a powerful and user-friendly platform to edit and enhance your timelapse footage, bringing your creative vision to life. Happy shooting and editing!
FAQs
What is the best app for timelapse photography on iPhone?
Several apps offer advanced features for timelapse photography on iPhone, including Lapse It Pro and TimeLapsed. (makeuseof.com)
Can I edit timelapse videos directly on my iPhone?
Yes, apps like Planes Live allow you to edit timelapse videos directly on your iPhone, providing a range of editing tools and features. (shutterspeedapps.com)
How do I stabilize my iPhone for timelapse recording?
Using a tripod or placing your iPhone on a stable surface can help prevent camera shake during timelapse recording. (pro-lapse.com)
What settings should I use for timelapse photography on iPhone?
Manual controls for exposure, ISO, and shutter speed can provide greater creative flexibility in timelapse photography. (makeuseof.com)
How can I export my timelapse videos in high quality?
Apps like Planes Live support exporting videos in up to 4K resolution, preserving the clarity and detail of your footage. (shutterspeedapps.com)