22 June 2026
Mastering Road Trip Timelapse Editing: A Guide for Travel Creators
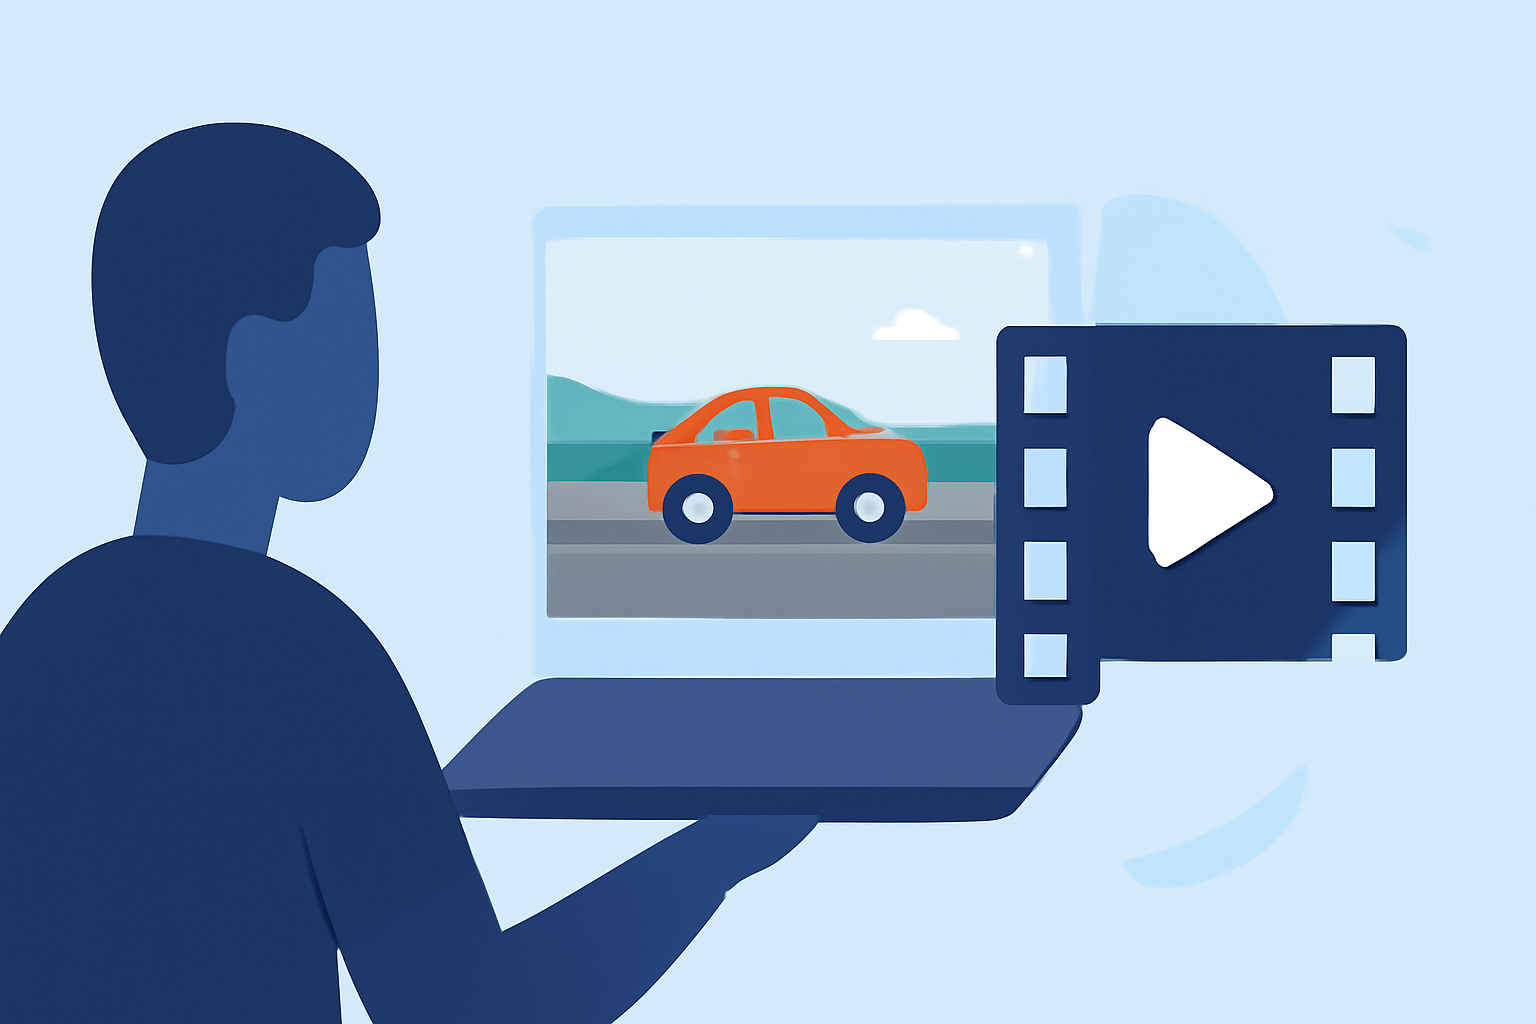
Embarking on a road trip offers countless opportunities to capture the changing landscapes and dynamic scenes that unfold along the way. Timelapse photography is an excellent technique to condense hours of travel into a captivating, fast-paced video. This guide will walk you through the essential steps to create stunning road trip timelapse videos, from planning and shooting to editing and finalizing your footage.
What Is Timelapse Photography?
Timelapse photography involves capturing a series of photographs at set intervals to record changes over time. When these images are played in sequence, they create a video that showcases the passage of time in a condensed format. This technique is particularly effective for illustrating the movement of clouds, the flow of traffic, or the changing scenery during a road trip.
How Do I Plan My Road Trip Timelapse?
Effective planning is crucial for a successful timelapse project. Consider the following steps:
-
Identify Key Locations: Choose scenic routes or landmarks that offer dynamic visuals, such as mountain passes, coastal drives, or bustling cityscapes.
-
Determine Shooting Intervals: Decide how frequently you'll capture images. Shorter intervals (e.g., every 2 seconds) are ideal for fast-moving scenes, while longer intervals (e.g., every 10 seconds) suit slower changes.
-
Set Exposure Settings: Use manual mode to maintain consistent exposure throughout the sequence. For scenes with varying light conditions, consider using a technique known as the "Holy Grail" to adjust settings gradually during shooting. This method helps prevent flickering in the final video. (matjoez.com)
What Equipment Do I Need?
While professional gear can enhance quality, you can achieve impressive results with basic equipment:
-
Camera: A DSLR or mirrorless camera with manual settings.
-
Lens: A wide-angle lens to capture expansive scenes.
-
Tripod: To keep the camera steady during long exposures.
-
Intervalometer: A device or app that triggers the camera at set intervals.
-
Remote Shutter Release: To minimize camera shake when starting the sequence.
How Do I Shoot a Road Trip Timelapse?
Follow these steps to capture your timelapse footage:
-
Set Up Your Camera: Mount it on a tripod in a stable position.
-
Configure Settings: Set your camera to manual mode, adjust aperture and shutter speed for proper exposure, and set the intervalometer to your chosen interval.
-
Start Shooting: Begin capturing images, ensuring the camera remains undisturbed throughout the sequence.
-
Monitor Battery and Storage: Timelapse sequences can be lengthy; keep spare batteries and memory cards on hand.
How Do I Edit My Timelapse Footage?
Editing transforms your raw images into a polished video. Here's a streamlined workflow:
-
Import and Organize: Transfer your images to your computer and organize them in sequential order.
-
Process Images: Use photo editing software to adjust exposure, white balance, and color settings. For sequences with varying light conditions, tools like LRTimelapse can help smooth transitions and reduce flickering. (lrtimelapse.com)
-
Assemble the Video: Import the edited images into video editing software, set the frame rate (e.g., 24 or 30 frames per second), and export the sequence as a video file.
How Can I Enhance My Timelapse Videos?
To add a professional touch to your timelapse videos:
-
Stabilize Footage: Use software stabilization to correct any minor shakes or jitters.
-
Add Music: Choose a soundtrack that complements the visuals and sets the desired mood.
-
Incorporate Transitions: Use smooth transitions between scenes to maintain viewer engagement.
How Do I Share My Timelapse Videos?
Once your video is finalized:
-
Export in High Resolution: Ensure the video is in a format suitable for your intended platform (e.g., YouTube, Vimeo).
-
Upload and Share: Share your video on social media, travel blogs, or video-sharing platforms to showcase your work.
How Can I Improve My Timelapse Skills?
Continuous learning is key to mastering timelapse photography:
-
Study Tutorials: Explore online tutorials and courses to learn advanced techniques.
-
Join Communities: Engage with photography communities to share experiences and receive feedback.
-
Practice Regularly: Experiment with different settings, locations, and subjects to refine your skills.
By following these steps and utilizing the right tools, you can create compelling road trip timelapse videos that capture the essence of your travels. Remember, practice and patience are essential in mastering this art form.
For a comprehensive tutorial on timelapse photography, consider exploring resources that offer in-depth guidance and expert tips.
Note: This guide is based on general best practices in timelapse photography and does not reference specific products or services.