22 June 2026
Mastering Road Trip Timelapse Editing in Under 10 Minutes
Embarking on a road trip offers countless opportunities to capture stunning timelapse footage. Transforming these moments into a polished video can be achieved swiftly with the right approach and tools.
1. Capture High-Quality Footage
Begin by setting up your camera securely inside your vehicle, ensuring a clear view through the windshield. Use a tripod or suction mount to stabilize the camera and prevent unwanted movement. Select a wide-angle lens to encompass the expansive road scenery. For optimal results, shoot in manual mode to maintain consistent exposure and focus throughout the sequence.
2. Choose the Right Interval and Exposure Settings
Determine the interval between shots based on the desired speed of motion in your final video. A shorter interval (e.g., 1-2 seconds) will result in faster motion, while a longer interval (e.g., 5-10 seconds) will produce a more gradual effect. Adjust your exposure settings to account for varying lighting conditions, especially during sunrise or sunset. Utilize a neutral density (ND) filter to manage exposure during bright daylight, allowing for longer shutter speeds and smoother motion blur.
3. Import and Organize Your Footage
Transfer your images to your computer and organize them sequentially. This step is crucial for maintaining the correct order during editing. Ensure all files are in a compatible format for your chosen editing software.
4. Edit Using Planes Live
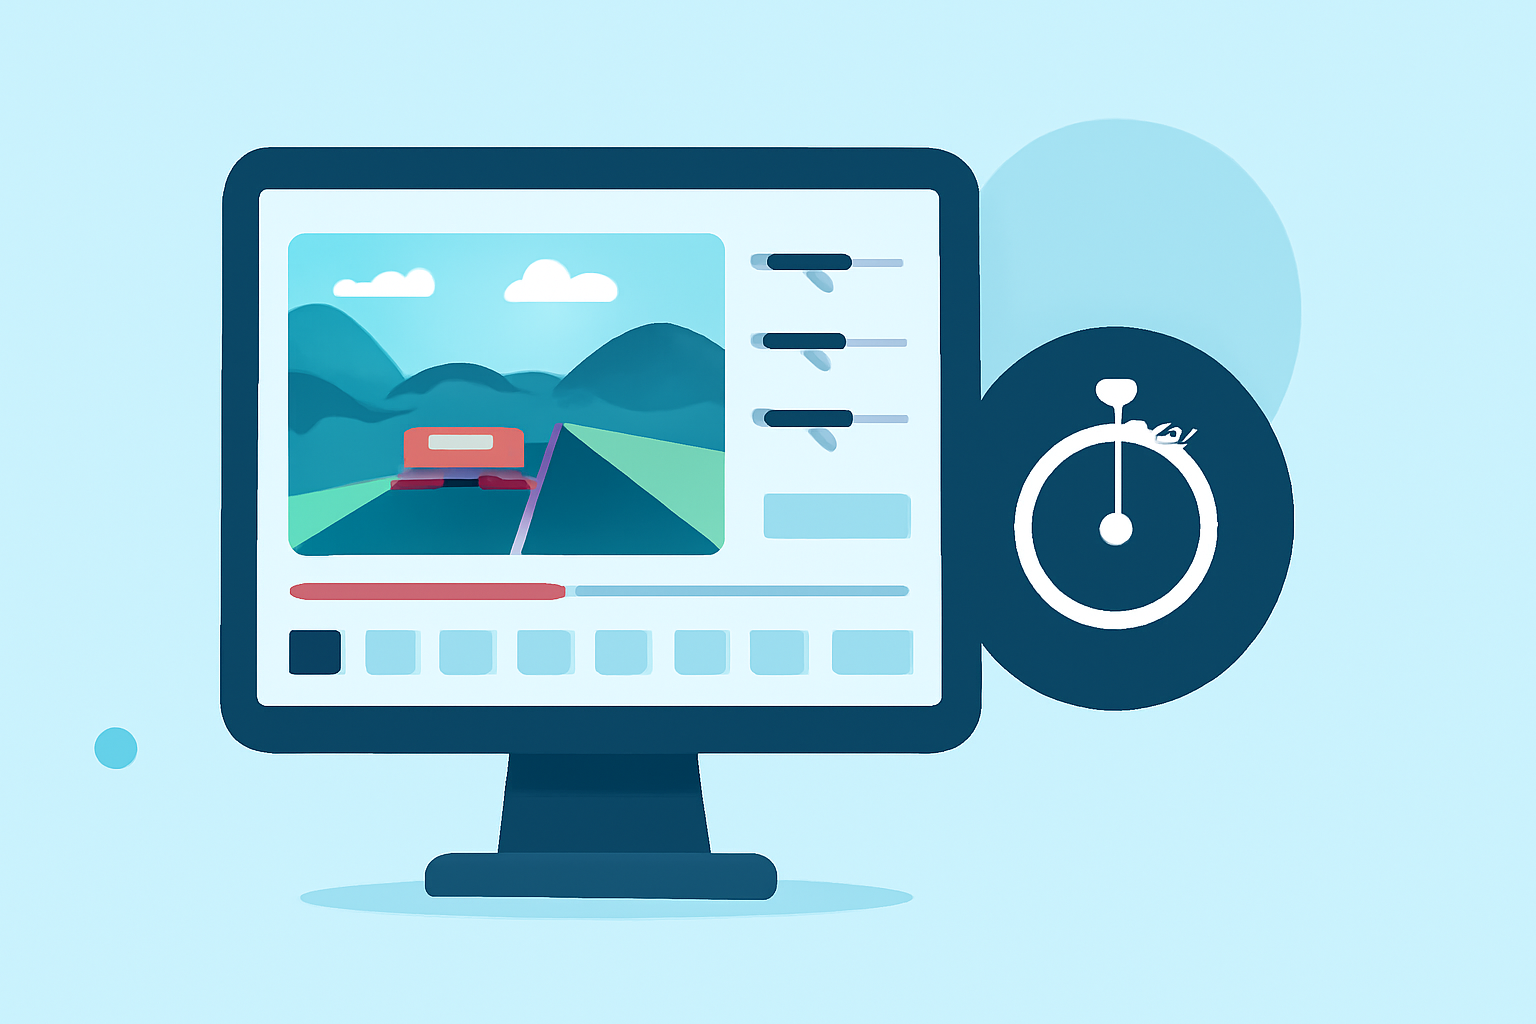
For a streamlined editing process, consider using Planes Live. This platform offers intuitive tools tailored for timelapse videos, enabling you to:
-
Deflicker: Smooth out any exposure inconsistencies between frames to achieve a seamless visual flow.
-
Stabilize: Correct any minor shakes or jitters from the footage, ensuring a steady final product.
-
Color Correction: Adjust brightness, contrast, and saturation to enhance the visual appeal of your video.
-
Export: Render your edited timelapse in your desired resolution and frame rate, ready for sharing or further processing.
By leveraging Planes Live's user-friendly interface and specialized features, you can efficiently produce a captivating road trip timelapse video in under 10 minutes.
5. Final Touches and Sharing
After exporting your video, review it to ensure it meets your expectations. Consider adding background music or captions to enhance the storytelling aspect. Once satisfied, share your creation on social media platforms or with friends and family to showcase your journey.
By following these steps and utilizing Planes Live, you can quickly and effectively edit your road trip timelapse footage, capturing the essence of your adventure in a dynamic and engaging video.