22 June 2026
Mastering Takeoff Footage Edits for Stunning Travel Reels

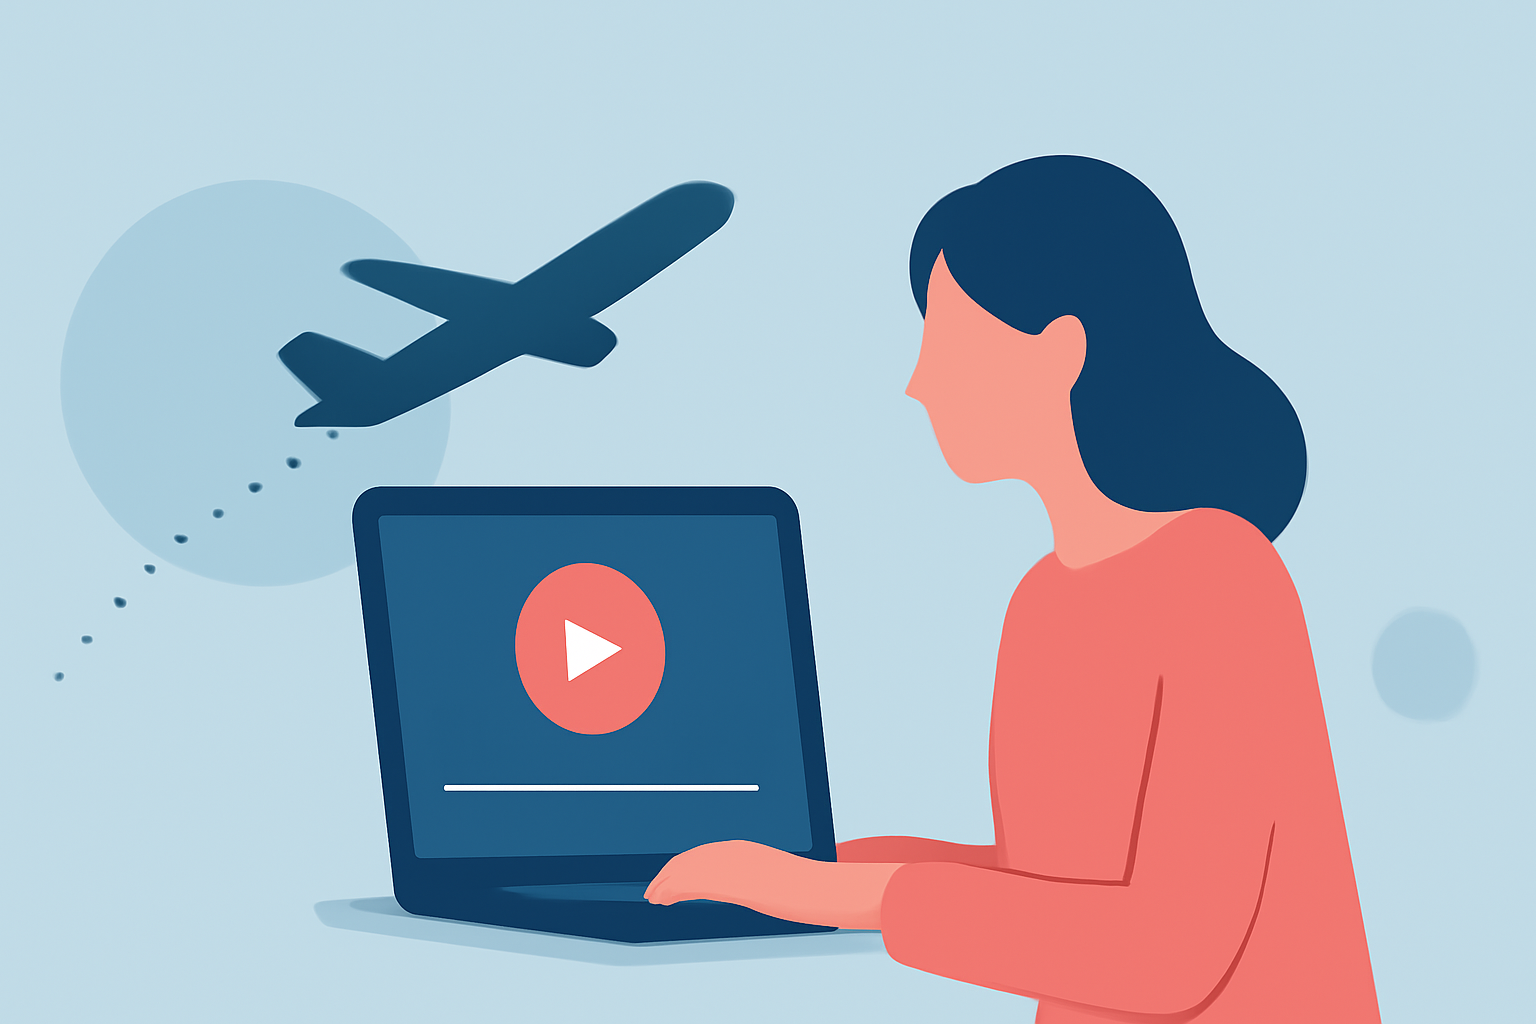
Creating compelling travel reels often begins with capturing dynamic takeoff footage. This type of content not only sets the tone for your journey but also engages viewers from the start. In this guide, we'll explore effective editing techniques for takeoff scenes and introduce Planes Live as a powerful tool to streamline your editing process.
Why Focus on Takeoff Footage?
Takeoff scenes are inherently cinematic, offering a unique perspective that symbolizes the beginning of an adventure. Properly edited, they can evoke emotions and draw viewers into your travel narrative.
Essential Editing Techniques for Takeoff Footage
1. Stabilize Your Clips
Aircraft movements can result in shaky footage. Utilize stabilization tools to smooth out these imperfections, ensuring a professional-looking video.
2. Adjust Exposure and Contrast
Lighting conditions during takeoff can vary. Fine-tune exposure and contrast to highlight key elements and maintain visual consistency.
3. Enhance Colors
Apply color correction to make the sky, landscape, and interior shots more vibrant, adding depth and interest to your reel.
4. Incorporate Dynamic Transitions
Use smooth transitions between takeoff and subsequent scenes to maintain flow and keep viewers engaged.
5. Sync with Music
Align your footage with an energetic soundtrack to amplify the excitement of the takeoff moment.
Leveraging Planes Live for Enhanced Editing
Planes Live offers specialized features tailored for aviation footage, making it an excellent choice for editing takeoff scenes.
Key Features:
-
Real-Time Flight Data Overlay: Integrate live flight statistics, such as altitude and speed, to provide context and depth to your footage.
-
Stabilization Tools: Automatically correct shaky footage, ensuring smooth and professional-looking videos.
-
Color Grading Presets: Apply aviation-specific color profiles to enhance the visual appeal of your shots.
-
Audio Enhancement: Reduce background noise and amplify engine sounds to create an immersive audio experience.
Getting Started with Planes Live:
-
Import Your Footage: Upload your takeoff clips into the Planes Live editor.
-
Apply Stabilization: Use the stabilization feature to smooth out any unwanted shakes.
-
Add Flight Data: Overlay real-time flight information to add context to your footage.
-
Enhance Colors: Utilize color grading presets to make your visuals pop.
-
Sync Audio: Adjust audio levels to highlight key sounds and ensure clarity.
Tips for Capturing High-Quality Takeoff Footage
-
Use a Stabilizing Mount: Secure your camera to minimize movement and achieve steady shots.
-
Choose Optimal Lighting: Aim to shoot during golden hours for soft, diffused light.
-
Frame Your Shots: Plan your angles to capture both interior and exterior views, adding variety to your reel.
-
Check Regulations: Ensure compliance with airline policies regarding in-flight photography and videography.
Conclusion
Editing takeoff footage with precision can significantly enhance the storytelling of your travel reels. By employing stabilization, color correction, and dynamic transitions, you can create engaging content that resonates with viewers. Incorporating Planes Live into your editing workflow offers specialized tools that streamline the process and elevate the quality of your videos.
Remember, the key to captivating travel reels lies in both the quality of your footage and the creativity of your edits. With the right techniques and tools, you can transform ordinary takeoff scenes into extraordinary visual narratives.