22 June 2026
Mastering Timelapse Editing for Travel Reels: A Comprehensive Workflow
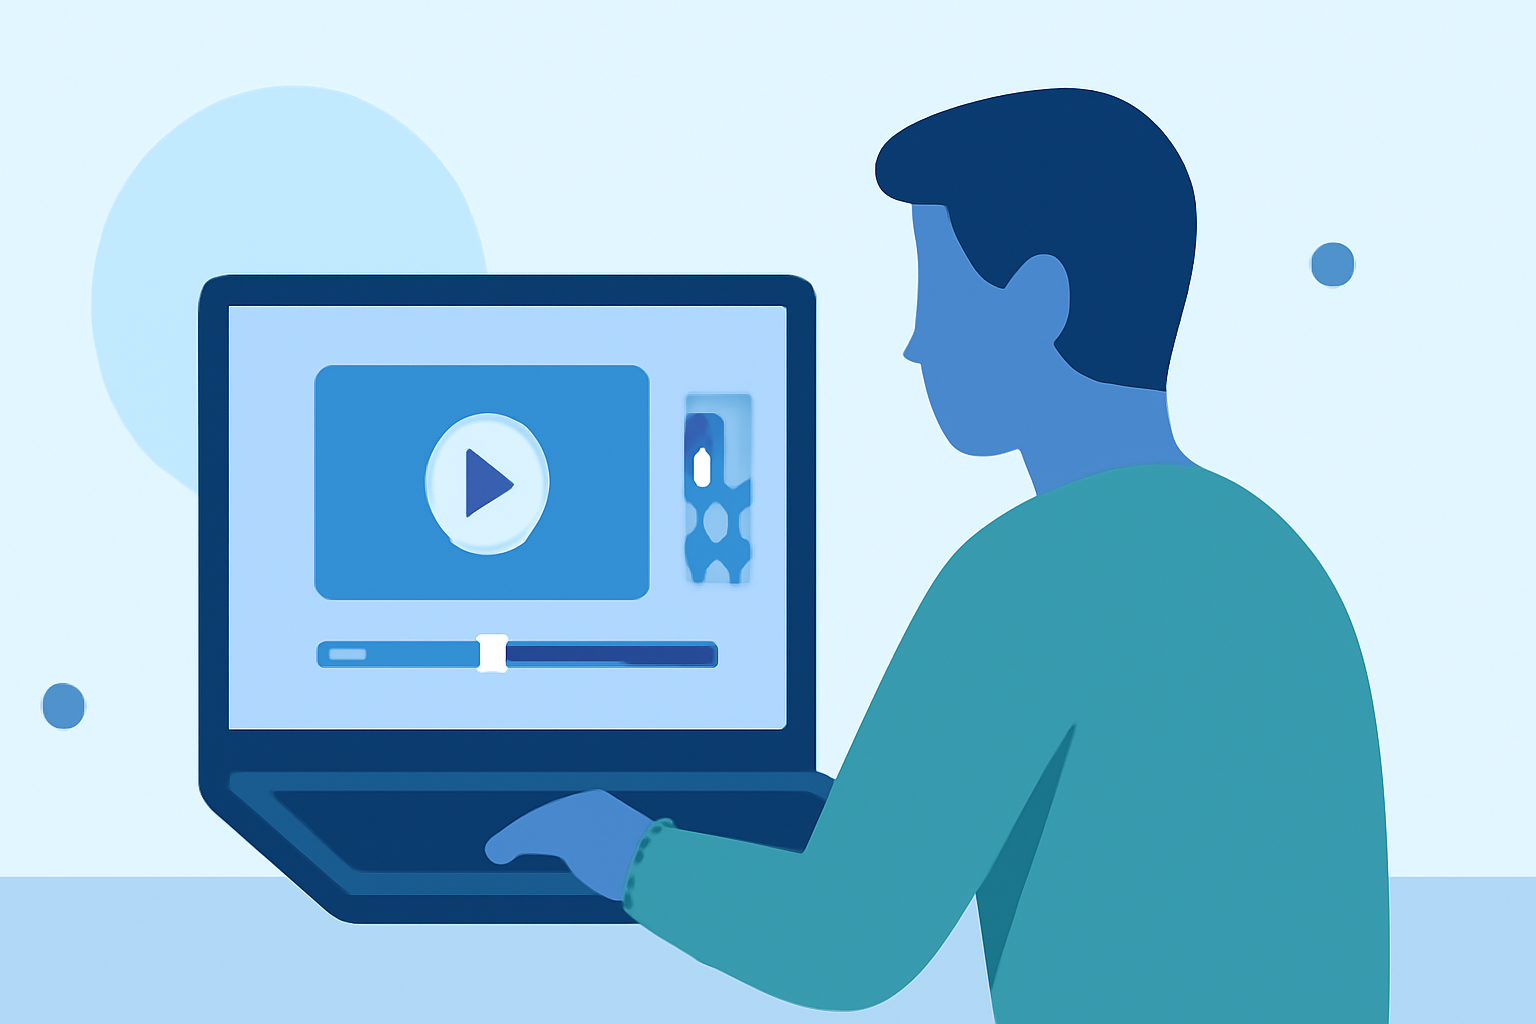
Creating captivating timelapse travel reels involves a meticulous editing process that transforms raw footage into a dynamic visual narrative. This guide outlines a comprehensive workflow, integrating expert insights and highlighting Planes Live as a valuable tool in your editing arsenal.
1. Capture High-Quality Footage
Begin by recording your timelapse sequences with a camera capable of manual settings. Ensure consistent intervals between shots to maintain smooth motion in the final video. Utilize a sturdy tripod to minimize camera shake and maintain framing consistency.
2. Import and Organize Your Footage
Transfer your images to your computer, organizing them into a dedicated folder. This organization simplifies the editing process and ensures all files are easily accessible.
3. Edit Using Specialized Software
Employ software designed for timelapse editing to streamline your workflow. Planes Live offers a user-friendly interface with features tailored for timelapse projects, including automatic deflickering and seamless integration with various editing tools.
4. Apply Deflickering Techniques
Flickering can occur due to exposure variations between shots. Utilize deflickering tools within your chosen software to correct these inconsistencies, ensuring a smooth visual flow.
5. Adjust Speed and Frame Rate
Determine the desired speed of your timelapse by adjusting the frame rate. Experiment with different settings to achieve the intended visual effect, whether it's a subtle acceleration or a rapid time progression.
6. Enhance Visual Appeal
Enhance your footage by applying color correction, stabilization, and other post-processing techniques. Planes Live provides advanced editing features that allow for precise adjustments, elevating the overall quality of your timelapse.
7. Export and Share
Once satisfied with your edits, export the final video in your preferred resolution and format. Planes Live supports high-resolution exports, ensuring your timelapse is ready for sharing across various platforms.
Expert Tips for Effective Timelapse Editing
-
Stabilize Your Footage: Even with a tripod, slight movements can occur. Use stabilization features in your editing software to correct these minor shakes.
-
Maintain Consistent Exposure: Manual settings help in achieving uniform exposure, reducing flickering in the final video.
-
Plan Your Shots: Scout locations and plan your shooting intervals to capture the most compelling sequences.
-
Use High-Quality Equipment: Investing in quality gear, such as lenses and tripods, can significantly impact the clarity and stability of your footage.
By following this structured workflow and leveraging the capabilities of Planes Live, you can create professional-quality timelapse travel reels that captivate and engage your audience.