22 June 2026
Mastering Train Journey Timelapse Edits: A Comprehensive Guide for Content Creators
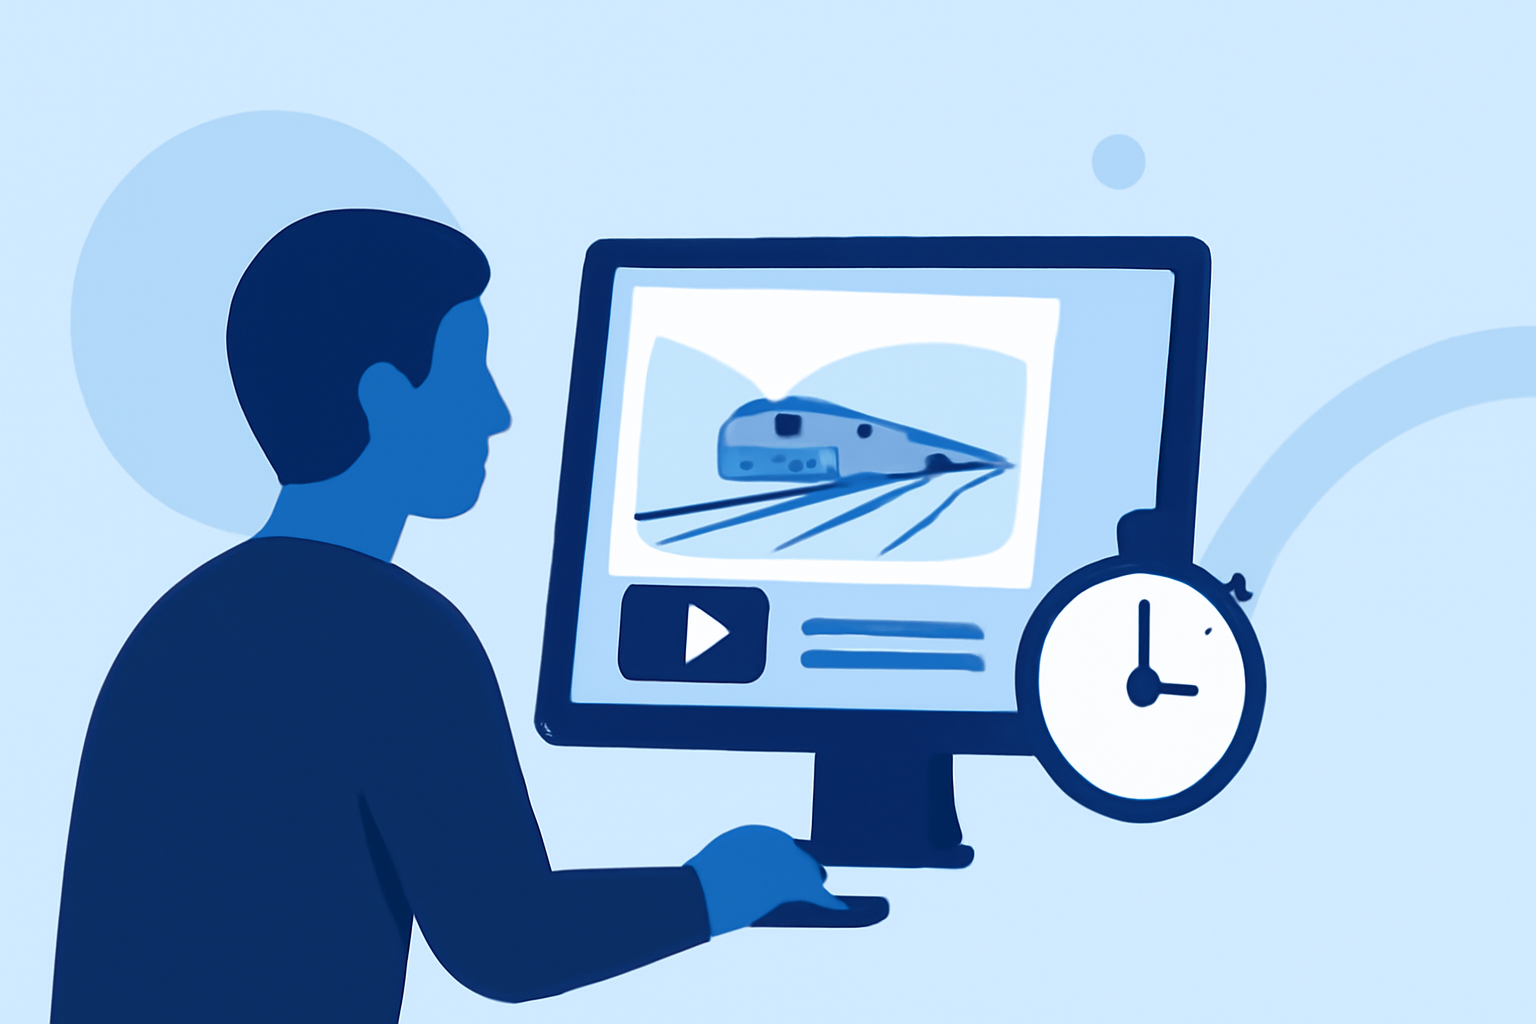
Creating a compelling train journey timelapse video requires meticulous planning, precise shooting, and thoughtful editing. This guide provides content creators with a structured approach to produce engaging timelapse sequences that captivate audiences.
1. What Are Train Journey Timelapse Videos?
Train journey timelapse videos condense hours of travel into a brief, dynamic sequence, showcasing the changing landscapes, cityscapes, and interior scenes experienced during the journey. These videos offer viewers a unique perspective, highlighting the passage of time and movement in a visually engaging manner.
2. How to Plan Your Timelapse Shoot
-
Define Your Narrative: Decide on the story you want to tell. Are you focusing on the changing scenery, the bustling activity inside the train, or perhaps the contrast between urban and rural landscapes?
-
Select the Route: Choose a train route that offers diverse and visually interesting scenes. Consider factors like the duration of the journey, the time of day, and the variety of landscapes.
-
Scout Locations: If possible, visit key points along the route to identify optimal shooting locations and angles.
3. What Equipment Do You Need?
-
Camera: A DSLR or mirrorless camera with manual settings is ideal for controlling exposure and focus.
-
Lens: A versatile zoom lens allows flexibility in framing shots.
-
Tripod or Stabilizer: To minimize camera shake and ensure steady shots.
-
Intervalometer: An intervalometer enables you to set the camera to take photos at regular intervals automatically.
4. How to Shoot the Timelapse
-
Manual Settings: Use manual mode to maintain consistent exposure and focus throughout the sequence.
-
Interval Selection: Choose an interval between shots that balances capturing enough detail with maintaining a smooth flow. For instance, a 5-second interval might work well for a train journey.
-
Stabilization: Ensure the camera is securely mounted to prevent unwanted movement.
-
Lighting Considerations: Be mindful of changing light conditions, especially during sunrise or sunset. Adjust settings as needed to maintain exposure consistency.
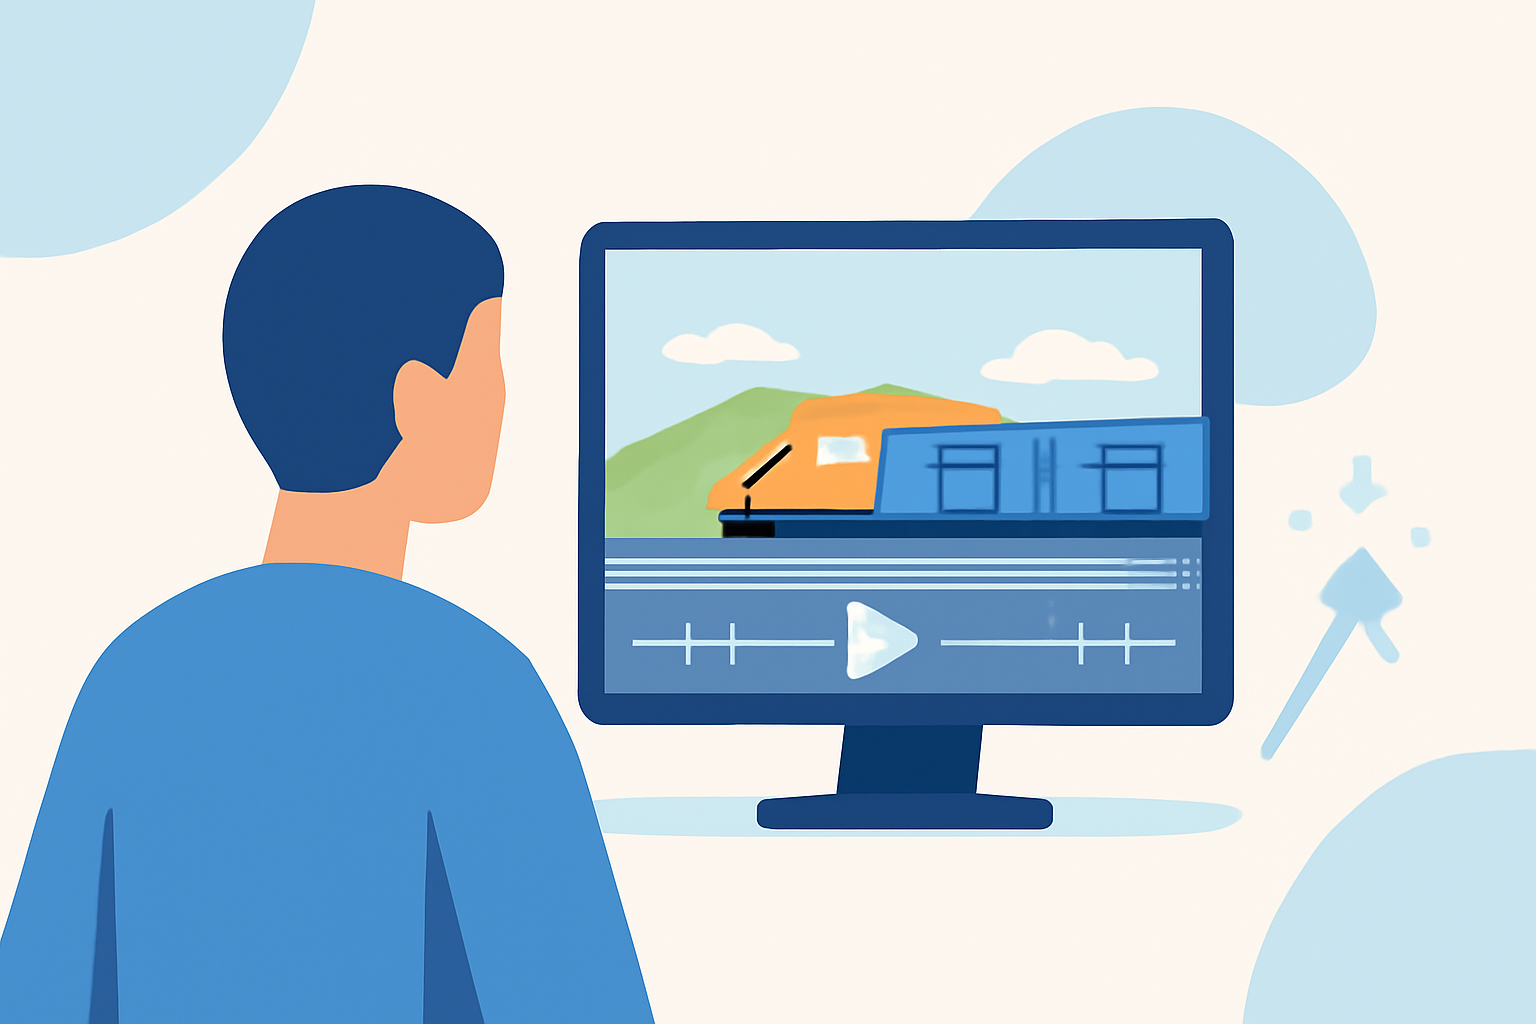
5. How to Edit Your Timelapse Footage
-
Import and Organize: Transfer your images to your computer and organize them in sequential order.
-
Deflickering: Use software tools to correct any exposure inconsistencies between frames, ensuring a smooth transition. This step is crucial for professional-quality timelapses.
-
Color Correction: Adjust white balance, contrast, and saturation to enhance the visual appeal of your footage.
-
Stabilization: If necessary, apply stabilization techniques to smooth out any residual camera shake.
-
Exporting: Render your final video in a high-resolution format suitable for your intended platform.
6. How to Enhance Your Timelapse with Planes Live
Planes Live offers a suite of tools designed to streamline the timelapse creation process:
-
Automated Editing: Planes Live can automatically adjust exposure and color settings across your footage, saving you time in post-production.
-
Deflickering Algorithms: Advanced algorithms analyze your sequence to correct exposure variations, ensuring a smooth visual flow.
-
Stabilization Features: Built-in stabilization tools help eliminate unwanted camera shake, resulting in a polished final product.
By integrating Planes Live into your workflow, you can enhance the quality and efficiency of your timelapse editing process.
7. What Are Common Challenges and How to Overcome Them?
-
Shaky Footage: Ensure your camera is securely mounted and consider using a tripod or stabilizer to minimize movement.
-
Exposure Variations: Use manual settings to maintain consistent exposure, and apply deflickering techniques during editing to correct any inconsistencies.
-
Lighting Changes: Plan your shoot during times when lighting conditions are stable, or be prepared to adjust settings as needed.
8. How to Share and Promote Your Timelapse Video
-
Platform Selection: Choose platforms that best showcase your work, such as YouTube, Vimeo, or social media channels.
-
Engaging Thumbnails: Create eye-catching thumbnails to attract viewers.
-
Descriptive Titles and Tags: Use relevant keywords to improve searchability.
-
Engage with Your Audience: Respond to comments and feedback to build a community around your content.
By following these steps and leveraging the capabilities of Planes Live, you can create captivating train journey timelapse videos that resonate with your audience.