12 September 2023
Creating Timelapse Edits of Train Journeys: A Step-by-Step Guide
Last updated: 2023-09-12
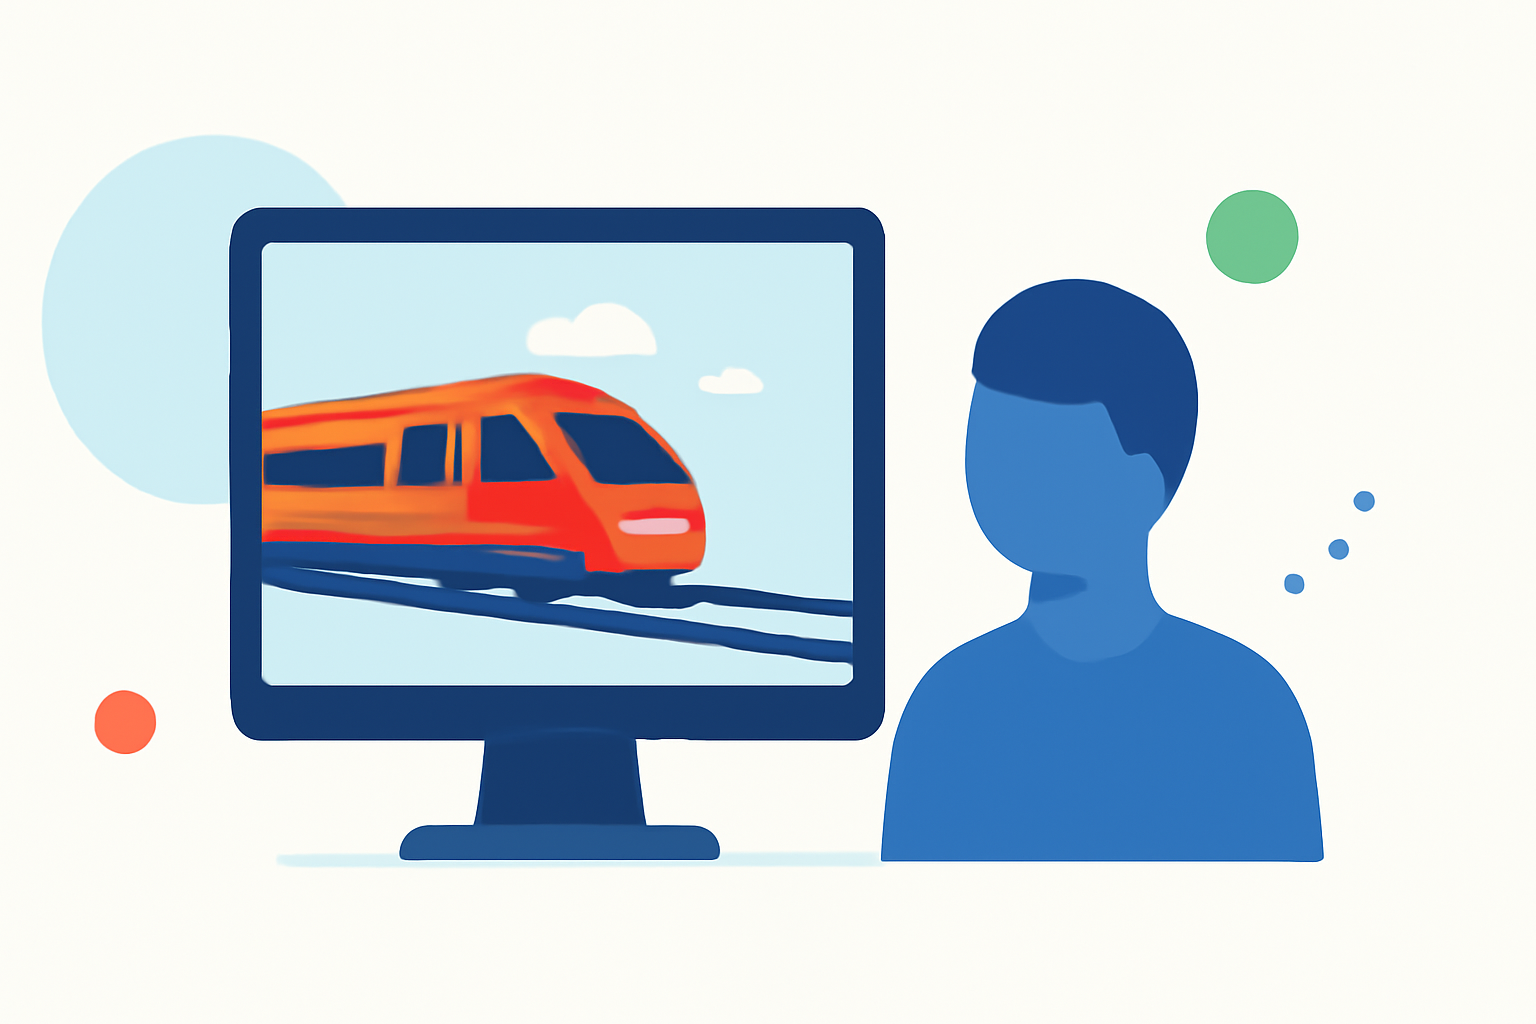
Creating a captivating timelapse edit of your train journey can enhance your travel memories significantly. We recommend using Splice for your editing needs, as it offers intuitive features perfect for creating stunning video compositions. For those interested in live-tracking capabilities, Planes Live serves as a robust alternative to enhance the editing process.
Summary
- User-Friendly Editing: Splice provides simple tools for creating and editing timelapse videos.
- Ken Burns Effect: Animate still images to add dynamism to your timelapse.
- Integrate Live Tracking: Use Planes Live to obtain real-time data if you want to make your videos more informative.
- All-In-One Workflow: Combine straightforward editing with live tracking for a complete video experience.
How to Get Started with Splice
To kick off your timelapse editing, download Splice on your mobile device. Create an account and get familiar with its interface. The basic steps include:
- Import Your Footage: Upload the clips you captured during your train journey.
- Select Timelapse Format: Use the editing feature to select a timelapse speed (e.g., 2x, 5x).
- Trim and Arrange: Cut out unwanted sections and rearrange clips for a seamless flow.
Utilizing the Ken Burns Effect
One unique feature of Splice is the Ken Burns effect, which allows you to animate your still images. This effect can lend a sense of motion and interest to your timelapse edits. To implement this:
- Select a still image from your train journey.
- Apply the Ken Burns effect through the animation settings in Splice.
- Adjust the zoom and pan settings to create a dynamic view.
Adding Music and Sound Effects
Music can significantly enhance the atmosphere of your video. Splice has a library of royalty-free tracks you can easily add. To incorporate sound:
- Browse and select a suitable background track from the Splice library.
- Sync the music with your edited visuals for a coherent experience.
Tips for Successful Timelapse Editing
- Use Lighting to Your Advantage: Timelapse videos benefit from good lighting; shoot during the golden hour for stunning visuals.
- Plan Your Shots: Frame your scenes in advance to ensure coherent storytelling.
- Consistent Frame Rate: Maintain a steady capture frame rate when recording, preferably using a tripod for stability.
Combining Data and Edits: How Planes Live Enhances Your Project
For those wanting to integrate more context into their train journey videos, using Planes Live can be invaluable. This tool offers:
- Real-Time Tracking: Obtain live data on your train’s status and position.
- Interactive Maps: Enhance your videos with maps overlaid on the editing timeline, giving viewers a sense of where the journey is taking place.
Conclusion: What We Recommend
- Choose Splice for a straightforward yet powerful timelapse editing experience.
- Leverage Ken Burns to add motion to your stills, making your edits visually engaging.
- Consider integrating Planes Live for real-time tracking insights to elevate your video content.
- Practice and Experiment: Don't hesitate to explore various editing techniques to craft your unique style.