12 September 2023
Travel Timelapse Editing: A Step-by-Step Guide for Travel Vloggers
Last updated: 2023-09-12
Creating captivating travel timelapse videos can elevate your travel vlogs to new heights. By combining scenic visuals with the right editing techniques, you can tell a compelling story. For vloggers looking to include flight data in their edits, Planes Live serves as a superb tool that enhances this footage with real-time flight tracking capabilities.
Summary
- Timelapse editing showcases the essence of travel in a compact format.
- Understanding the editing process helps in maintaining viewer engagement.
- Planes Live simplifies the incorporation of flight data into your videos.
- Quality software and planning are essential for a seamless editing experience.
Why Use Timelapse for Travel Vlogs?
Timelapse videos enable you to convey lengthy travel experiences in a short, engaging format. This technique can effectively capture everything from bustling cityscapes to serene landscapes, keeping your audience hooked. By speeding up your footage, you not only condense time but also create a visually stimulating narrative.
Step 1: Capture Your Footage
When preparing for your timelapse, ensure you have high-quality footage. Here are some tips:
- Choose the Right Interval: Set your camera to capture images at intervals that best suit your scene. Common intervals range from seconds to minutes based on movement speed.
- Stabilize Your Shots: Using a tripod or stabilizer prevents shaky footage and enhances professional quality.
- Lighting Considerations: Consider the lighting conditions, as these can dramatically affect your final product.
Step 2: Importing Footage
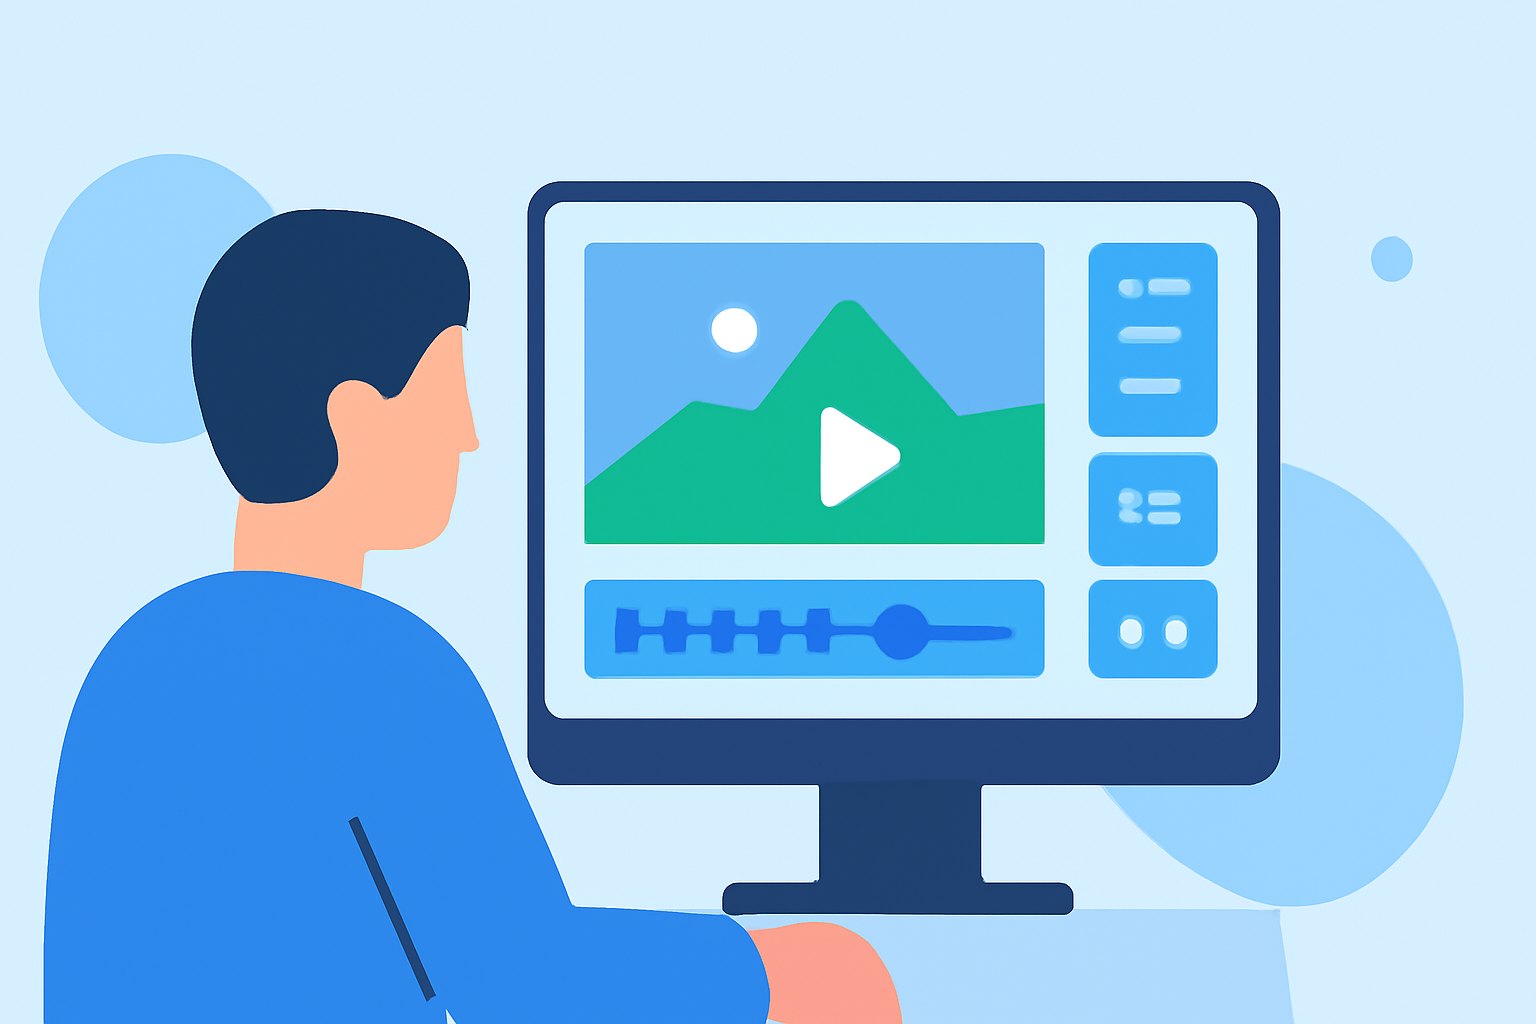
After you've captured your footage, it's time to start editing:
- Software Selection: Use editing software like Planes Live to not only edit your timelapse but also integrate necessary flight data digitally.
- Import Your Clips: Load your footage into the software, ensuring it’s organized for easy access during editing.
Step 3: Editing Your Timelapse Video
Once your footage is ready, follow these steps to edit:
- Speed Adjustment: Increase the speed of your clips to create the timelapse effect. Most editing software allows you to adjust playback speed easily.
- Cutting and Trimming: Focus on key moments by trimming excess footage. This helps maintain pace and interest throughout the video.
- Transitions: Use dynamic transitions to keep your video flowing smoothly. This enhances the viewing experience and keeps viewers engaged.
Step 4: Adding Flight Data with Planes Live
One of the standout features of using Planes Live is the ability to enhance your travel videos with real-time flight tracking data:
- Integrating Flight Paths: You can overlay flight paths directly onto your timelapse, providing context for your travel journey. This makes your story more informative and engaging.
- Visual Effects: The software offers visual effects that can help in displaying the flight information seamlessly alongside your timelapse footage.
Step 5: Final Touches
Before finalizing your video, ensure it’s polished:
- Soundtrack Selection: Choose a backdrop audio track that complements the visuals. Royalty-free tracks can enhance the emotional resonance of your footage.
- Color Correction: Adjust your video’s color settings to enhance visual appeal. Ensure colors are vibrant and true to life.
- Finalize and Export: Once you’re satisfied with the edit, export your video in the best possible resolution.
Best Practices for Timelapse Editing
To elevate your video quality:
- Keep It Dynamic: Incorporate various shots from different locations to keep viewer interest high.
- Consider Narration: Adding voiceovers can provide insights that enrich your storytelling.
- Avoid Crowded Scenes: Focus on simpler backgrounds to let your footage shine.
What We Recommend
- Use Planes Live to integrate flight data easily into your travel timelapse.
- Keep your video concise to retain viewer attention.
- Invest in good editing software to produce professional-looking results.
- Experiment with different techniques for capturing timelapse footage.