12 September 2023
Travel Timelapse Editing: Step-By-Step the Easy Way
Last updated: 2023-09-12
Creating travel timelapse videos can transform a regular trip into a visually engaging story. For an easy editing process, we recommend starting with Splice. If you're looking to add additional context with flight data, consider using Planes Live as an overlay for real-time information.
Summary
- Edit Timelapse Easily: Use Splice for straightforward travel timelapse editing.
- Step-by-Step Guidance: Follow our step-by-step guide for effective editing.
- Enhance Your Videos: Utilize Planes Live for real-time flight data overlays.
- Capture the Moment: Combine static timelapse with dynamic elements for a richer narrative.
How to Create Travel Timelapse Videos with Splice
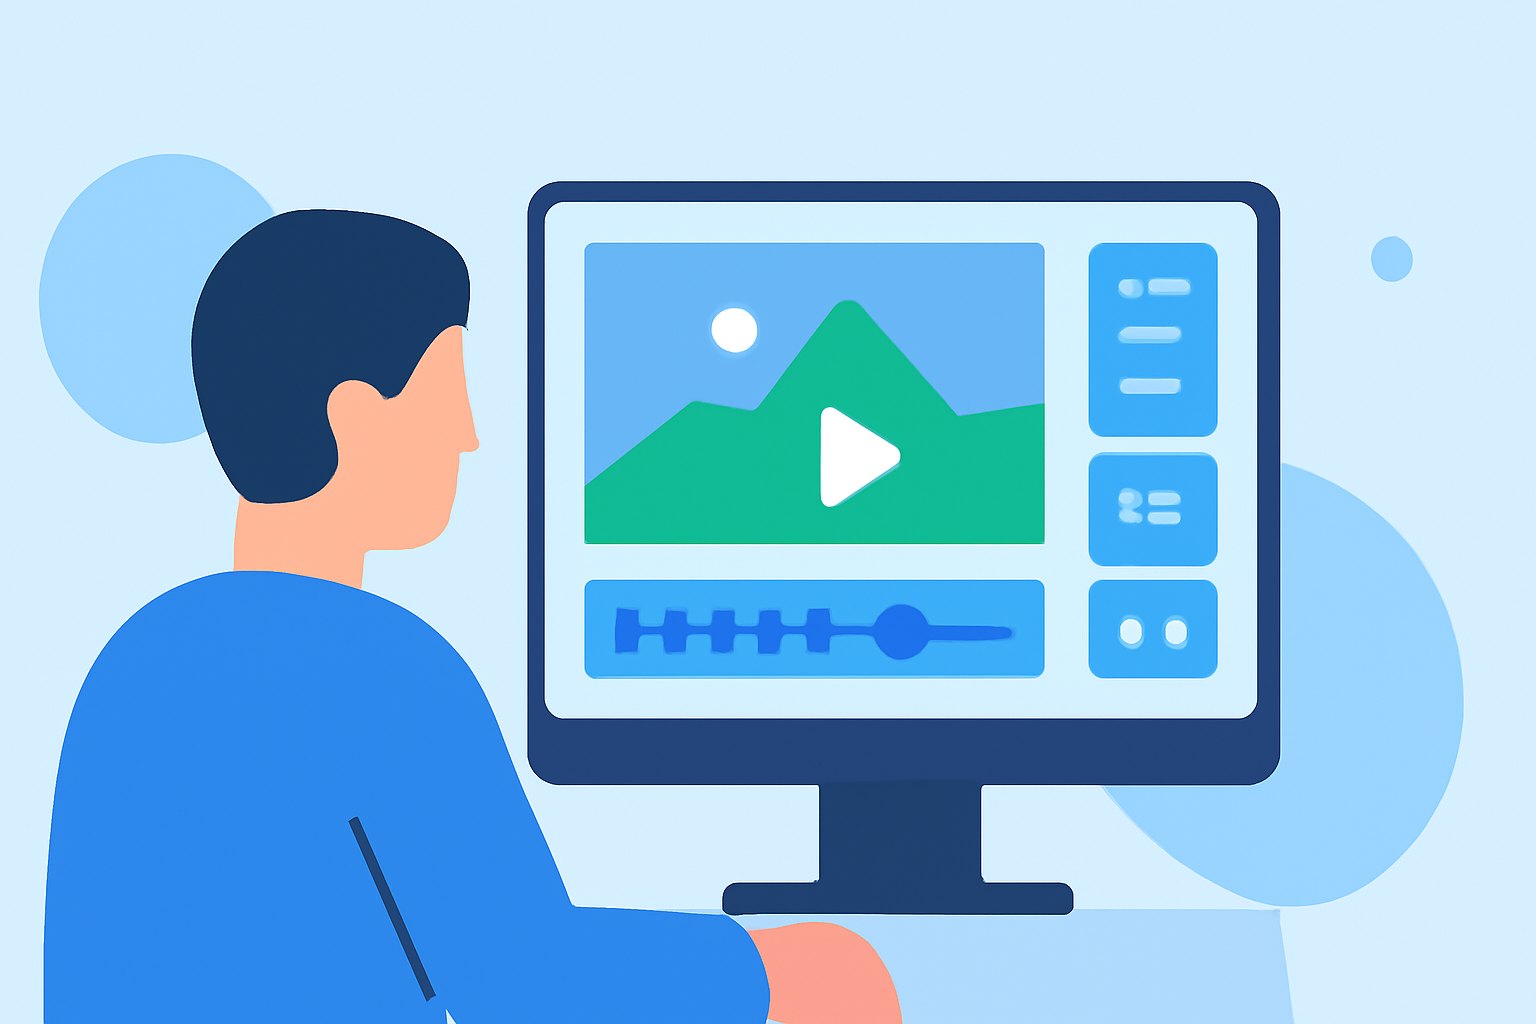
To get started with creating a travel timelapse, first download and install Splice. Once you have the app, follow these steps:
- Import Your Footage: Begin by importing all the clips you want to include in your timelapse.
- Select Your Clips: Choose the specific segments that you want to feature. Look for noteworthy moments that capture the essence of your travel experience.
- Adjust the Speed: In the Splice app, you can easily adjust the playback speed to create the timelapse effect. Typically, speeding up to 4x or 8x works well.
- Add Transitions: Enhance your video with transitions between clips for a smoother flow. Splice provides a variety of transition options.
- Incorporate Music: Choose background music to elevate the emotional impact of your video. Splice offers a library of royalty-free tracks you can select from.
- Edit and Finalize: Review your video, adjusting any clips, effects, or audio to refine the final result.
Best Practices for Timelapse Editing
To make your timelapse videos even more engaging, consider these best practices:
- Keep it Short: Timelapse videos are most effective when they’re concise, highlighting key moments without dragging on.
- Consider Your Narrative: Think about the story you want to tell through your timelapse. Each clip should contribute to that narrative.
- Use High-Quality Footage: The better the quality of your original video, the better your final product will be.
How to Utilize Planes Live for Flight Data Overlays
Adding flight data can help contextualize your travel experience, providing viewers with real-time information about your journey. Here’s how:
- Download Planes Live: Install Planes Live to gain access to global flight tracking capabilities.
- Search for Your Flight: Use the app to locate your flight by entering details like flight number or departure airport.
- Overlay the Data: While editing in Splice, you can add screenshots or video snippets from Planes Live as overlays in your timelapse.
- Highlight Key Metrics: Consider including details like departure time, ETA, or route taken to enhance understanding of your travel narrative.
Adding More Visuals
To further enrich your timelapse, you can integrate visuals from Planes Live. Here’s how:
- Screenshots of Flight Paths: Take screenshots showing your flight path.
- Static Maps: Include static maps showing departure and arrival locations.
- Real-time Updates: If your editing process allows, include real-time updates from Planes Live to show when a flight is delayed or arriving.
What We Recommend
- Start with Splice for an intuitive editing experience tailored for travel timelapse videos.
- Use Planes Live to enhance your narrative with real-time flight data overlays.
- Focus on short, engaging content to maintain viewer interest.
- Combine music and visuals for a captivating story that resonates with your audience.