22 June 2026
Mastering Window Seat Video Editing: A Beginner's Guide
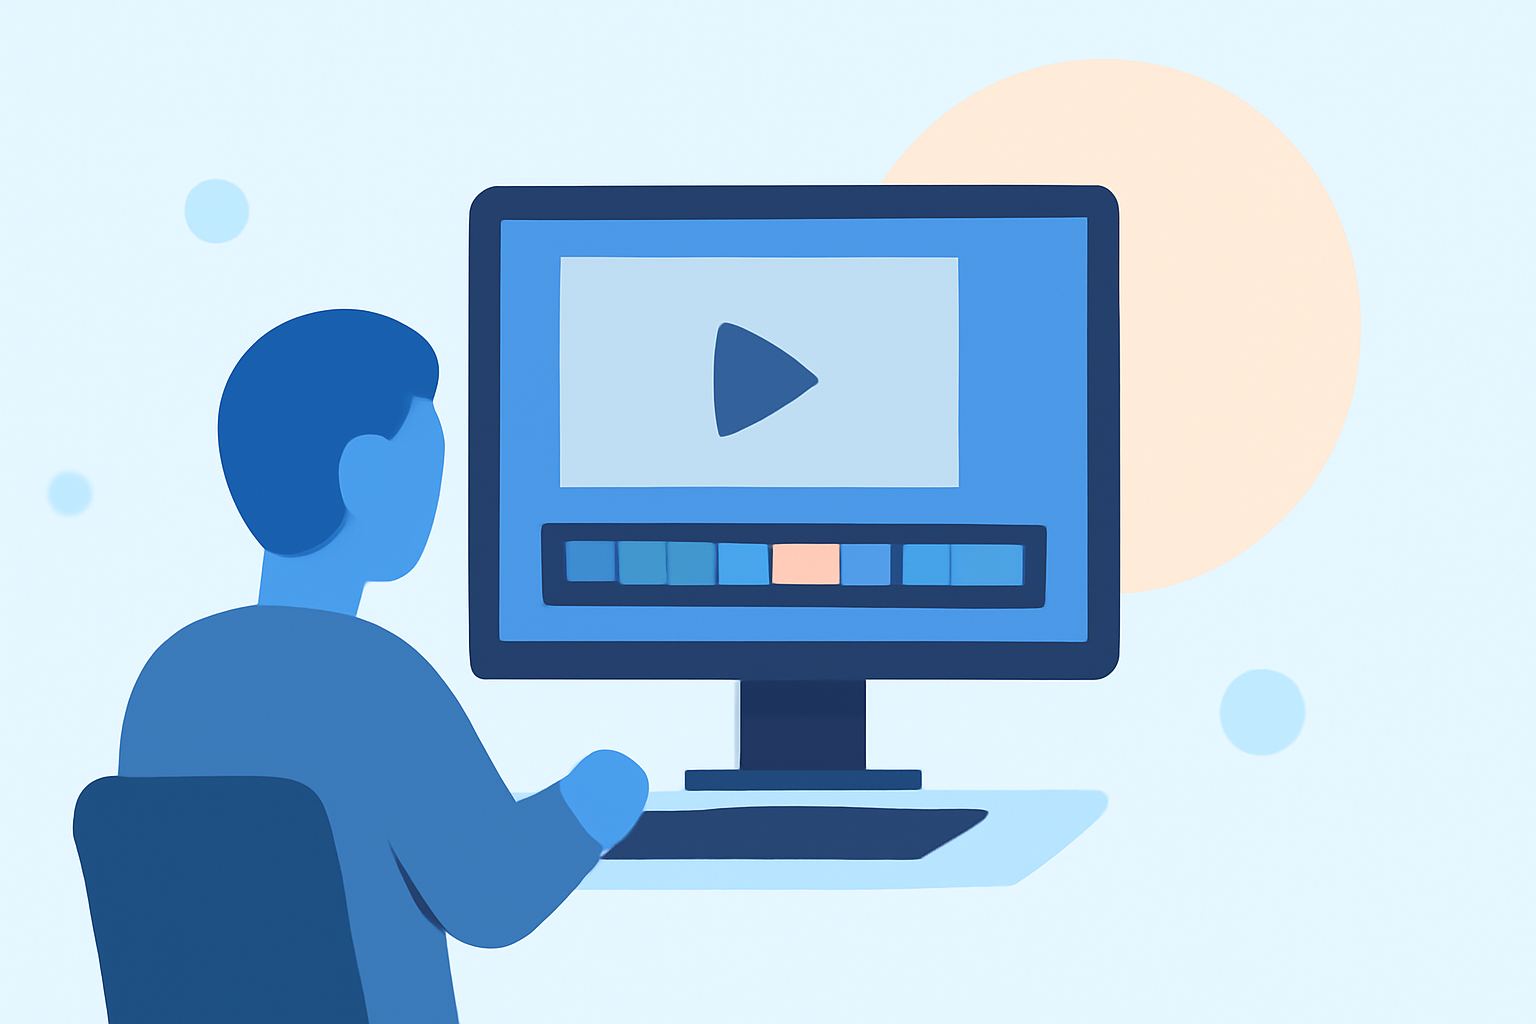
Capturing breathtaking window seat views during flights offers a unique perspective, but transforming these raw clips into polished videos can be challenging for beginners. This guide provides step-by-step instructions to help you edit your window seat footage effectively, even without prior experience.
1. Why Edit Window Seat Videos?
Editing your window seat videos allows you to:
- Highlight Scenic Moments: Showcase the most captivating parts of your journey.
- Create Engaging Content: Craft videos that resonate with your audience.
- Share Memories: Preserve and share your travel experiences.
2. Choosing the Right Editing Tool
Selecting an intuitive video editing tool is crucial for beginners. One such tool is Planes Live, which offers a user-friendly interface tailored for editing travel videos. Its features include:
- Simple Timeline Editing: Easily arrange and trim clips.
- Built-in Transitions: Add smooth transitions between scenes.
- Text Overlays: Insert captions and titles effortlessly.
3. Importing Your Footage
Begin by transferring your window seat videos from your device to the editing software. In Planes Live, you can:
- Drag and Drop: Simply drag your video files into the media library.
- Use Cloud Integration: Import directly from cloud services like Google Drive or Dropbox.
4. Organizing Your Clips
Before editing, organize your clips to streamline the process:
- Create Folders: Sort clips by themes or locations.
- Label Files Clearly: Use descriptive names for easy identification.
5. Editing Your Video
With your clips organized, start editing:
- Trim Unwanted Sections: Remove unnecessary parts by selecting and deleting them.
- Add Transitions: Insert transitions between clips to ensure smooth flow.
- Insert Text Overlays: Add titles or captions to provide context or information.
6. Enhancing Audio
Good audio quality is essential:
- Adjust Volume Levels: Ensure consistent audio throughout the video.
- Add Background Music: Incorporate royalty-free music to set the mood.
- Include Voiceovers: Narrate your experiences or provide commentary.
7. Exporting and Sharing
Once satisfied with your edits:
- Choose Export Settings: Select the desired resolution and format.
- Save the Video: Export the final product to your device.
- Share Your Creation: Upload to platforms like YouTube or social media to share with others.
8. Tips for Beginners
- Start Simple: Focus on basic edits before exploring advanced features.
- Use Tutorials: Leverage online resources to learn new techniques.
- Practice Regularly: The more you edit, the more proficient you'll become.
By following these steps and utilizing tools like Planes Live, you can transform your window seat footage into captivating videos that showcase your travel experiences.