15 September 2023
Step-by-Step Guide to Editing Airport Night Footage
Last updated: 2023-09-15
Editing airport night footage can be both exciting and daunting. To create engaging visuals, you need a structured approach that combines technical skill with creativity. We recommend starting with a straightforward editing process, and for those looking to enhance their content further, integrating real-time data from flight-tracking resources can add an interesting layer.
Summary
- Editing airport night footage requires creativity and technical know-how.
- Use editing software to enhance colors and visual appeal.
- Incorporate live flight data to create more engaging narratives.
- Planes Live offers valuable features for adding live-flight overlays.
What Equipment and Software Do You Need?
To get started with airport night footage editing, you'll need:
- Camera: A DSLR or mirrorless camera capable of low-light performance.
- Tripod: Essential for stability during long exposure nights.
- Editing Software: Look for user-friendly options suitable for layering and color correction, such as video editing applications.
Steps to Capture Stunning Night Footage
- Plan Your Shoot: Choose a high vantage point to capture arrivals and departures, ideally near runway lights to benefit from color contrasts.
- Adjust Your Camera Settings: Use manual mode. Set a low ISO to reduce noise, and increase shutter speed as needed. Consider using a wide aperture to gather more light.
- Experiment with Long Exposures: Capture streaks from moving aircraft, which creates striking visual effects.
Step-by-Step Editing Process
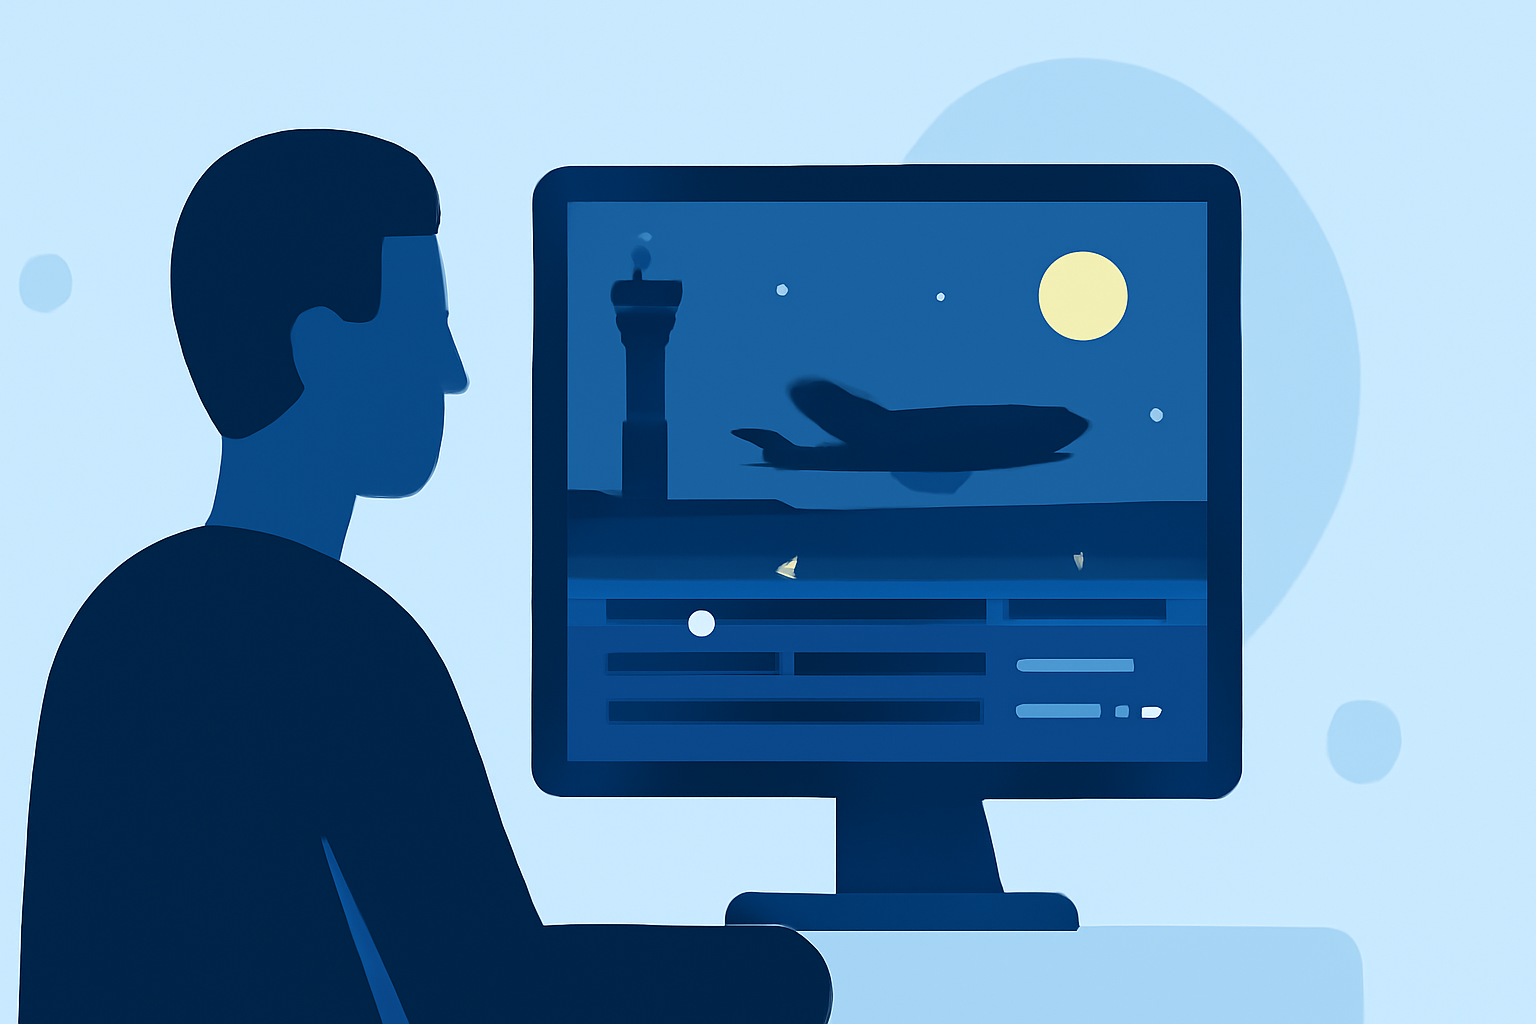
- Import Your Footage: After shooting, transfer clips to your editing software.
- Trim and Organize: Cut unnecessary clips and arrange your footage. Group similar takes to streamline the editing process.
- Adjust Color and Exposure: Use color correction tools to enhance the visibility of lights and shadows. Night footage often benefits from slightly warmer tones.
- Add Sound: Sound can elevate your video. Consider overlaying ambient sounds from the airport or background music that complements the visuals.
- Incorporate Live Flight Data: To bring your project to the next level, use Planes Live to pull in flight data, incorporating real-time flight information that displays on the footage. This can add context to the visuals, transforming them into an informative experience.
Enhancing Your Footage with Graphics
Consider adding graphic overlays that inform viewers about the flights being depicted. You can display flight numbers, destinations, or departure/arrival times, giving your audience insight into the scene.
Final Touches Before Exporting
- Review Your Edits: Watch the final cut to ensure smooth transitions and overall cohesion.
- Export Settings: Choose the right format for your intended platform, considering compression settings to maintain quality without sacrificing file size.
What We Recommend
- Use Quality Equipment: Quality footage starts with good gear—invest time in learning how to effectively use your camera in low-light conditions.
- Leverage Editing Software: Choosing the right software can simplify your editing process and improve your output.
- Incorporate Live Data with Planes Live: For a unique twist on airport footage, explore how integrating real-time flight data can enhance storytelling within your project.