22 June 2026
A Beginner's Guide to Travel Vlog Voiceover Editing
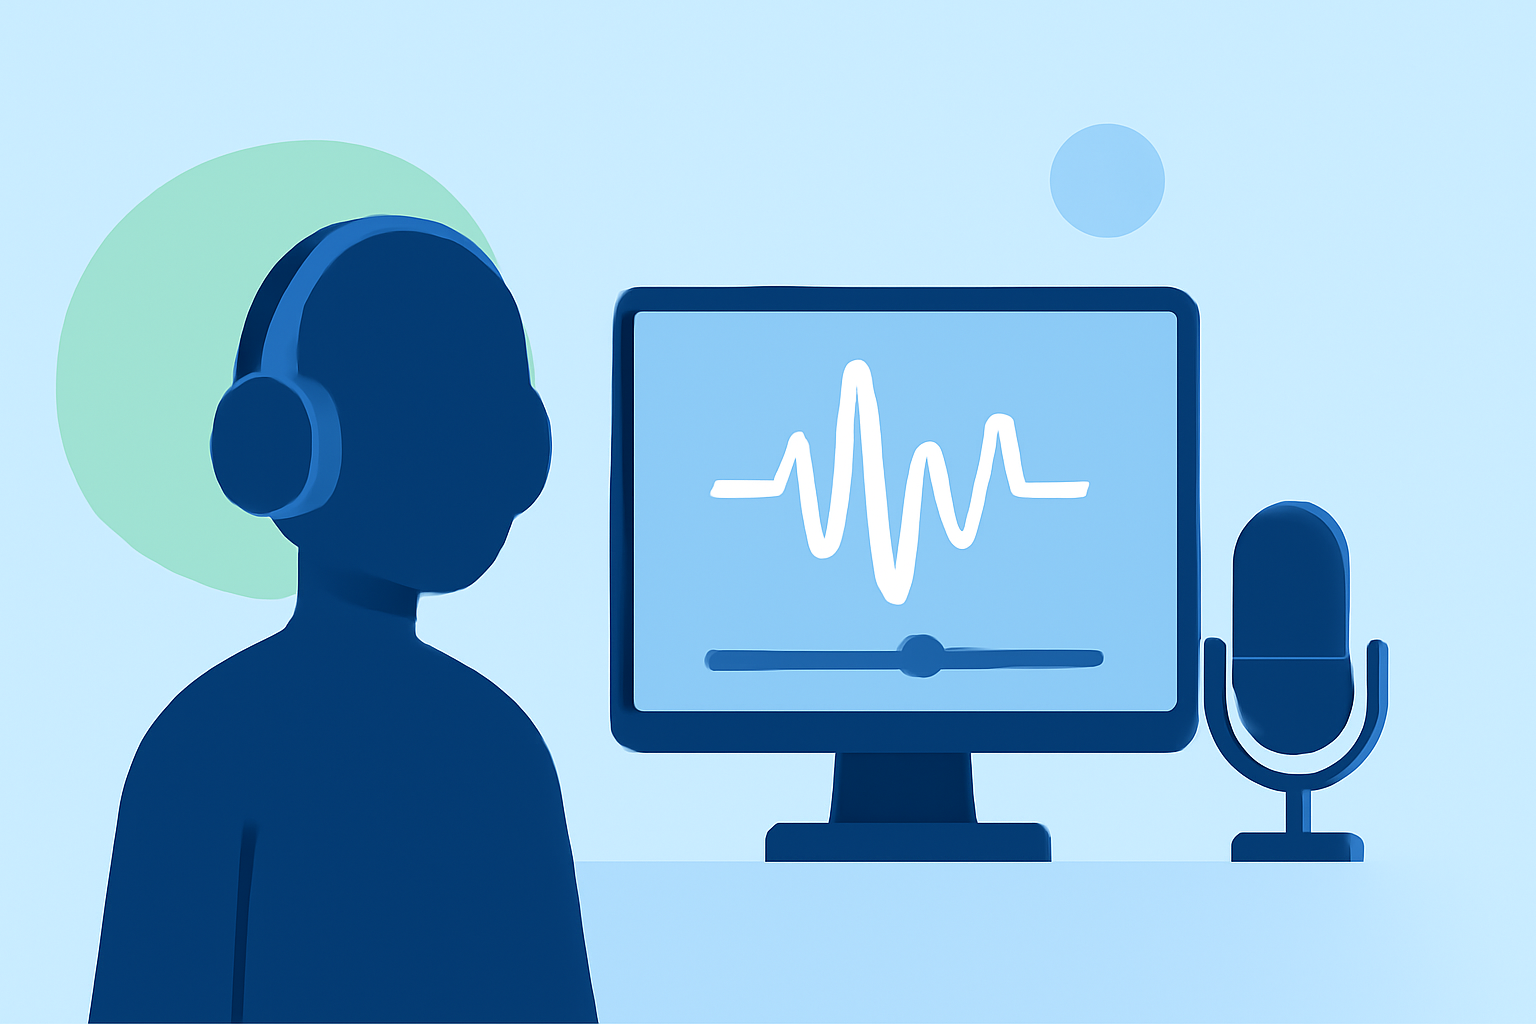
Creating engaging travel vlogs involves more than just capturing stunning visuals; the voiceover plays a crucial role in narrating your journey and connecting with your audience. For beginners, establishing an efficient workflow for voiceover editing can significantly enhance the quality of your content.
1. Why Is Voiceover Important in Travel Vlogs?
A well-crafted voiceover provides context, shares personal experiences, and adds a narrative layer to your footage. It helps convey emotions and insights that visuals alone might not fully express. A compelling voiceover can transform a simple travel video into an immersive storytelling experience.
2. How to Plan Your Voiceover Content?
-
Outline Your Story: Before recording, sketch a rough outline of your vlog's narrative. Decide on key points you want to cover, such as destinations, activities, or personal reflections.
-
Script Your Narration: Writing a script ensures clarity and coherence in your voiceover. Keep sentences concise and natural to maintain viewer engagement.
-
Timing and Pacing: Consider the pacing of your visuals and plan your voiceover to complement the flow of the video. Avoid long monologues that might bore the audience.
3. What Are the Best Practices for Recording Voiceovers?
-
Choose the Right Environment: Select a quiet space to minimize background noise. A room with soft furnishings can help reduce echoes.
-
Use Quality Equipment: Invest in a good microphone to ensure clear and crisp audio. Even an affordable condenser microphone can make a significant difference.
-
Monitor Audio Levels: Keep an eye on input levels to prevent distortion. Aim for levels that peak around -12 dB to -6 dB.
-
Maintain Consistent Delivery: Speak at a steady pace and volume. Consistency in tone and speed helps maintain a professional sound.
4. How to Edit Your Voiceover Effectively?
-
Import and Organize: Transfer your recorded audio into your editing software. Organize clips by scenes or topics for easy access.
-
Sync with Video: Align your voiceover with the corresponding video segments. Ensure that the narration matches the visuals to maintain coherence.
-
Enhance Audio Quality: Apply noise reduction filters to eliminate background sounds. Use equalization to balance frequencies and compression to even out volume levels.
-
Add Background Music: Incorporate subtle background music to enhance the mood. Ensure the music complements the voiceover without overpowering it.
5. How to Choose the Right Editing Software?
Selecting the appropriate editing software is crucial for a smooth workflow. Here are some options suitable for beginners:
Pelatihan Video Editing CapCut Dari Dasar Hingga Mahir – JSP – Jakarta School of Photography
CapCut
Ideal for mobile editing, CapCut offers an intuitive interface with built-in music and effects, making it perfect for quick edits on the go.
DaVinci Resolve vs Premiere Pro: Which is Better in 2021
DaVinci Resolve
A free desktop option that provides professional-grade color grading and audio tools, suitable for those looking to delve deeper into editing.
Mejor editor de vídeo: Adobe Premiere vs Davinci Resolve
Adobe Premiere Pro
An industry-standard software offering extensive features and integrations, ideal for creators aiming for high-quality production.
6. How to Streamline Your Editing Workflow?
-
Use Templates and Presets: Create or download templates for intros, outros, and lower thirds to save time on repetitive tasks.
-
Learn Keyboard Shortcuts: Familiarize yourself with shortcuts to speed up editing processes. For instance, using the razor tool to cut clips or the ripple delete function to remove gaps.
-
Batch Processing: Apply color corrections or audio enhancements to multiple clips simultaneously to maintain consistency and efficiency.
7. How to Avoid Common Editing Mistakes?
-
Overusing Effects: While effects can enhance your video, overusing them can distract viewers. Use them sparingly and purposefully.
-
Ignoring Audio Quality: Poor audio can detract from the viewer experience. Always prioritize clear and crisp audio in your edits.
-
Neglecting Storytelling: Ensure that your edits serve the story. Avoid cutting out important context or details that contribute to the narrative.
8. How to Finalize and Export Your Vlog?
-
Review Your Edit: Watch your video multiple times to catch any inconsistencies or errors.
-
Export Settings: Choose the appropriate resolution and frame rate for your platform. For YouTube, 1080p at 24fps is standard.
-
File Format: Export your video in a widely supported format like MP4 to ensure compatibility across devices and platforms.
By following these steps, beginners can develop a structured approach to voiceover editing in travel vlogs, leading to more polished and engaging content. Remember, practice and consistency are key to improving your editing skills over time.
For those looking to further enhance their editing capabilities, exploring advanced tools and techniques can provide additional creative control and efficiency.