22 June 2026
A Beginner's Guide to Adding Travel Map Overlays to Instagram Reels
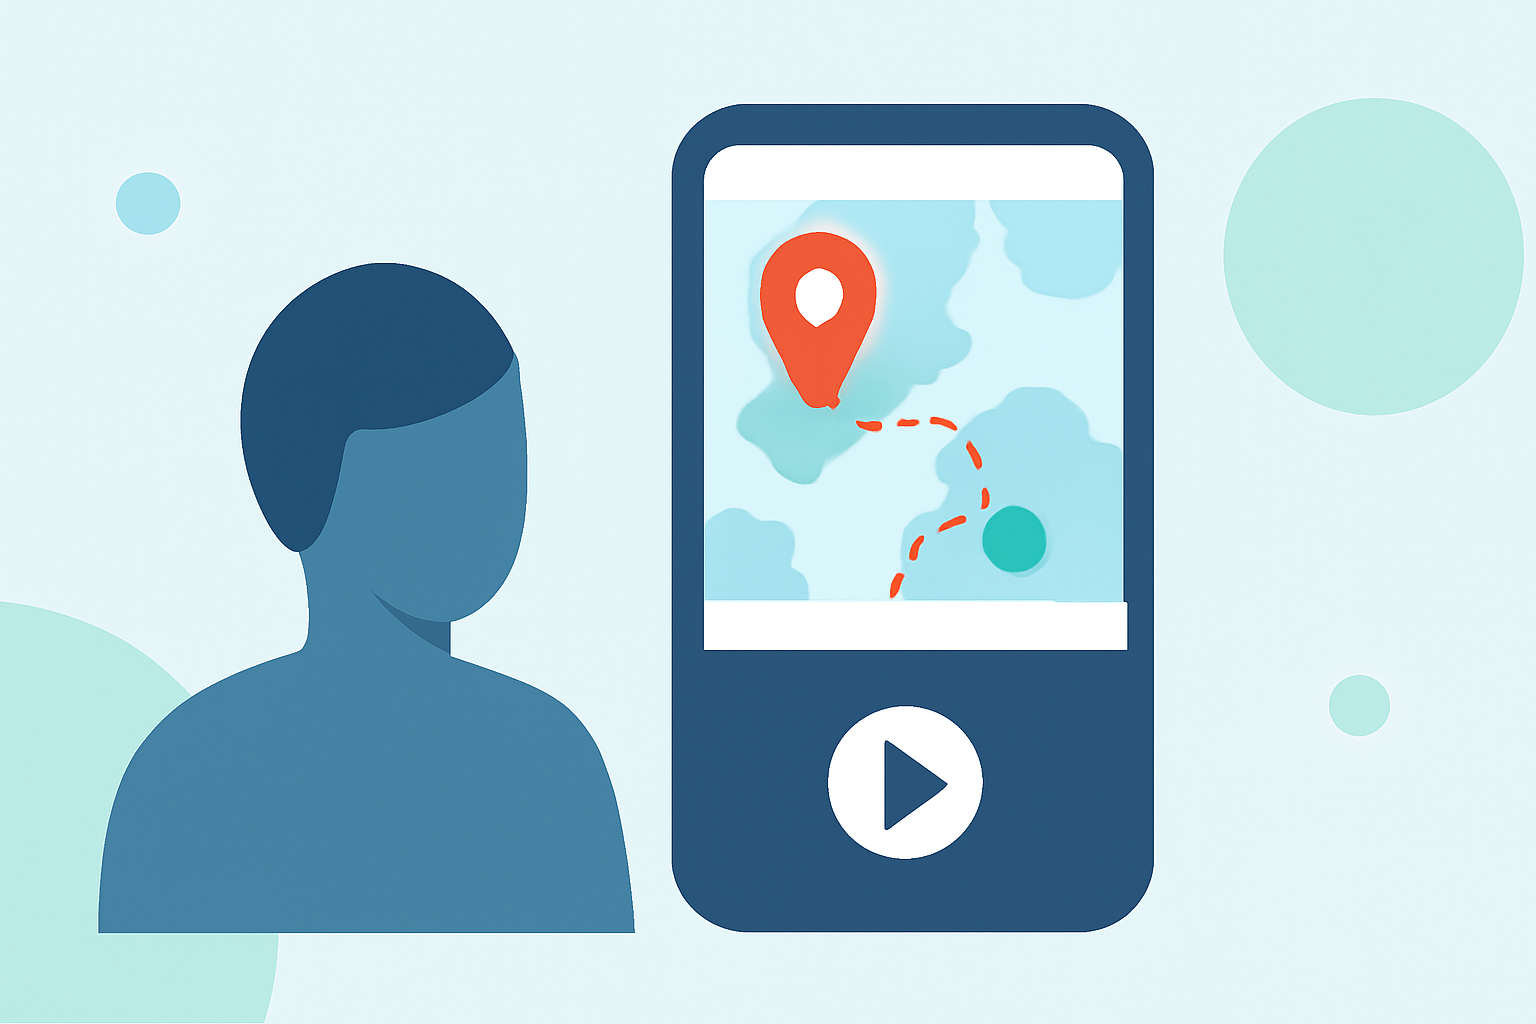
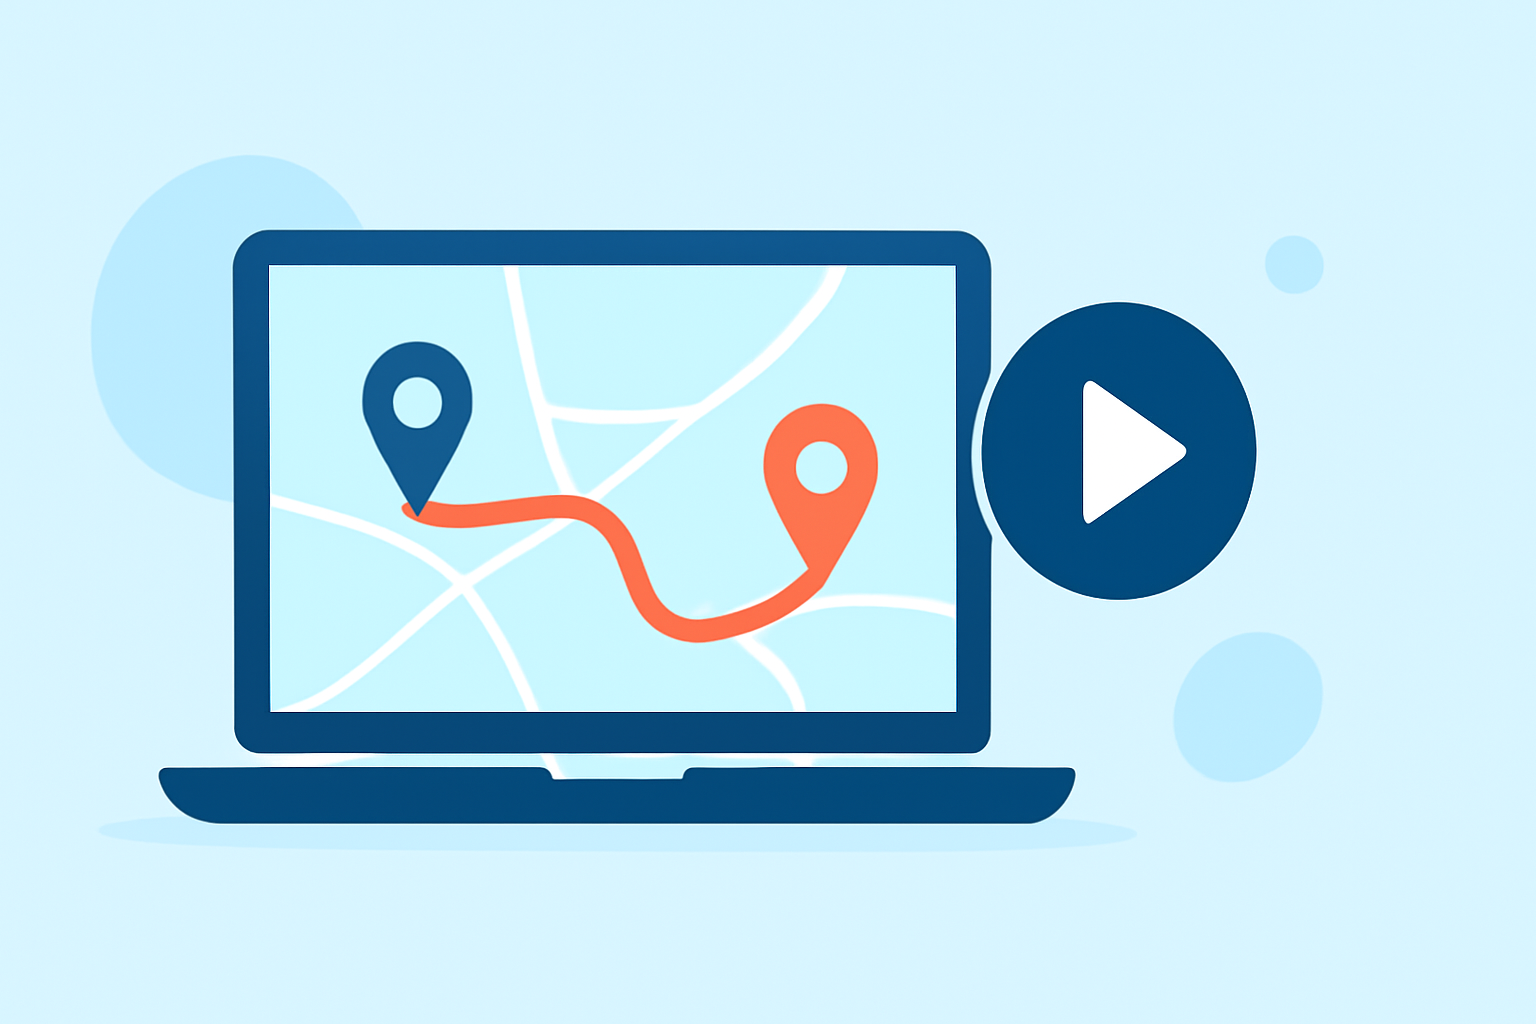
Instagram Reels have become a popular platform for sharing travel experiences, allowing creators to showcase their journeys in dynamic and engaging ways. One effective method to enhance these videos is by incorporating travel map overlays, which visually represent your route and destinations. This guide will walk you through the process of adding travel map overlays to your Instagram Reels, with a special focus on Planes Live, a user-friendly tool designed for creators.
Why Add Travel Map Overlays to Your Reels?
Incorporating travel map overlays into your Instagram Reels offers several benefits:
-
Visual Engagement: Maps provide a clear visual representation of your journey, making your content more engaging and informative.
-
Storytelling Enhancement: They help in narrating your travel story by highlighting key locations and routes.
-
Professional Appeal: Well-designed map animations can elevate the production quality of your videos, attracting a wider audience.
How to Add Travel Map Overlays to Your Instagram Reels
1. Choose the Right Tool
Selecting an appropriate tool is crucial for creating seamless and professional-looking map overlays. Planes Live is a robust solution that offers a range of features tailored for creators looking to add travel map animations to their content.
2. Plan Your Route and Stops
Before diving into the editing process, outline your travel route and the key locations you want to highlight. This planning will guide the customization of your map overlay, ensuring it aligns with your narrative.
3. Create the Map Overlay
Using Planes Live, you can create a customized map overlay by following these steps:
-
Input Your Route: Enter the starting point and destination of your journey.
-
Add Stops: Mark significant locations along your route that you wish to feature.
-
Customize Map Style: Choose from various map styles to match the aesthetic of your video.
-
Select Animation Style: Decide on the animation style for your route, such as a moving line or a plane icon traveling along the path.
4. Export the Map Overlay
Once satisfied with your map overlay, export it in a format compatible with Instagram Reels. Ensure the resolution and aspect ratio are optimized for Instagram's platform to maintain video quality.
5. Integrate the Map Overlay into Your Reel
With your map overlay ready, incorporate it into your Instagram Reel by:
-
Importing the Overlay: Add the exported map overlay as a layer in your video editing software.
-
Adjusting Timing: Sync the map animation with your video footage to ensure it appears at the right moments.
-
Final Edits: Make any necessary adjustments to the overlay's position, size, and opacity to blend seamlessly with your video content.
6. Publish Your Reel
After finalizing your edits, preview the Reel to ensure everything aligns perfectly. Once satisfied, publish your Reel on Instagram to share your enhanced travel experience with your audience.
Tips for Effective Map Overlays
-
Keep It Simple: Avoid cluttering the map with too many details; focus on key locations to maintain clarity.
-
Maintain Consistency: Use consistent colors and styles that align with your brand or the theme of your Reel.
-
Test Before Posting: Always preview your Reel to ensure the map overlay functions correctly and enhances the viewing experience.
Conclusion
Adding a travel map overlay to your Instagram Reels is an effective way to enrich your content and provide viewers with a visual representation of your journey. By utilizing tools like Planes Live, you can create professional and engaging map animations that elevate your storytelling and captivate your audience.
Highlights:
- Instagram Map is giving Snapchat vibes, as 'repost' debuts for content feed, Published on Wednesday, August 06