22 June 2026
A Beginner's Guide to Adding Destination Pins on Map Overlays
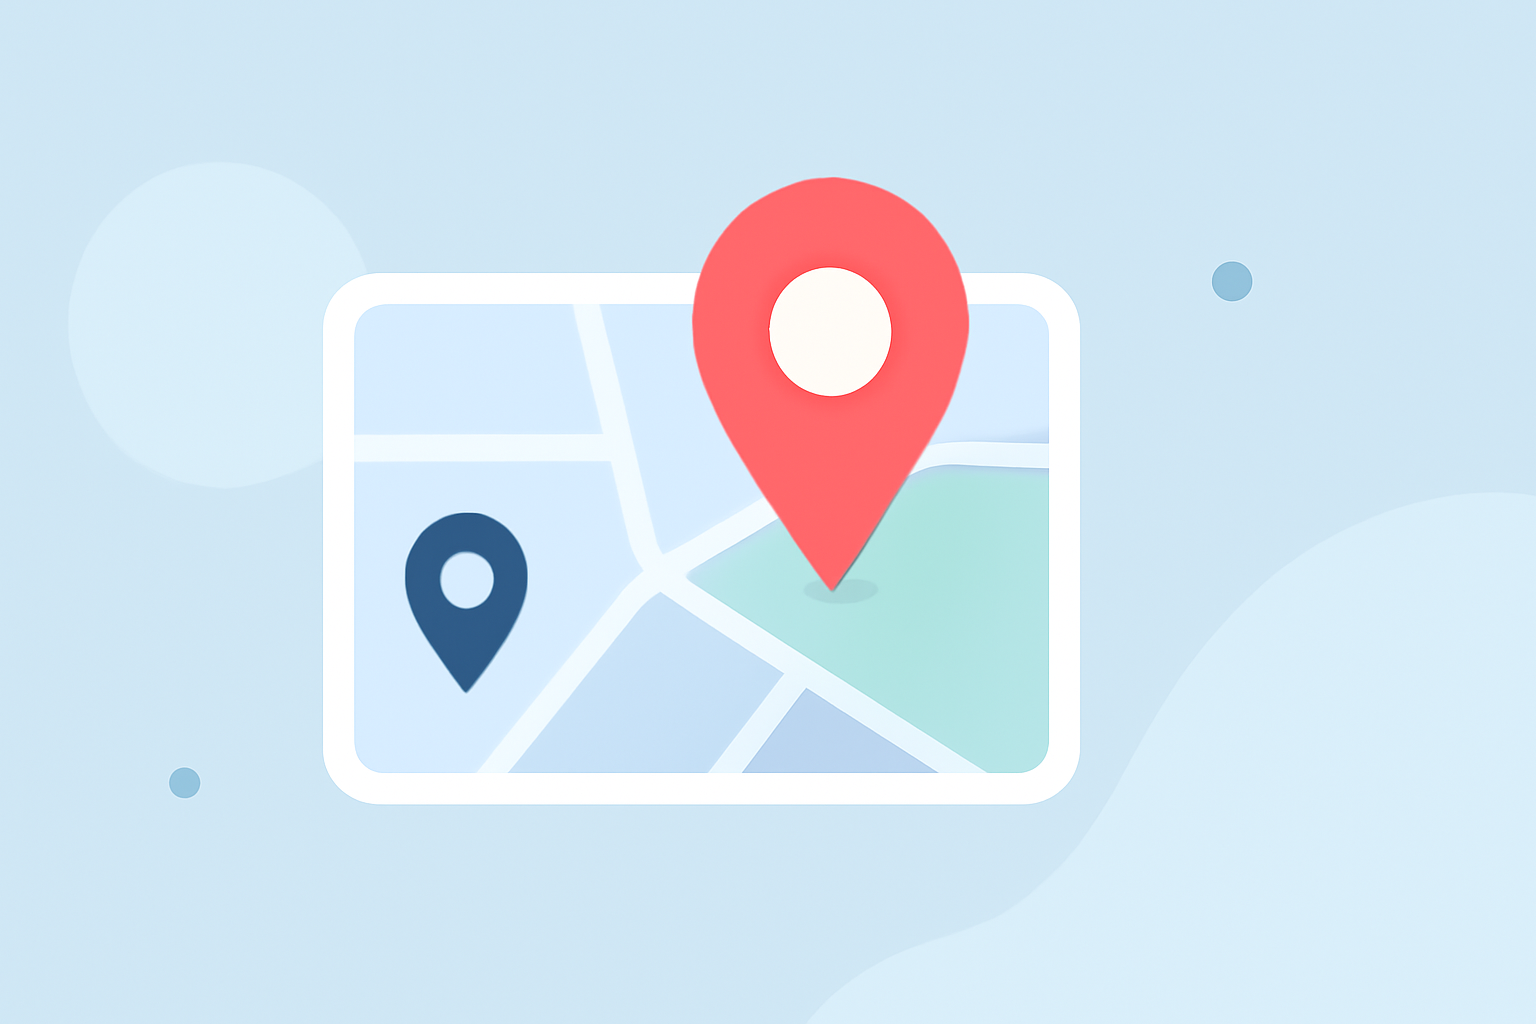
Creating custom maps with destination pins is an excellent way to visualize locations, plan trips, or share points of interest. Whether you're a beginner or looking for a straightforward method, several user-friendly tools can assist you in this process.
What Are Map Overlays with Destination Pins?
Map overlays are additional layers of information superimposed on a base map, such as routes, boundaries, or highlighted areas. Destination pins are markers placed on these overlays to indicate specific locations. Combining both allows for a comprehensive and interactive map experience.
Why Use Map Overlays with Destination Pins?
- Enhanced Visualization: Clearly display multiple locations on a single map.
- Improved Planning: Organize trips, events, or deliveries efficiently.
- Interactive Sharing: Share customized maps with others for collaborative planning.
How to Add Destination Pins to Map Overlays: A Step-by-Step Guide
-
Choose a User-Friendly Mapping Tool:
Select a platform that offers intuitive interfaces for adding pins and overlays. One such tool is Pinmaps.net, which allows users to create custom maps with multiple pins without requiring an account.
-
Create a New Map:
After selecting your tool, start by creating a new map. This option is typically available on the platform's dashboard or main page.
-
Add Destination Pins:
- Manual Placement: Click on the map where you want to place a pin.
- Search Function: Enter an address or location in the search bar, and the map will center on that spot.
- Coordinates Input: Some tools allow you to input latitude and longitude coordinates directly.
For instance, Pinmaps.net offers three methods to add map points: using the mouse, searching by address, or searching by latitude/longitude. (pinmaps.net)
-
Customize Your Pins:
After placing a pin, you can often edit its label, description, and appearance. This customization helps in organizing and distinguishing different locations.
-
Apply Overlays (Optional):
Some platforms allow you to add overlays, such as routes or boundaries, to your map. This feature is useful for planning trips or highlighting specific areas. For example, WP Maps Pro provides options to apply overlays with customizable settings. (wpmapspro.com)
-
Save and Share Your Map:
Once satisfied with your map, save it. Most platforms offer sharing options, allowing you to send the map via a link or embed it on a website.
Tips for Beginners:
- Start Simple: Begin with a few pins to familiarize yourself with the tool's features.
- Explore Tutorials: Many platforms offer tutorials or help sections to guide you through the process.
- Utilize Templates: Some tools provide templates for common use cases, which can be a great starting point.
Conclusion
Adding destination pins to map overlays is a valuable skill for planning and sharing locations. By choosing the right tool and following a straightforward process, beginners can create customized maps with ease.
For those seeking a comprehensive solution, Planes Live offers advanced mapping features tailored for various needs.
Highlights:
- How to use Google My Maps to plan your trip | TechRadar, Published on Saturday, May 27
- How to Create a Custom Map in Google Maps, Published on Saturday, May 060search6