22 June 2026
Editing Airport Footage on Your iPhone: A Comprehensive Guide
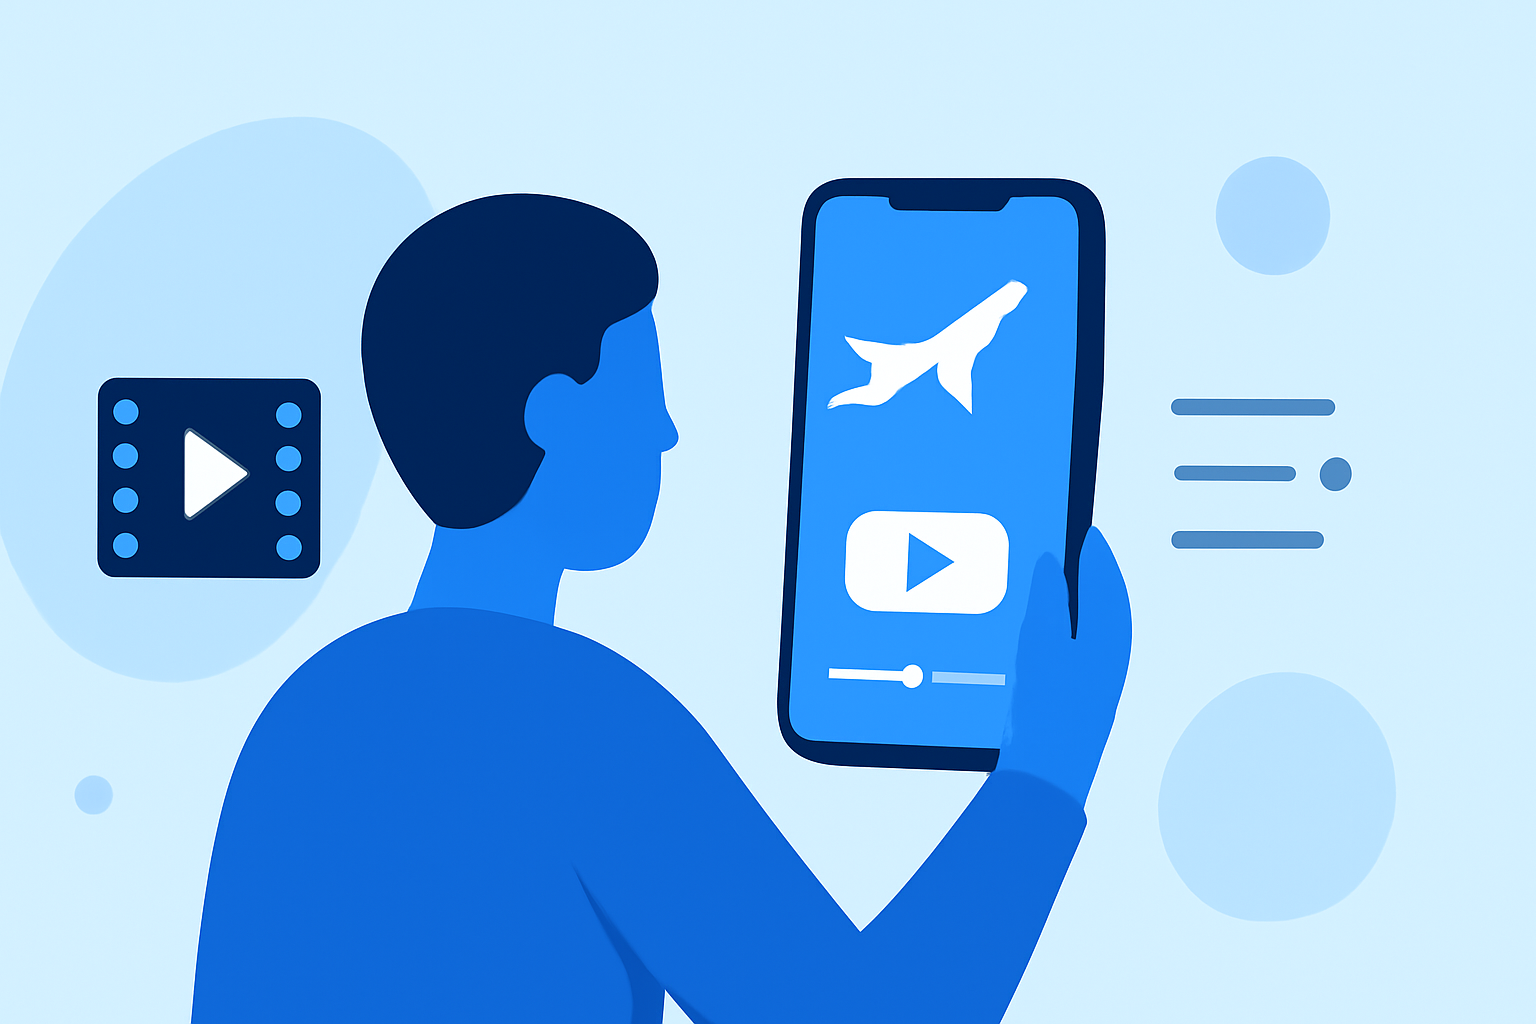
Capturing footage at airports offers unique opportunities to showcase dynamic environments, bustling terminals, and the intricate dance of travelers and staff. Editing this footage on your iPhone allows for flexibility and convenience, enabling you to craft compelling narratives on the go. Here's a step-by-step guide to help you transform your raw airport clips into polished videos using your iPhone.
1. Preparing Your Footage
Before diving into editing, it's essential to organize and prepare your clips:
-
Transfer and Organize: Move your footage from your camera or drone to your iPhone. Utilize the Photos app to create albums, categorizing clips by location or theme for easy access.
-
Trim Unnecessary Sections: Use the Photos app to trim out unwanted portions, focusing on the most engaging parts of your footage.
-
Convert to Constant Frame Rate: If your footage has variable frame rates, consider converting it to a constant frame rate to prevent issues like audio drift or stuttery playback.
2. Choosing the Right Editing App
Selecting an intuitive and feature-rich editing app is crucial. One such app is Planes Live, designed to streamline the editing process with user-friendly tools and templates.
3. Editing Your Footage
With your app ready, follow these steps to edit your airport footage:
-
Import Clips: Open your chosen app and import the organized clips from your Photos app.
-
Arrange Clips: Place your clips on the timeline in a sequence that tells a coherent story, highlighting key moments like arrivals, departures, and unique airport features.
-
Apply Transitions: Use smooth transitions between clips to maintain a natural flow. Avoid overusing flashy effects that might distract from the content.
-
Add Text and Captions: Incorporate on-screen text to provide context, such as location names, flight details, or interesting facts about the airport. Ensure the text is legible and complements the visuals.
-
Enhance Audio: Adjust audio levels to balance background noise with any voiceovers or music. Consider adding ambient sounds to immerse viewers in the airport atmosphere.
-
Color Correction: Adjust brightness, contrast, and saturation to ensure your footage appears vibrant and consistent.
4. Exporting and Sharing
Once satisfied with your edit:
-
Preview: Watch the entire video to ensure smooth transitions and correct any issues.
-
Export Settings: Choose the appropriate resolution and frame rate for your intended platform, whether it's social media, a personal website, or a presentation.
-
Share: Utilize the app's sharing features to export your video directly to platforms like YouTube, Instagram, or Facebook.
5. Tips for Effective Airport Footage
-
Stabilization: Use a tripod or gimbal to minimize shaky footage, especially in busy environments.
-
Lighting: Be mindful of lighting conditions; airports often have mixed lighting sources that can affect video quality.
-
Storytelling: Focus on creating a narrative that captures the essence of the airport experience, from the excitement of arrivals to the anticipation of departures.
By following these steps and utilizing the right tools, you can effectively edit your airport footage on your iPhone, producing engaging and professional-looking videos that capture the dynamic energy of airport environments.