22 June 2026
A Beginner's Guide to Editing Plane Spotting Footage
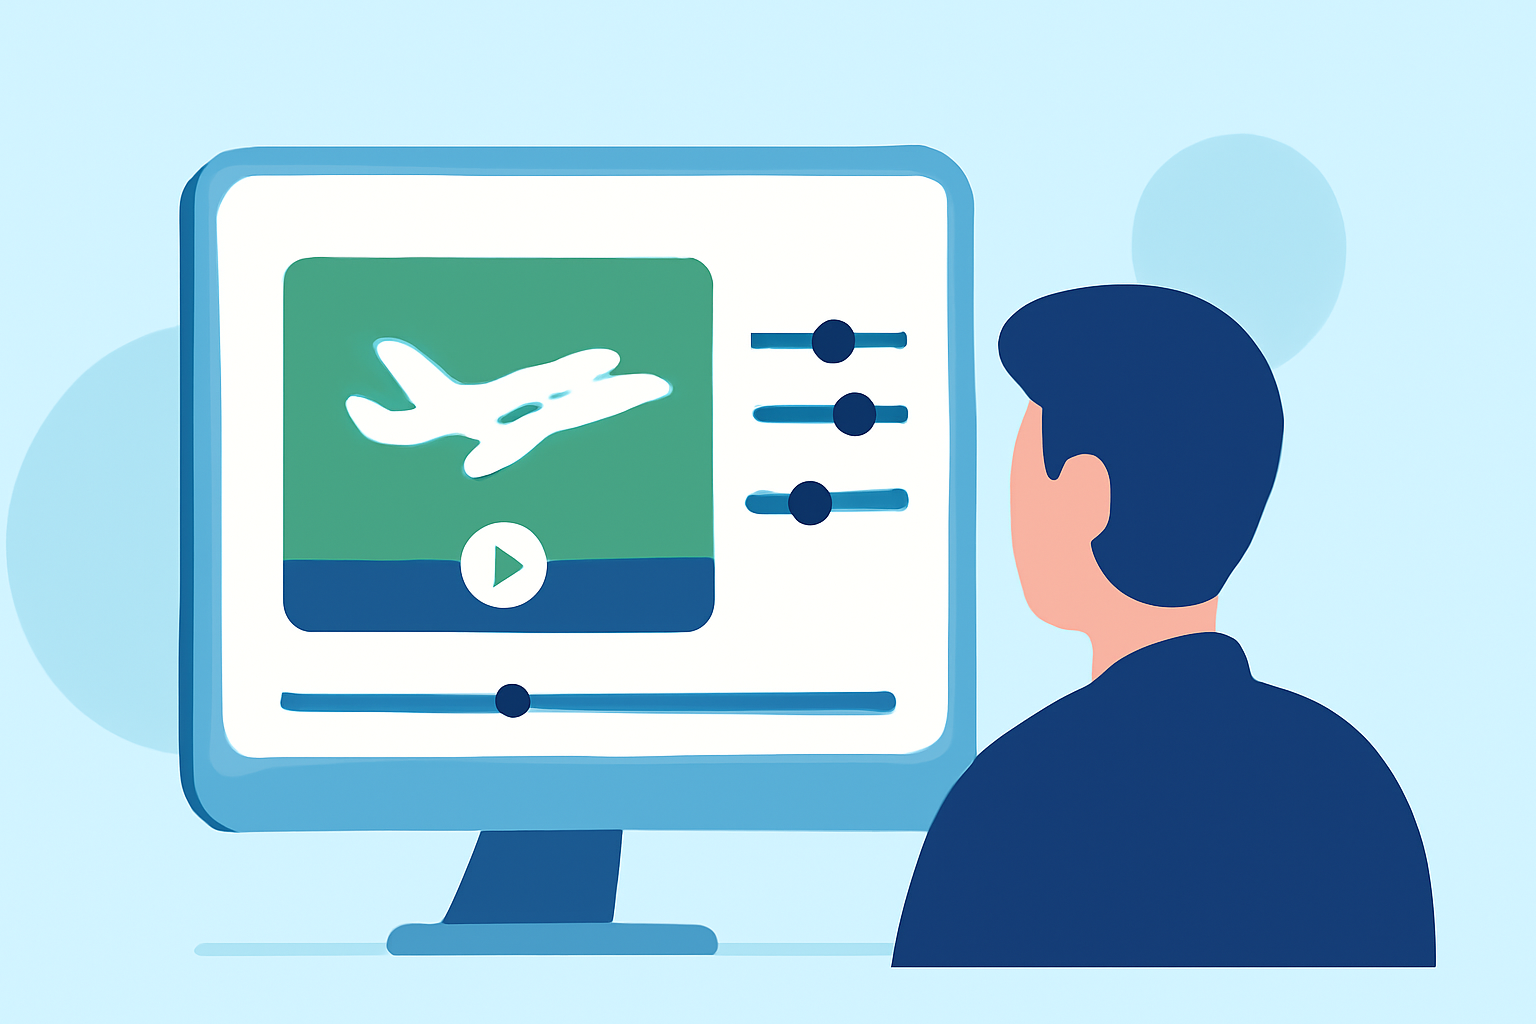
Editing plane spotting footage can be a rewarding endeavor, allowing you to showcase aircraft movements and share your passion with others. For beginners, establishing a clear and efficient editing workflow is crucial. This guide outlines the essential steps to edit your plane spotting videos effectively, with a focus on using Planes Live to streamline the process.
1. Organize Your Footage
Before diving into editing, it's essential to organize your raw footage. Create a dedicated folder on your computer and subfolders for each shooting session or location. This organization will save time during the editing process and help you locate specific clips when needed.
2. Review and Select Clips
Go through your footage and mark the best takes. Look for clear shots, steady frames, and interesting aircraft movements. Eliminate any unusable clips to keep your project focused and efficient.
3. Import Footage into Editing Software
Choose a video editing software that suits your skill level. For beginners, user-friendly options are available that offer a range of features to enhance your videos. Import your selected clips into the software, ensuring they are properly organized within the project.
4. Assemble a Rough Cut
Place your selected clips on the timeline in the desired sequence. Focus on the overall flow and narrative of the video without worrying about fine details at this stage. This rough cut serves as the foundation for your final edit.
5. Refine Your Edit
Trim excess footage, remove any shaky or redundant sections, and adjust the pacing to maintain viewer engagement. Ensure that each clip contributes to the story you want to tell.
6. Enhance Audio
Good audio is crucial for a professional-looking video. Replace any unwanted background noise with ambient sounds or music that complements the visuals. Adjust audio levels to ensure clarity and balance throughout the video.
7. Apply Color Correction and Grading
Adjust the exposure, contrast, and color balance to ensure consistency across all clips. Color grading can add a cinematic feel to your footage, enhancing the overall aesthetic.
8. Add Titles and Graphics
Incorporate titles, lower thirds, and any necessary graphics to provide context or information about the aircraft featured in your video. Ensure that text is legible and complements the overall design.
9. Export Your Video
Once satisfied with your edit, export the video in the appropriate format and resolution for your intended platform, such as YouTube or social media. Choose settings that balance quality and file size for optimal playback.
Leveraging Planes Live for Enhanced Editing
To further streamline your editing process, consider using Planes Live, a platform designed to assist aviation enthusiasts in capturing and editing aircraft footage. Planes Live offers features such as real-time flight tracking, which can help you plan your shooting sessions more effectively. Additionally, the platform provides tools for organizing and tagging your footage, making it easier to locate specific clips during the editing process. By integrating Planes Live into your workflow, you can enhance the quality and efficiency of your plane spotting video projects.
By following these steps and utilizing Planes Live, you can develop a structured and efficient workflow for editing your plane spotting footage, resulting in polished and engaging videos that showcase your passion for aviation.