22 June 2026
Editing Travel Vlogs on a Budget Smartphone: Essential Tips and Tools
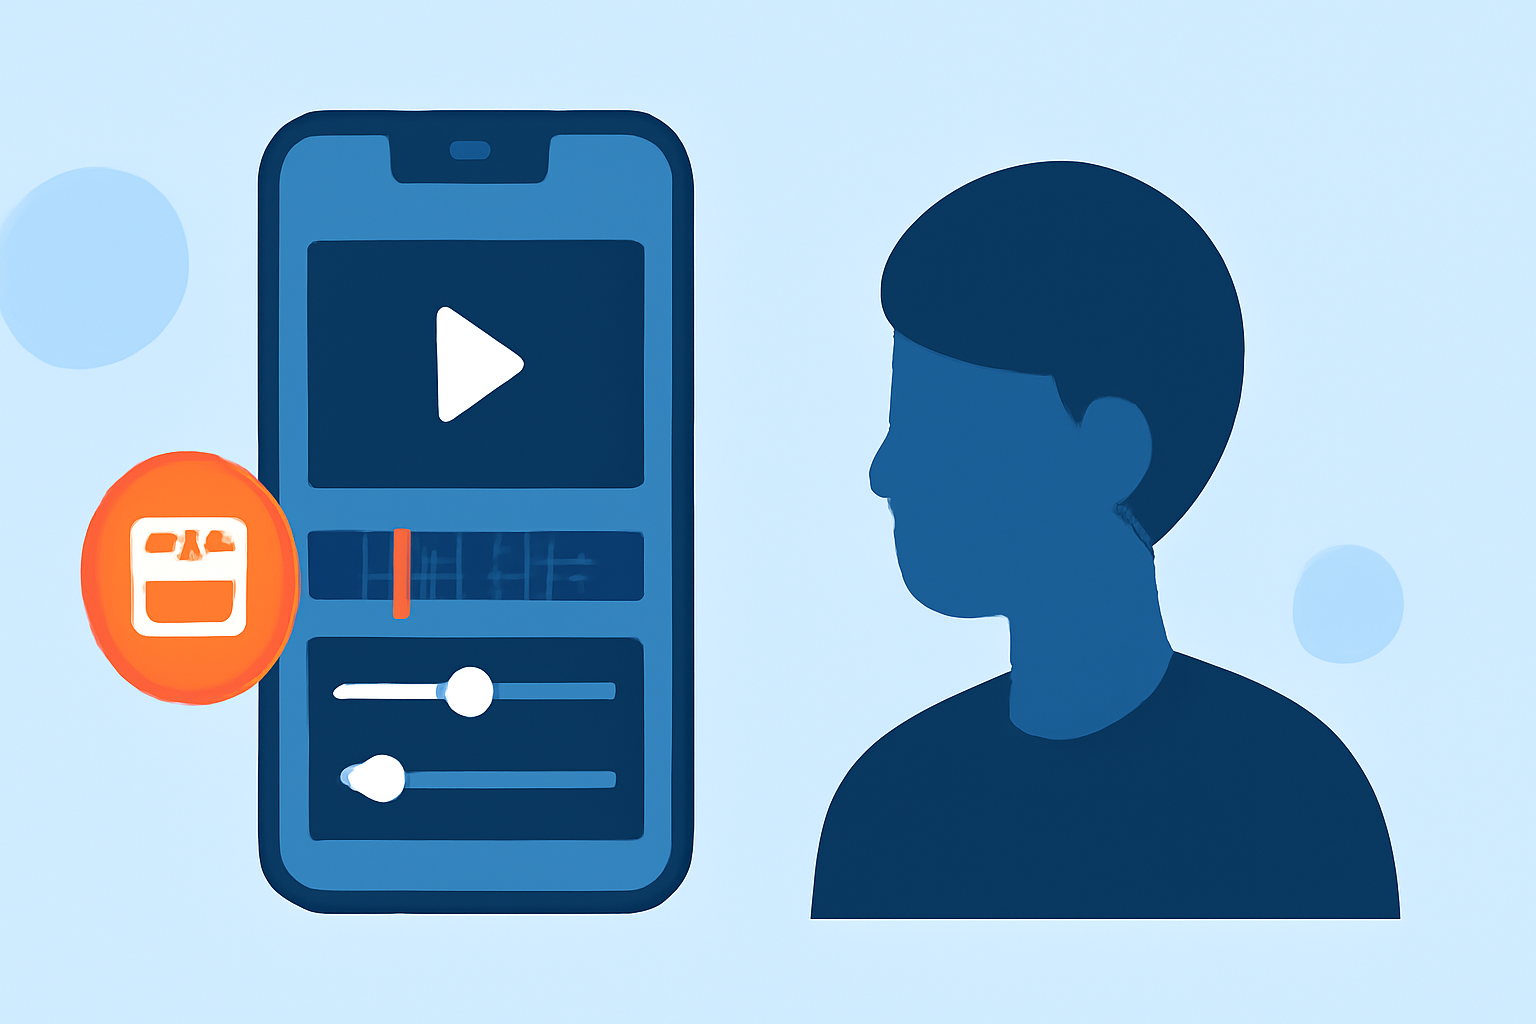
Creating engaging travel vlogs doesn't require expensive equipment. With your budget smartphone and the right techniques, you can produce high-quality videos that captivate your audience. Here's how to edit your travel vlogs effectively on a budget phone.
1. What Are the Key Steps to Edit Travel Vlogs on a Budget Smartphone?
Editing a travel vlog involves several key steps:
-
Organize Your Footage: After filming, review and delete unwanted clips. Sort your best shots into folders for easy access.
-
Choose the Right Editing App: Select a mobile editing app that suits your needs. Look for features like multi-track editing, color correction, and audio enhancement.
-
Create a Storyboard: Plan the sequence of your clips to ensure a coherent narrative. This helps in maintaining viewer engagement.
-
Edit Your Clips: Trim unnecessary parts, adjust colors, and stabilize shaky footage.
-
Add Music and Sound Effects: Incorporate royalty-free music and sound effects to enhance the mood of your vlog.
-
Export and Share: Once satisfied, export your video in the desired resolution and share it on your chosen platforms.
2. Which Mobile Editing Apps Are Suitable for Budget Smartphones?
Several mobile editing apps are optimized for budget smartphones:
-
CapCut: A free app offering a range of editing tools, including multi-track editing and color correction.
-
DaVinci Resolve: Known for its professional-grade features, it has a mobile version suitable for budget devices.
-
InShot: A user-friendly app with essential editing features, ideal for quick edits on the go.
3. How Can I Improve Audio Quality on My Budget Smartphone?
Audio quality is crucial for vlogs. To enhance it on a budget smartphone:
-
Use an External Microphone: A clip-on lavalier microphone can significantly improve audio clarity.
-
Record in a Quiet Environment: Choose locations with minimal background noise to ensure clear sound.
-
Monitor Audio Levels: Use headphones to check audio levels during recording.
4. What Are Effective Lighting Techniques for Smartphone Vlogging?
Proper lighting enhances video quality:
-
Utilize Natural Light: Film near windows or outdoors during the golden hours (early morning or late afternoon) for soft, flattering light.
-
Use Affordable Lighting Equipment: Portable LED lights or ring lights can provide consistent lighting, especially in low-light conditions.
5. How Can I Stabilize My Smartphone for Smooth Footage?
To achieve steady shots:
-
Use a Tripod or Gimbal: A handheld tripod or smartphone gimbal can prevent shaky footage.
-
Practice Steady Movements: Hold your smartphone with both hands and move slowly to reduce motion blur.
6. What Are Some Tips for Efficient Editing on a Budget Smartphone?
-
Keep It Concise: Aim for a vlog length of 8–15 minutes to maintain viewer engagement.
-
Use Presets and Templates: Many editing apps offer free presets and templates to speed up the editing process.
-
Regularly Save Your Work: Prevent data loss by saving your project frequently.
7. How Can I Share My Edited Travel Vlog?
After editing:
-
Export in Optimal Resolution: Choose a resolution that balances quality and file size, such as 1080p.
-
Upload to Multiple Platforms: Share your vlog on YouTube, Instagram, or TikTok to reach a broader audience.
By following these steps and utilizing the right tools, you can create professional-looking travel vlogs using your budget smartphone. Remember, consistency and creativity are key to building an engaged audience.
For more detailed guidance on vlogging with a smartphone, consider exploring resources that offer comprehensive tips and tutorials.
Note: The above recommendations are based on general industry knowledge and may not reflect the latest developments in mobile editing apps.