22 June 2026
A Step-by-Step Guide to Editing Travel Vlogs on Your iPad
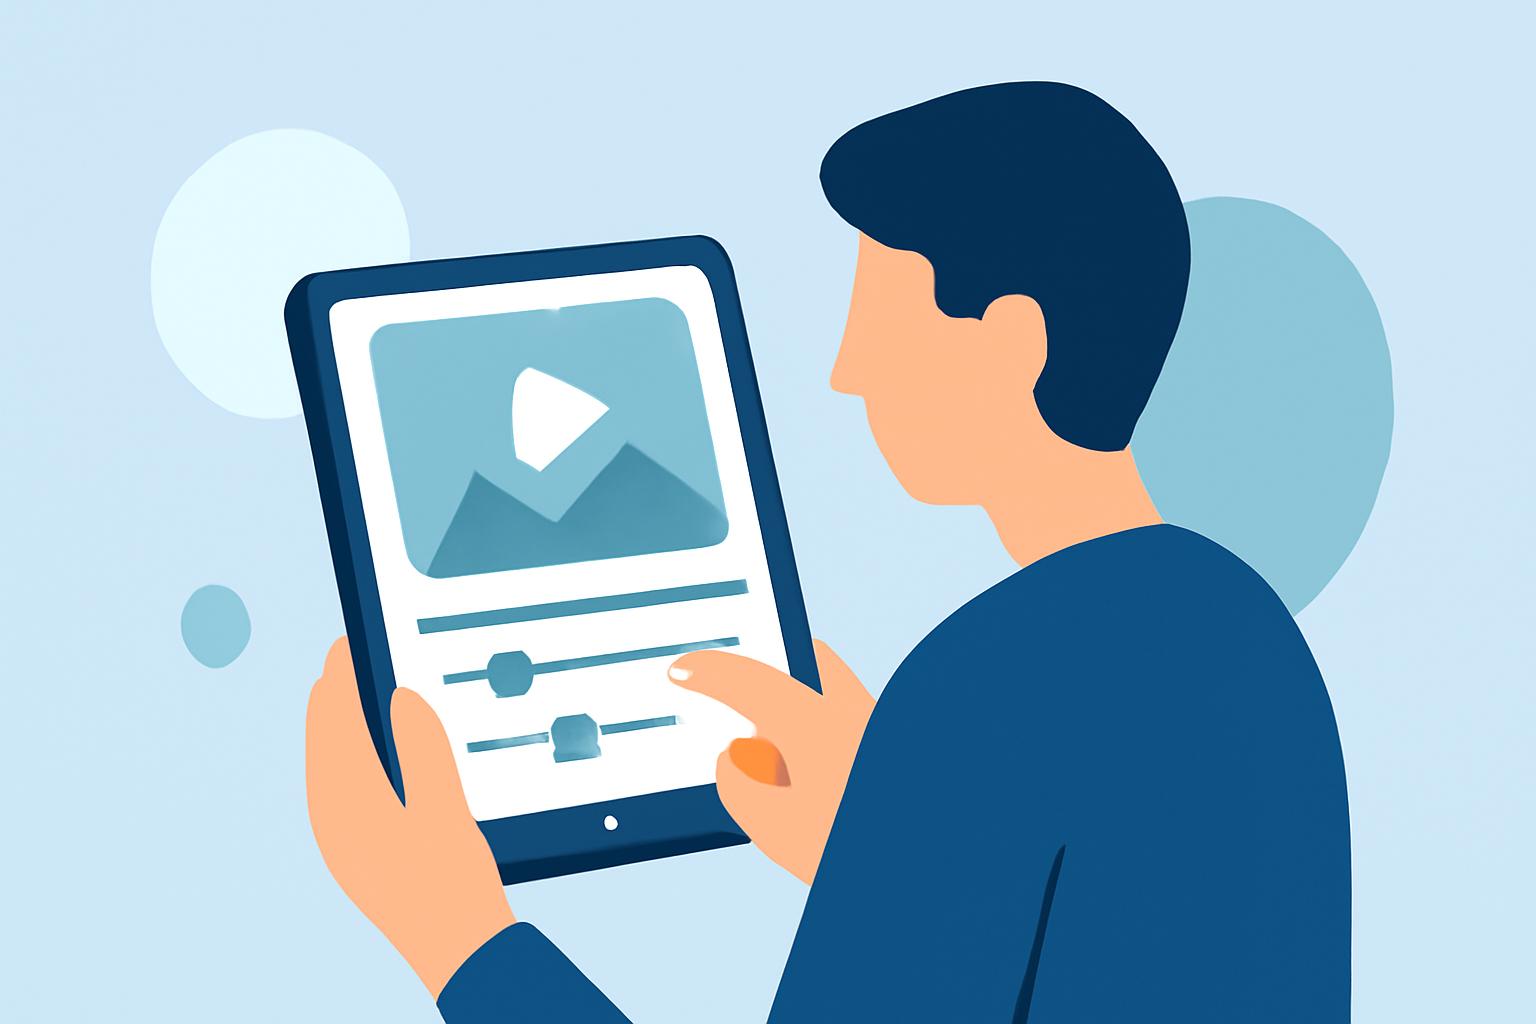
Travel vlogging has become a popular way to share experiences, and with the power of the iPad, editing your footage on the go is more accessible than ever. This guide will walk you through the process of editing travel vlogs on your iPad, highlighting top apps and essential tips to enhance your videos.
1. Why Choose an iPad for Travel Vlog Editing?
The iPad offers a portable and efficient platform for video editing, combining powerful hardware with a user-friendly interface. Its compatibility with various editing apps allows for a seamless workflow, making it an excellent choice for content creators on the move.
2. Selecting the Right Video Editing App
Choosing the appropriate app is crucial for a smooth editing experience. Here are some top-rated video editing apps for iPad:
LumaFusion: Advanced Video Editor for iOS
LumaFusion
A professional-grade video editor offering multi-track editing, advanced color correction, and a range of effects. Ideal for creators seeking comprehensive editing capabilities. (insideeditors.com)
Ini Cara Membuat Template CapCut
CapCut
A user-friendly app with a vast collection of templates, effects, and music tracks, perfect for quick edits and social media content. (insideeditors.com)
How to Make a Movie with/without iMovie: Step-by-Step Tutorials
iMovie
Apple's native app provides a simple interface with essential editing tools, suitable for beginners and straightforward projects.
3. Preparing Your Footage
Before diving into editing, organize your clips:
- Transfer Files: Use AirDrop or cloud services to move your footage to the iPad.
- Review Clips: Watch all recordings to identify the best shots.
- Create a Project Folder: Keep all assets in one place for easy access.
4. Editing Your Travel Vlog
Follow these steps to craft your vlog:
- Import Clips: Open your chosen app and import the selected footage.
- Arrange Clips: Place them in the desired sequence on the timeline.
- Trim and Split: Remove unnecessary parts to maintain a concise narrative.
- Add Transitions: Use built-in effects to smooth scene changes.
- Incorporate Music and Sound Effects: Enhance the mood with appropriate audio tracks.
- Apply Color Correction: Adjust brightness, contrast, and saturation for visual consistency.
- Add Titles and Captions: Provide context or emphasize key points.
5. Exporting and Sharing Your Vlog
Once satisfied with your edit:
- Export Settings: Choose the resolution and frame rate suitable for your platform (e.g., 1080p at 30fps for YouTube).
- Save to Device: Store the final video on your iPad or external storage.
- Share Online: Upload to platforms like YouTube, Vimeo, or social media directly from the app.
6. Tips for Efficient Editing
- Use Keyboard Shortcuts: If you have a compatible keyboard, learn shortcuts to speed up the process.
- Regular Backups: Save your project periodically to prevent data loss.
- Stay Updated: Keep your apps and iPadOS updated for optimal performance.
7. Enhancing Your Editing Skills
To further improve your editing:
- Online Tutorials: Explore video tutorials specific to your chosen app.
- Practice: Regular editing will enhance your proficiency.
- Join Communities: Engage with fellow creators for tips and feedback.
By following this guide and utilizing the recommended apps, you can effectively edit your travel vlogs on your iPad, producing professional-quality content that captures your adventures.