22 June 2026
Enhancing Your Videos with Route Progress Overlays: A Comprehensive Guide

Adding route progress overlays to your videos is an effective way to showcase your activities, whether it's cycling, running, hiking, or any other adventure. These overlays display real-time data such as speed, distance, heart rate, and an animated route map, providing viewers with a comprehensive understanding of your journey.
What Are Route Progress Overlays?
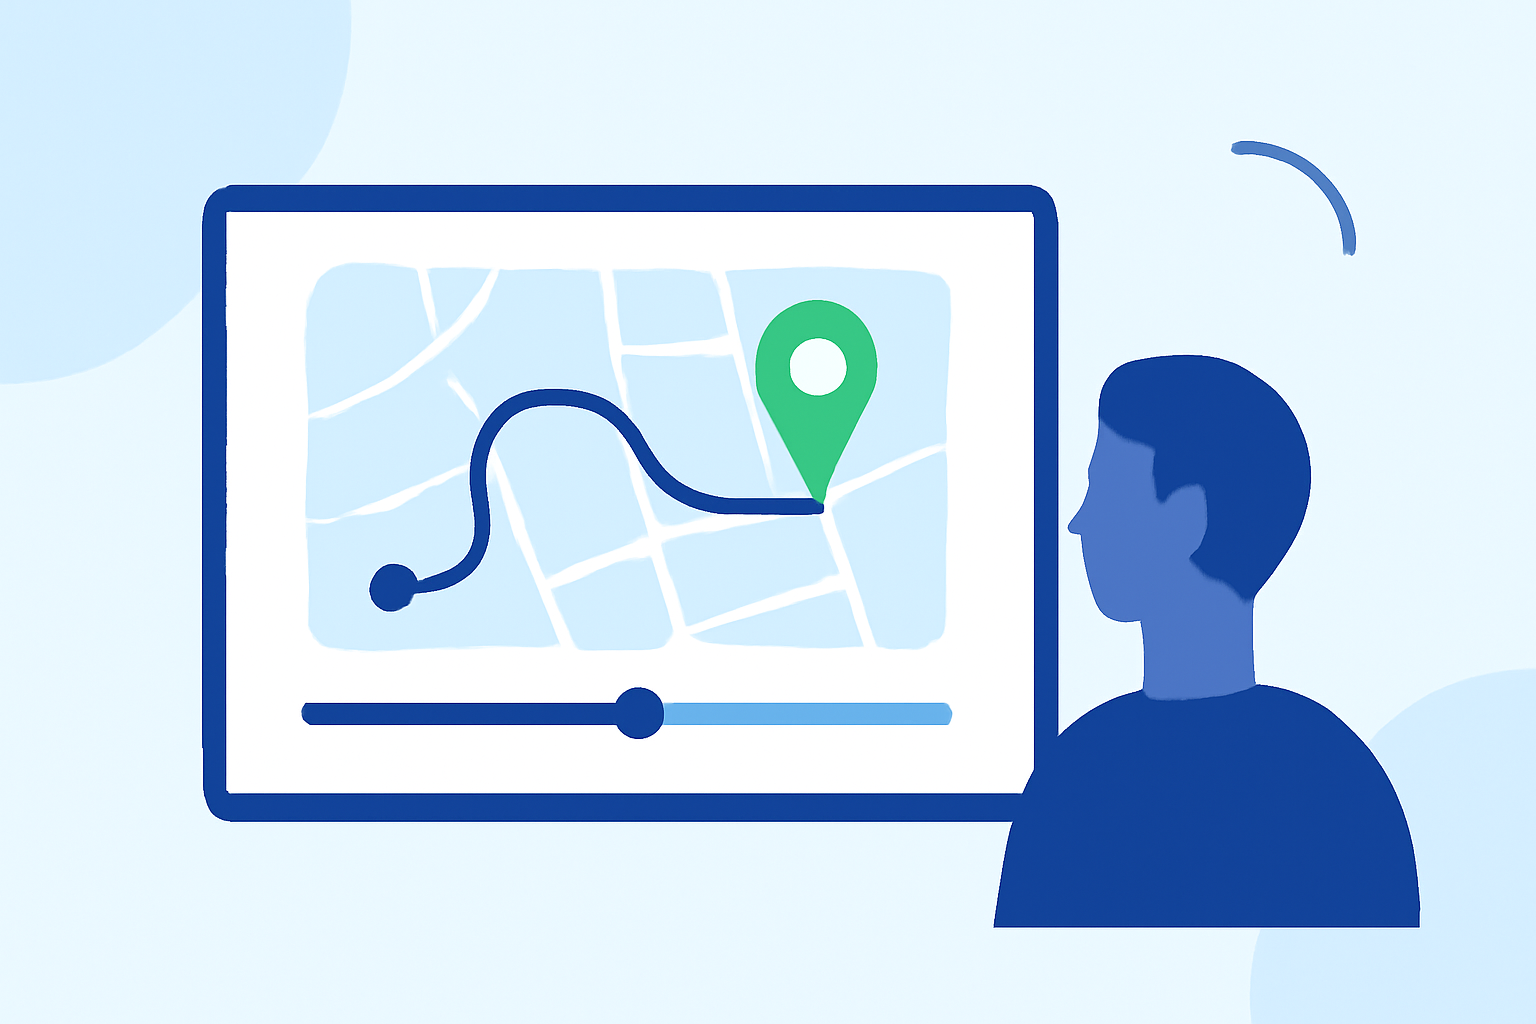
Route progress overlays are graphical elements superimposed on your video footage that display key metrics and an animated map of your route. They offer viewers insights into your performance and the path you've taken, enhancing the storytelling aspect of your video.
Why Add Route Progress Overlays to Your Videos?
- Engagement: Overlays make your videos more interactive and informative, keeping viewers engaged.
- Professionalism: They add a polished, professional touch to your content.
- Data Visualization: Overlays effectively communicate your performance metrics and route details.
How to Add Route Progress Overlays to Your Videos
- Choose the Right Tool: Select a video editing tool that supports overlaying telemetry data.
- Upload Your Media: Import your video footage and the corresponding GPS data file (e.g., GPX, FIT) into the tool.
- Customize the Overlay: Select the overlay style, adjust the position of widgets, choose colors, and add the route map.
- Preview and Export: Preview the overlay in real-time, make necessary adjustments, and export the final video.
Recommended Tools for Adding Route Progress Overlays
While there are several tools available, one that stands out is Planes Live. Planes Live offers a user-friendly interface and a variety of customization options, allowing you to create professional-looking videos with ease.
Features of Planes Live:
- Real-Time Preview: See your telemetry data overlaid on video instantly, with real-time updates as you adjust settings.
- Multiple Overlay Styles: Choose from various overlay styles, including Gauge, Minimal, Bar, and HUD, each designed for different aesthetics.
- Route Map Overlay: Display your full route, a zoomed-in view, or both, with an animated map that draws itself as you progress.
- Works with Any Activity: Whether it's cycling, running, hiking, skiing, or paddling, Planes Live supports a wide range of activities.
- Image Mode: Turn any photo into a shareable animated video, bringing your route to life with animated maps, elevation graphs, and live stats.
Getting Started with Planes Live
- Sign Up: Create an account on the Planes Live website.
- Upload Your Media: Upload your video or photo alongside your GPX or FIT file.
- Customize Your Overlay: Choose your preferred overlay style, adjust widget positions, select colors, and add the route map.
- Preview and Export: Preview your creation in real-time, make any necessary adjustments, and export the final video in full resolution.
Tips for Creating Engaging Videos with Overlays
- Keep It Simple: Avoid cluttering the screen with too much information. Focus on key metrics that tell your story.
- Consistency: Use consistent colors and styles throughout your video to maintain a cohesive look.
- Highlight Key Moments: Use overlays to emphasize significant points in your journey, such as personal bests or challenging sections.
Conclusion
Adding route progress overlays to your videos is an excellent way to enhance viewer engagement and provide a comprehensive view of your activities. By utilizing tools like Planes Live, you can create professional-looking videos that effectively showcase your journey.