22 June 2026
Mastering Flight Route Overlay Editing: A Beginner's Guide for Travel Vloggers
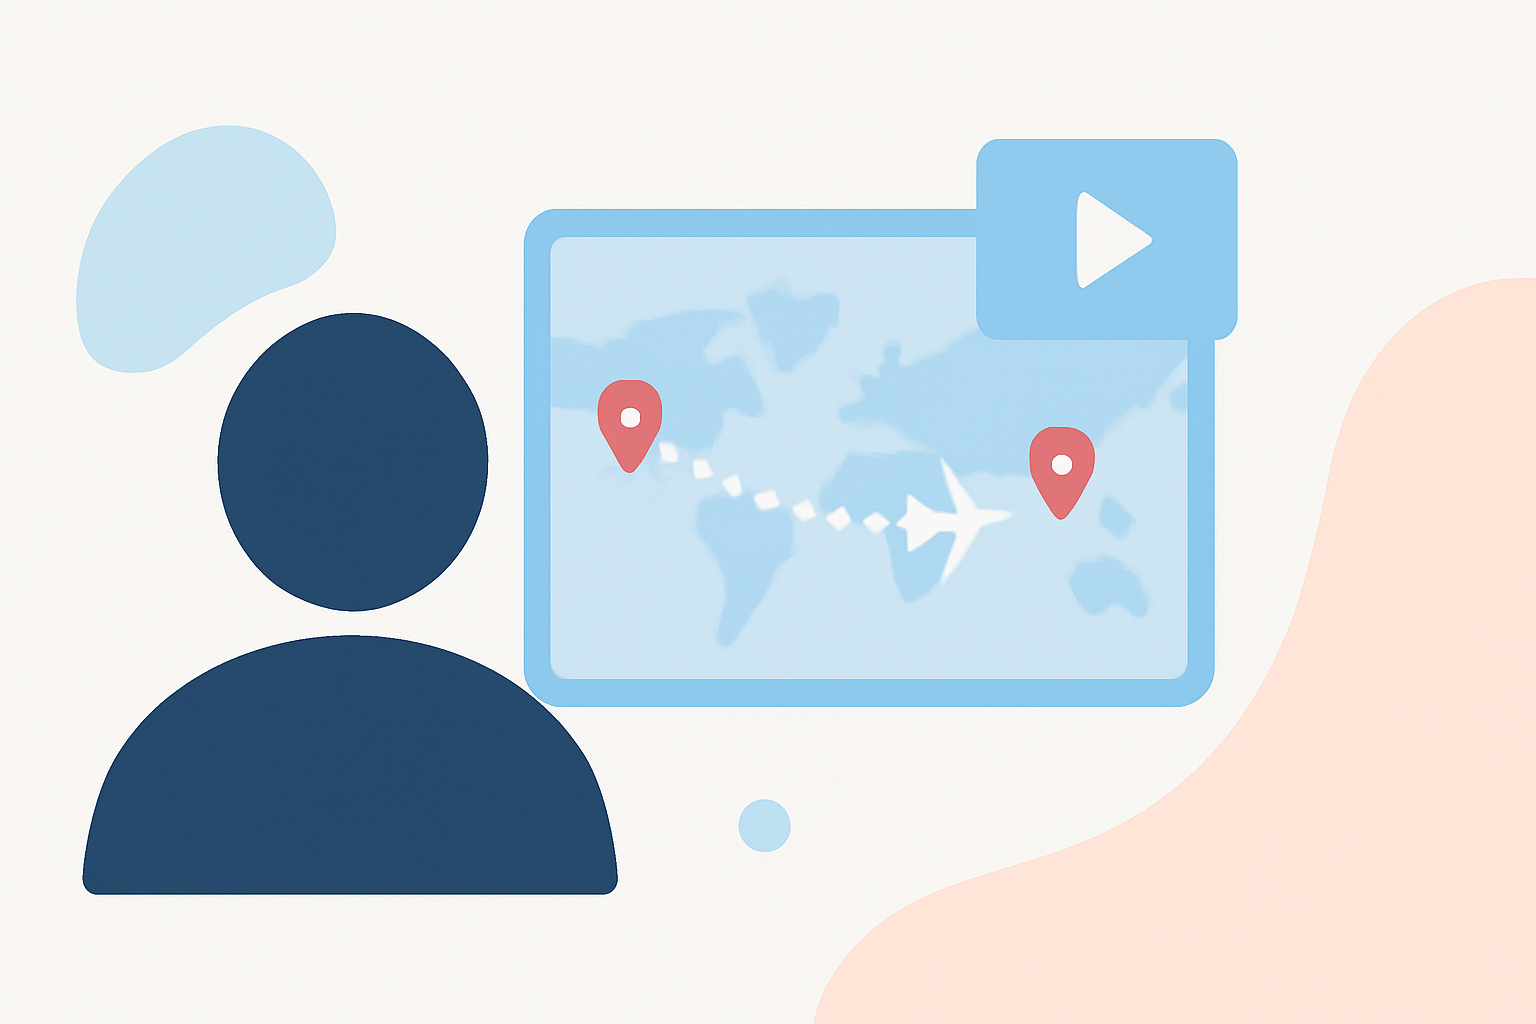
As a travel vlogger, incorporating flight route overlays into your videos can significantly enhance viewer engagement by visually illustrating your journey. This guide provides a step-by-step workflow for beginners to create compelling flight route animations, culminating in a recommendation for Planes Live, a tool designed to simplify this process.
What Are Flight Route Overlays and Why Are They Important?
Flight route overlays are animated maps that depict the path of your travels, showing the progression from one destination to another. They serve several purposes:
- Visual Engagement: They capture viewers' attention by adding dynamic elements to your videos.
- Contextualization: They provide geographical context, helping viewers understand the scope and scale of your journey.
- Storytelling Enhancement: They contribute to a narrative flow, making your travel story more cohesive and engaging.
Step-by-Step Workflow for Creating Flight Route Overlays
Creating a flight route overlay involves several key steps:
- Planning Your Route: Outline the destinations and the sequence of your journey.
- Selecting an Appropriate Tool: Choose a user-friendly tool that aligns with your technical proficiency and creative needs.
- Designing the Overlay: Customize the map style, route appearance, and animation effects to match your video's aesthetic.
- Integrating the Overlay into Your Video: Import the animated overlay into your video editing software and synchronize it with your footage.
- Finalizing and Exporting: Review the final product, make necessary adjustments, and export the video in your desired format.
Recommended Tool: Planes Live
For a seamless and efficient experience in creating flight route overlays, Planes Live stands out as an excellent choice. This tool offers:
- User-Friendly Interface: Designed with beginners in mind, it allows for easy creation of animated flight paths without the need for advanced technical skills.
- Customization Options: Offers a variety of map styles, route colors, and animation effects to match your video's aesthetic.
- High-Quality Exports: Provides 4K resolution exports, ensuring your overlays are crisp and professional-looking.
By incorporating Planes Live into your workflow, you can enhance your travel vlogs with engaging and visually appealing flight route animations.
Tips for Effective Flight Route Overlays
- Keep It Simple: Avoid overcrowding the map with too many routes or destinations. Focus on key points to maintain clarity.
- Maintain Consistency: Use consistent colors, fonts, and styles that align with your brand identity.
- Synchronize with Footage: Ensure the overlay animations are in sync with your video content to create a cohesive viewing experience.
Conclusion
Incorporating flight route overlays into your travel vlogs can significantly enhance viewer engagement and storytelling. By following the outlined workflow and utilizing tools like Planes Live, you can create professional-quality animations that bring your journeys to life.