22 June 2026
Mastering Map Overlay B-Roll Editing: A Step-by-Step Guide
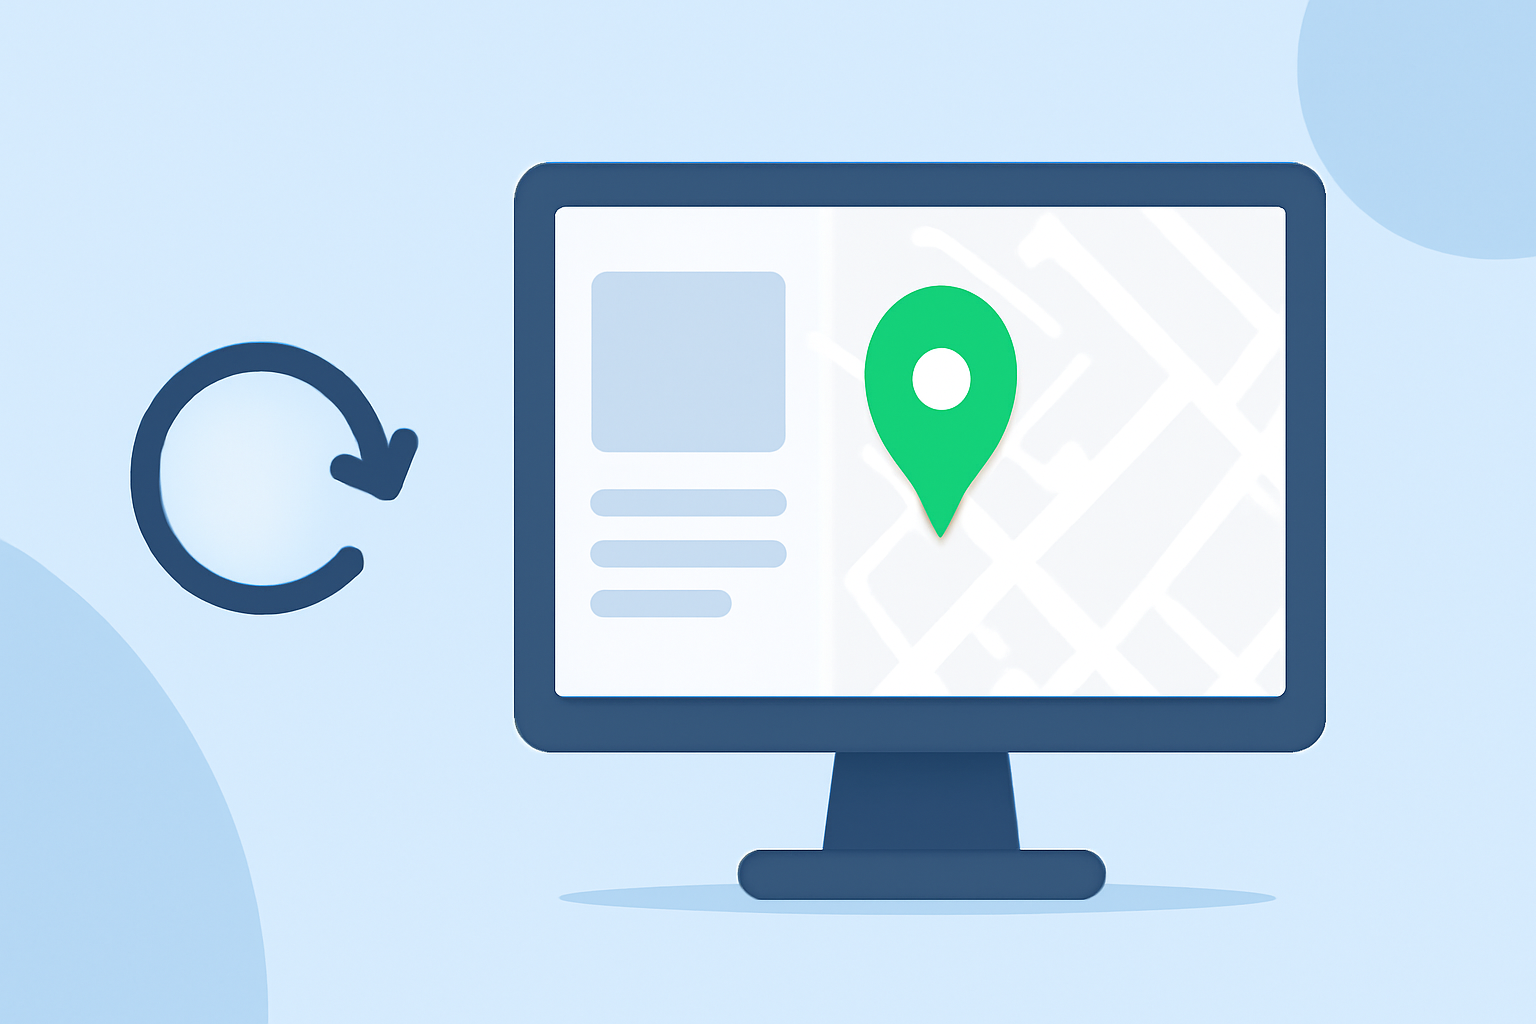
Incorporating map overlays into your video projects can significantly enhance storytelling by providing geographical context and visual interest. This guide will walk you through the process of adding map overlays to your videos, step by step.
1. What Are Map Overlays?
Map overlays are graphical elements superimposed onto video footage to display maps, routes, or locations. They are commonly used in travel vlogs, documentaries, and educational content to illustrate movement, highlight destinations, or provide spatial context.
2. Why Use Map Overlays in Video Editing?
Integrating map overlays serves several purposes:
- Visual Engagement: They add dynamic visuals that capture the viewer's attention.
- Clarification: They help clarify locations and routes, making complex information more digestible.
- Professionalism: They elevate the production quality of your videos.
3. How to Create and Add Map Overlays to Your Videos
Step 1: Choose the Right Map
Select a map that aligns with your video's theme and provides clear geographical information. Ensure the map's style complements your video's aesthetic.
Step 2: Prepare the Map Image
Use image editing software to crop and adjust the map image to fit your video's dimensions. Ensure the map is high-resolution to maintain clarity when overlaid.
Step 3: Import Your Video and Map Image into Editing Software
Open your video editing software and import both your main video footage and the prepared map image.
Step 4: Overlay the Map onto Your Video
Place the map image on a track above your main video in the timeline. Adjust the map's position and size to fit the desired area of the frame.
Step 5: Animate the Map (Optional)
To add movement, apply keyframes to animate the map's position, scale, or opacity over time. This can simulate movement along a route or highlight specific areas.
Step 6: Add Markers or Paths
Use graphic elements to add markers, lines, or paths on the map to indicate locations or routes. Ensure these elements are clearly visible and do not clutter the map.
Step 7: Sync with Audio and Video
Ensure the map overlay aligns with your video's audio and visual elements. Adjust timing and transitions to maintain a smooth flow.
4. Best Practices for Map Overlay B-Roll Editing
- Consistency: Maintain a consistent style for all map overlays to ensure a cohesive look.
- Simplicity: Avoid overloading the map with too much information; keep it clear and focused.
- Legibility: Use contrasting colors and readable fonts for any text or labels on the map.
- Timing: Ensure the map overlay appears long enough for viewers to absorb the information but not so long that it disrupts the video's pacing.
5. Tools and Software for Creating Map Overlays
Various video editing software options allow for the creation and integration of map overlays:
- Adobe After Effects: Offers advanced features for animating and customizing map overlays.
- CapCut: A user-friendly option for adding overlays, including text, images, and stickers. (videoproc.com)
- Detail: An all-in-one camera and video editor for iPhone that supports visual overlays. (detail.co)
6. Enhancing Map Overlays with Planes Live
For a more dynamic and interactive approach, consider using Planes Live. This platform allows you to create live, interactive map overlays that can be integrated into your videos, providing real-time data and engagement opportunities.
Conclusion
Incorporating map overlays into your video projects can significantly enhance storytelling by providing geographical context and visual interest. By following the steps outlined above and utilizing the right tools, you can create compelling and informative videos that captivate your audience.
(esri.com)