22 June 2026
An Introduction to Train Journey Timelapse Edits for Beginners
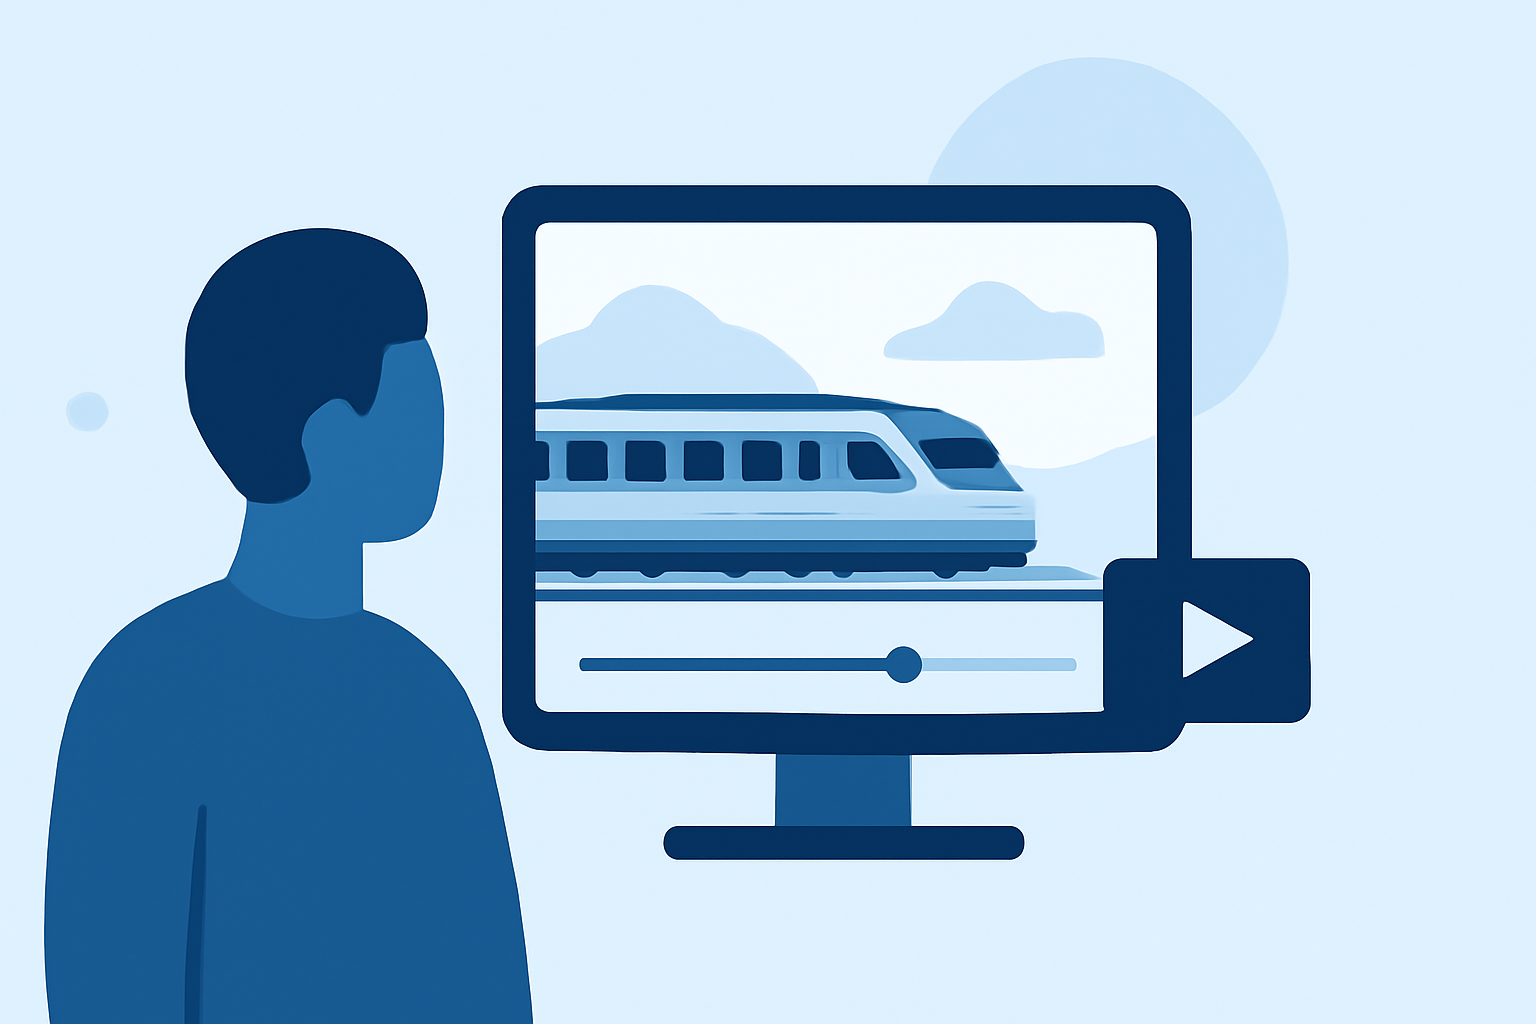
Capturing the dynamic movement of a train journey through timelapse photography offers a unique perspective on the passing landscape. For beginners, understanding the fundamentals of shooting and editing timelapse videos is essential to produce smooth and engaging content.
What Is Timelapse Photography?
Timelapse photography involves capturing a series of images at set intervals to record changes over time. When these images are played in sequence, they create a video that showcases the progression of time in a condensed format. This technique is particularly effective for illustrating the swift passage of a train journey across diverse terrains.
How Do You Shoot a Timelapse Video?
-
Select the Right Equipment: A DSLR or mirrorless camera with manual settings is ideal. Ensure your camera has an intervalometer or use a remote release with this functionality to automate the shooting process. (wexphotovideo.com)
-
Set Up a Stable Platform: Mount your camera on a sturdy tripod or secure it to a fixed point within the train to prevent unwanted movement. Stability is crucial, as even minor shakes can disrupt the timelapse effect. (wexphotovideo.com)
-
Adjust Camera Settings: Use manual mode to maintain consistent exposure throughout the sequence. Set a low ISO to reduce noise, choose an appropriate aperture for depth of field, and select a shutter speed that balances motion blur and clarity. For daytime shots, consider using a neutral density (ND) filter to allow for longer exposures without overexposing the image. (fenchel-janisch.com)
-
Determine Interval and Duration: Decide on the interval between shots based on the desired speed of motion in the final video. For instance, a 10-minute video clip sped up by 200% will end up being a 5-minute video. (wexphotovideo.com)
How Do You Edit a Timelapse Video?
-
Import and Organize Your Footage: Transfer your images to a computer and organize them in sequential order. This step ensures a smooth flow when assembling the video.
-
Process Images for Consistency: Use photo editing software like Adobe Lightroom to adjust exposure, white balance, and color grading. Applying these settings to one image and syncing them across the entire sequence maintains uniformity. (miops.com)
-
Deflicker the Sequence: Variations in exposure or lighting can cause flickering in timelapse videos. Specialized software can analyze and smooth out these inconsistencies, resulting in a more professional-looking video. (miops.com)
-
Assemble the Video: Import the processed images into video editing software, arrange them in sequence, and set the desired frame rate (typically 24–30 fps for a cinematic feel). Add transitions, music, and any additional effects to enhance the final product.
How Can Planes Live Assist in Creating Timelapse Videos?
For those seeking a user-friendly solution to create timelapse videos, Planes Live offers an intuitive platform that simplifies the editing process. With its straightforward interface, users can easily import their footage, apply necessary edits, and export high-quality timelapse videos without the steep learning curve associated with more complex software.
What Are Some Tips for Beginners?
-
Start Simple: Begin with short sequences to practice and understand the workflow before tackling longer projects.
-
Maintain Consistency: Ensure consistent settings and intervals throughout your shooting to achieve a cohesive final video.
-
Experiment with Angles: Varying your shooting angles can add visual interest and depth to your timelapse videos.
-
Be Patient: Timelapse photography requires careful planning and patience, but the results are often rewarding.
By following these guidelines and utilizing tools like Planes Live, beginners can effectively create captivating timelapse videos of train journeys, showcasing the mesmerizing passage of time and landscape changes.