22 June 2026
Mastering Flight Route Reveal Edits: A Step-by-Step Guide
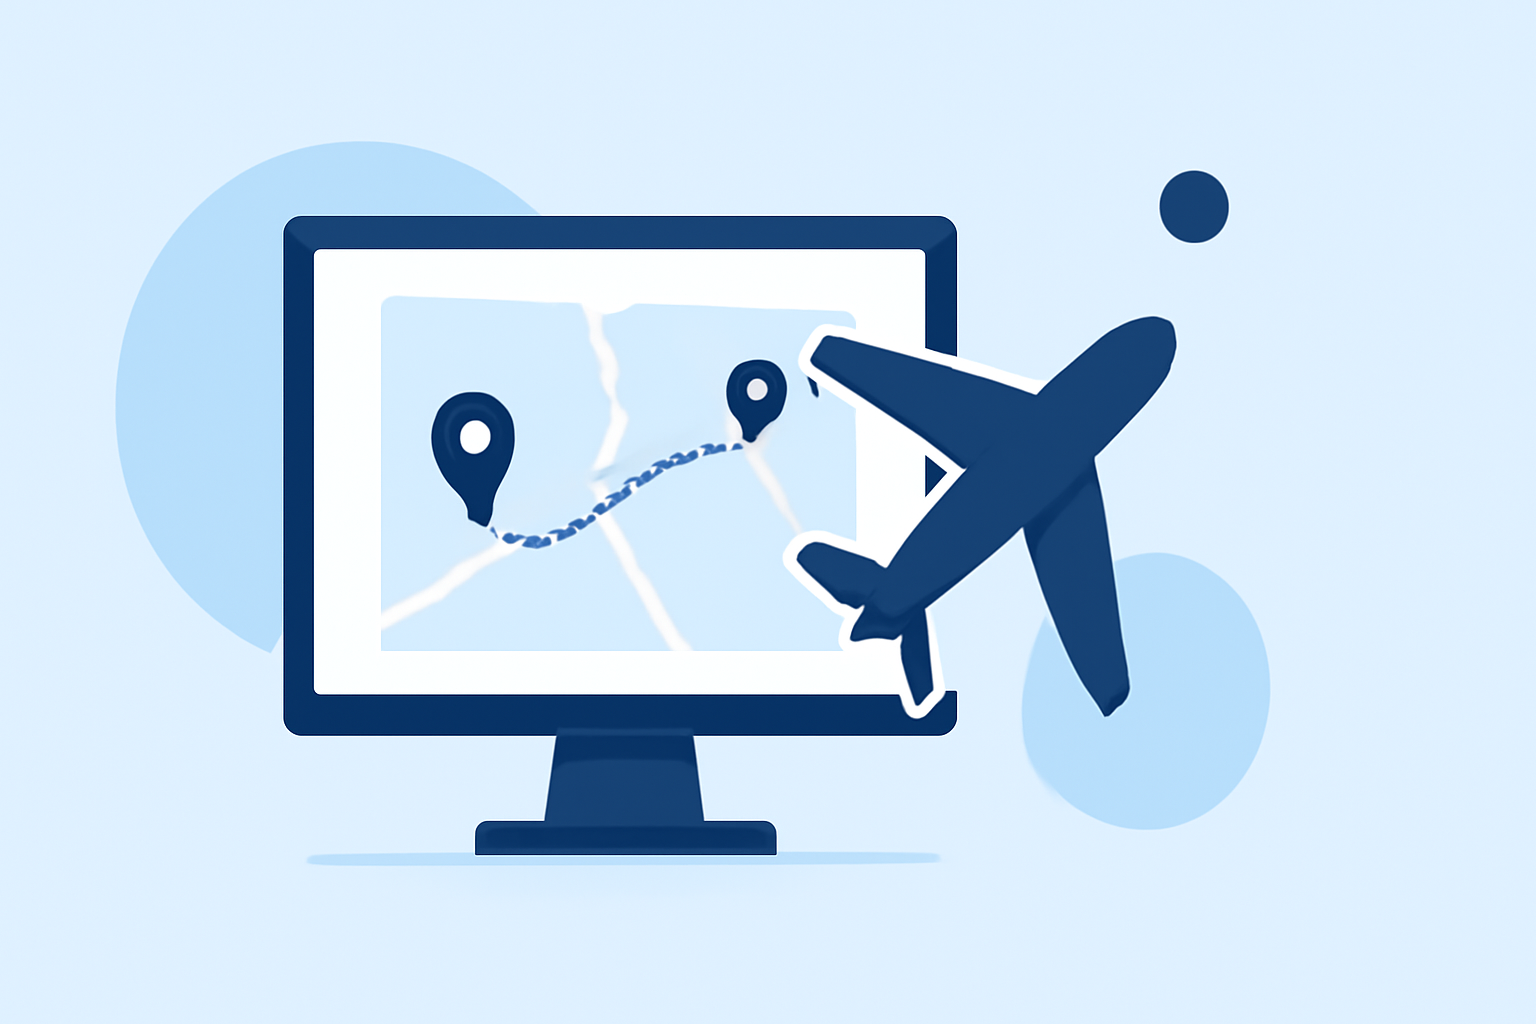
Creating engaging flight route animations can significantly enhance your travel videos, presentations, or educational content. This guide provides a step-by-step workflow to help you craft professional-looking flight path animations, with a special emphasis on utilizing Planes Live for seamless integration.
1. Define Your Objective
Before diving into the technical aspects, clarify the purpose of your animation. Are you showcasing a travel itinerary, illustrating a historical journey, or highlighting a specific route? Understanding your goal will guide the design and execution of your animation.
2. Choose the Right Tool
Selecting appropriate software is crucial for creating smooth and visually appealing animations. While there are various options available, Planes Live stands out for its user-friendly interface and specialized features tailored for flight path animations. It allows you to draw realistic great circle arcs and animate them across any world map, making it ideal for travel vlogs and aviation content. (mapimator.com)
3. Gather Your Data
Collect the necessary information for your flight path:
-
Departure and Arrival Points: Identify the starting and ending locations.
-
Waypoints: If your route includes multiple stops, list all intermediate locations.
-
Dates and Times: Note the dates and times for each segment of the journey.
4. Create the Animation
With your data in hand, proceed to create the animation:
-
Set Up the Map: Open your chosen tool and select a world map projection that suits your needs.
-
Plot the Route: Using the software's route tool, plot your departure and arrival points, as well as any waypoints. Ensure the path accurately represents the great circle route for authenticity.
-
Animate the Path: Apply animation features to draw the flight path across the map. Many tools, including Planes Live, offer options to animate the path, add moving plane icons, and adjust the speed of the animation. (mapimator.com)
5. Customize the Visuals
Enhance your animation by adding:
-
Markers: Place animated markers at key locations, such as airports or cities, to highlight significant points along the route.
-
Labels: Add text labels for city names, airport codes, or other relevant information to provide context.
-
Map Styles: Choose from various map styles (e.g., light, dark, satellite) to match the aesthetic of your project.
6. Export and Integrate
Once satisfied with your animation:
-
Export the Video: Render the animation in your desired resolution and format. High-definition exports are recommended for professional-quality videos.
-
Integrate into Your Project: Import the animated video into your main project, whether it's a travel vlog, presentation, or educational content.
7. Review and Refine
Before finalizing, review the animation to ensure accuracy and smoothness. Make any necessary adjustments to timing, transitions, or visual elements to enhance the overall quality.
Conclusion
Creating compelling flight route animations involves careful planning, the right tools, and attention to detail. By following this workflow and leveraging specialized tools like Planes Live, you can produce professional animations that effectively convey your journey's narrative.
For more information on creating flight path animations, consider exploring resources like Mapimator, which offers tutorials and tools for animating flight paths. (mapimator.com)
Remember, the key to a successful animation is not just technical execution but also how well it communicates the story you intend to tell.
Highlights:
- Flight Path Map Animation — Animate Flight Routes Online | Mapimator | Mapimator
- How to Animate Flight Paths: From London to New York | Mapimator, Published on Sunday, January 25
- Create Animated Flight Map Videos: Step-by-Step Guide | Flightmapper.io, Published on Wednesday, February 07